Overview:
This page will help you better understand scanning and help you make better prints of your images.
Common Types of Scanners:
There are several types of scanners. The most common is probably the 'flatbed' scanner. It's a scanner that you lay your documents on and the scanning element reads it through the glass bed. Another type of scanner is the document feed scanner. In this type of scanner, you feed the documents into the scanner and it's pulled past the scanning element. These are typically low cost scanners. One of the biggest problem with them is getting the paper to pull through perfectly straight. Most of the time, the scan comes out a little crooked. For scanning documents for record-keeping, they're fine. For critical scanning, they usually don't produce satisfactory results.
Scan Resolution:
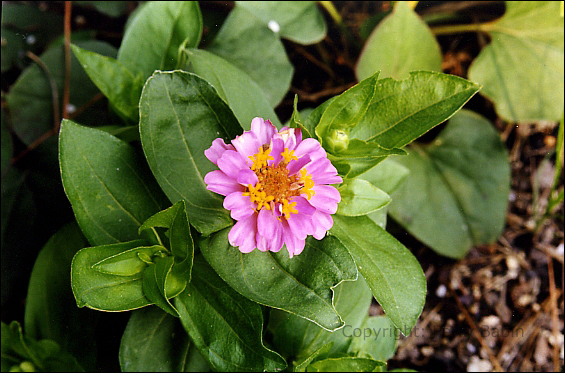
Many people believe that you need a scanner that can scan at super high resolutions to get high quality scans. What they don't understand is that scanning at high resolutions isn't necessary and often makes the resulting file difficult to deal with. For scanning images that will be used on the internet or emailed, it's generally best to scan the image at 96DPI (dots per inch). This makes the resultant scan approximately the same as the original. The next image is a 4x6" picture that was scanned at 96DPI. On my monitor (set to a resolution of 1280x1024), the image is very close to the size of the actual picture. For email or similar communications, this resolution is absolutely fine.
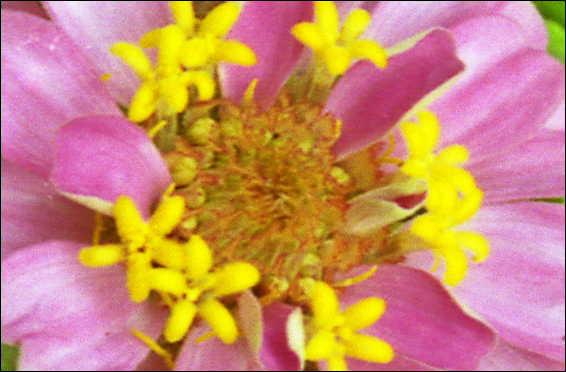
If you scan at high resolutions like 600DPI, the entire image will not fit on the screen (unless the original was very small). There are times when you need high resolution scanning but for email and the internet, 96DPI is generally best. The next image was scanned at 600DPI. I cropped it to the size of the previous image. As you can imagine, the entire image scanned at 600DPI would not fit onto the screen (unless your browser is set to automatically resize the image). If displayed on a monitor, the image scanned at 600DPI would cover approximately a 3ft x2ft area. Of course, if you only want a tiny section of the image, high resolution may provide the results you need.
Note: The original scans of the 2 images above (in TIF format) were quite large. The 96DPI image was 681KB in size. The image scanned at 600DPI was 24,000KB. A scan at 1200DPI would result in a file that's almost 100MB in size for an uncompressed TIF file.
Reasons to Scan at High Resolution:
There are times that you need to scan at high resolutions.
Above we mention the case where you'd only want a tiny part of the image. For example, if the image above had something of interest in the center of the flower, you may want to scan at high res.
If you are going to scan an image to be printed to a large size (8x10 for example), you'd want approximately 300DPI on the paper. If the original image is 4x6 and you want an 8x10 print, you'd have to scan at 600DPI. 300DPI on the printed image is about the minimum for printing photos. If your printer can print higher resolutions in 'true color' (requires as many as 6 print colors), you may want to scan at even higher resolutions.
Another time you want high resolution scanning is when you want to scan negative or slides. Both images are relatively small. To get good quality scans, you'd need to scan at something even higher than 600DPI. If you're going to scan film negatives or slides, you have to scan at roughly 4 times the resolution as you would for a 4x6 picture. This means that you'd have to scan at approximately 2400DPI if you want to print an 8x10.
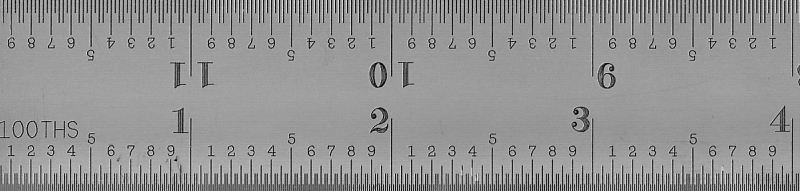
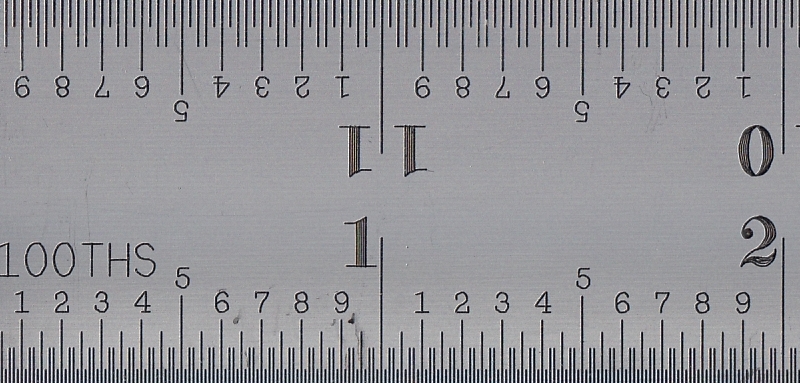
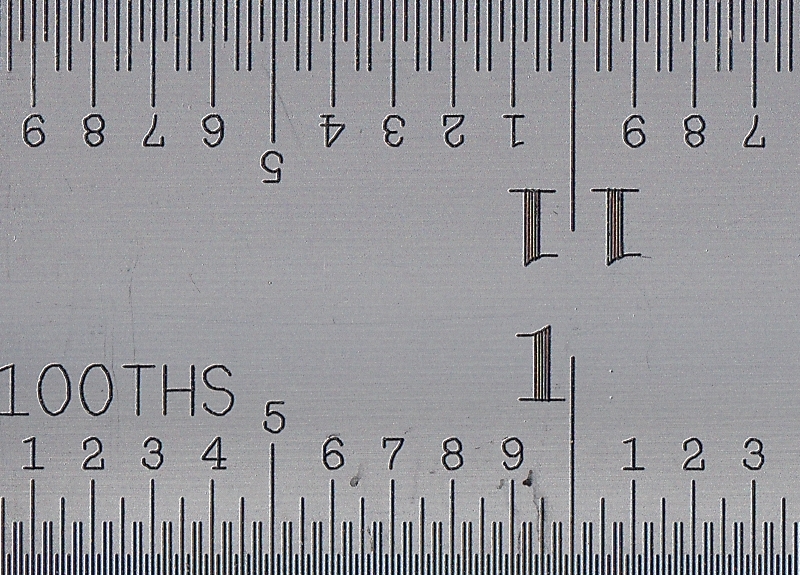
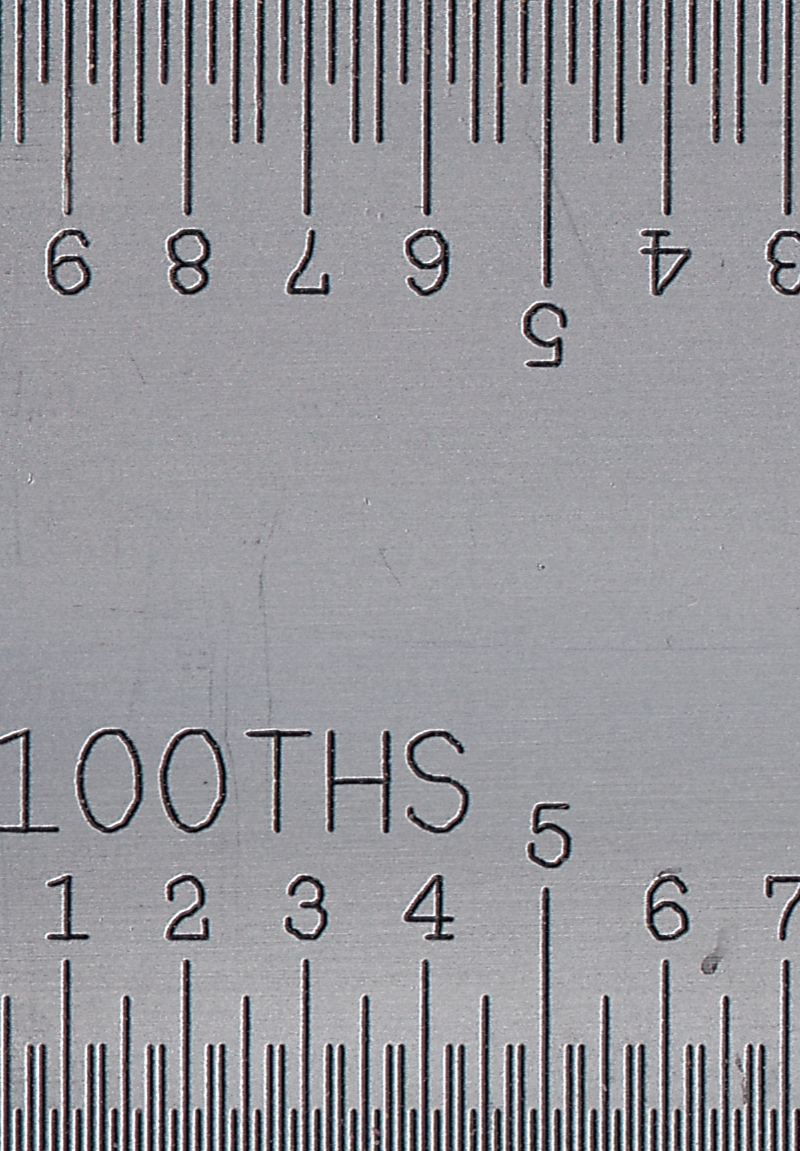
Since there is very little scale to the images above to show you precisely how images are displayed at various resolutions, the following Starrett ruler was scanned at various resolutions. The resolution of each is listed below the image.
^ 72 dpi ^
This one is most likely to be 1:1 on your monitor.
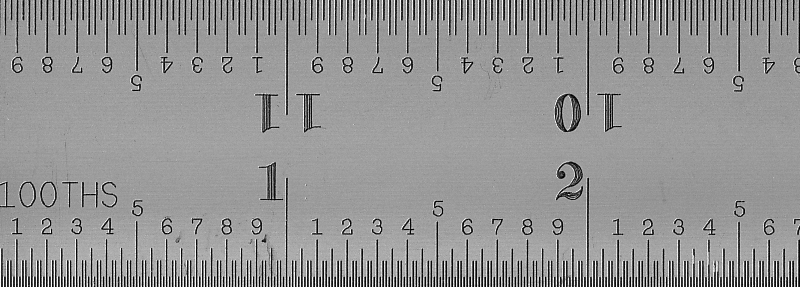
^ 100 dpi ^
Looking at the image above... Sometimes it's good to scan at higher resolutions and then reduce it to the desired final resolution. The image above is approximately the same size as the 100dpi scan but was scanned at a higher resolution, then resized. The overall quality is somewhat better. It may not seem as sharp but if you examine it closely, you can see that there are fewer artifacts.
^ 200 dpi ^
^ 300 dpi ^
^ 400 dpi ^
^ 600 dpi ^
With the image below, you can clearly see that it wouldn't be practical to scan a 12" long object (or an 11" long piece of paper) at 1200dpi. This image would require a 10+ foot wide monitor to display it. The original image was 12.2MB. Scanning at this resolution is, however, good to see fine details. To the naked eye, the letters and lines look absolutely perfect. In the image below, you can see that the curved lines are a bit rough. This is the entire scanned image. If you view it actual size, only a tiny fraction of it will fit on your monitor. It's a large file (~12MB) so it may take a few minutes to download if you have a slow internet connection.
^ 1200 dpi ^
You have to see what works best with your equipment. Don't be afraid to experiment. Try different resolutions and look at the files sizes.
OCR - Optical Character Recognition:
OCR software 'reads' the print from a scanned document and converts it to editable text. Most scanners are bundled with OCR software. Most of it works relatively well but there will almost always be a few characters that will not scan well enough to be read. When converted to text, the questionable characters are usually highlighted so that you can determine what they're supposed to be. If you need to edit the document, you can often export the text to a program like Microsoft Word. If you are someone who regularly has to retype documents, you really should look into buying a scanner with OCR software.
Note:
Often, OCR software requires relatively high resolution scans, if your OCR software is having trouble reading a document try increasing the scan resolution. 300DPI is usually the minimum for common document text sizes.
Online OCR Scanners:
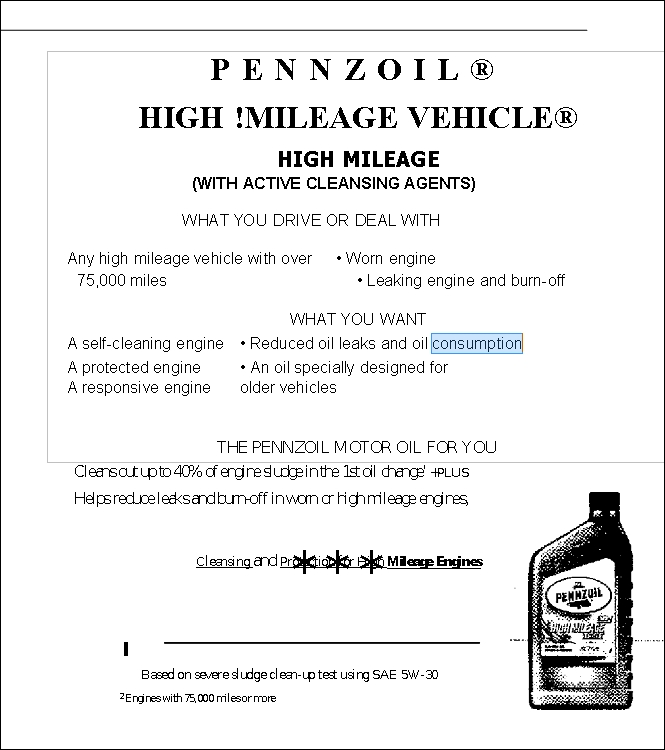
If you don't have a scanner but need an image file with text converted to editable text, you can try one of the online OCR scanners. You upload an image. It scans it and either produces a text file that you copy and paste into a text document or produces a document file for you to save. I picked up the closest piece of scrap paper and scanned it, then had it converted on the onlineOCR site. THIS is the document file it produced. It's an MS Word document. Opened with Open Office Writer, it looks like the second image and is fully editable. You may, initially, think that it's not a good likeness. It isn't and it's not meant to be. OCR software extracts the text from an image. For that, it worked very well.
Moire Patterns
If you scan an image in virtually any newspaper or magazine, you will get unwanted patterns. These are called Moire patterns. Most mass produced, low quality art work is screen printed. This means that the image is made of many tiny dots. The scanner you have picks up the signal from ANY image as a series of dots. If the dots on the art work and the dots picked up by the scanner don't match, you will get these patterns. To remove them, most software has a 'de-screen' option that will reduce the patterns. If you look carefully, you can see that there are Moire patters that show up in the various low resolution scans of the metal ruler shown previously on this page. The ruler didn't have a pattern of dots but it had a series of adjacent lines that caused the same problem.
This image shows a tiny section of a CD booklet. As you can see, there are many tiny colored dots. It's printed with a 4 color screen printing system. The 4 colors are cyan, magenta, yellow and black. Together, they simulate a full color image.
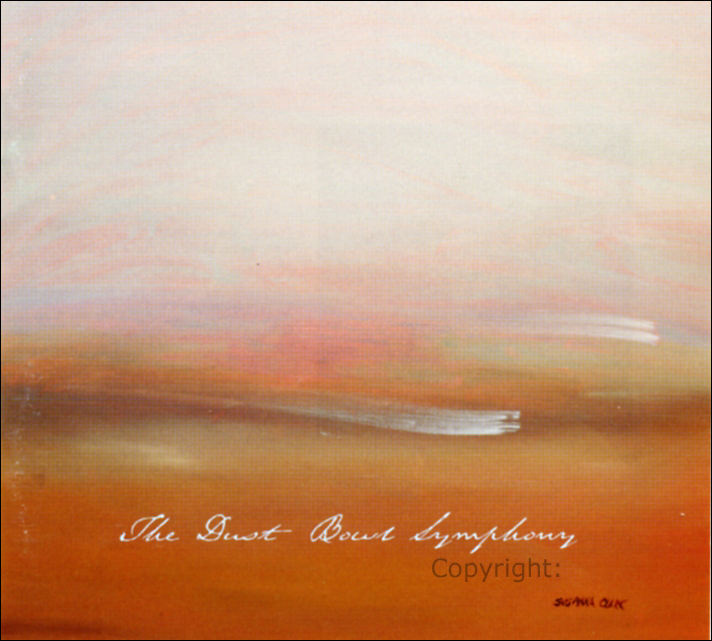
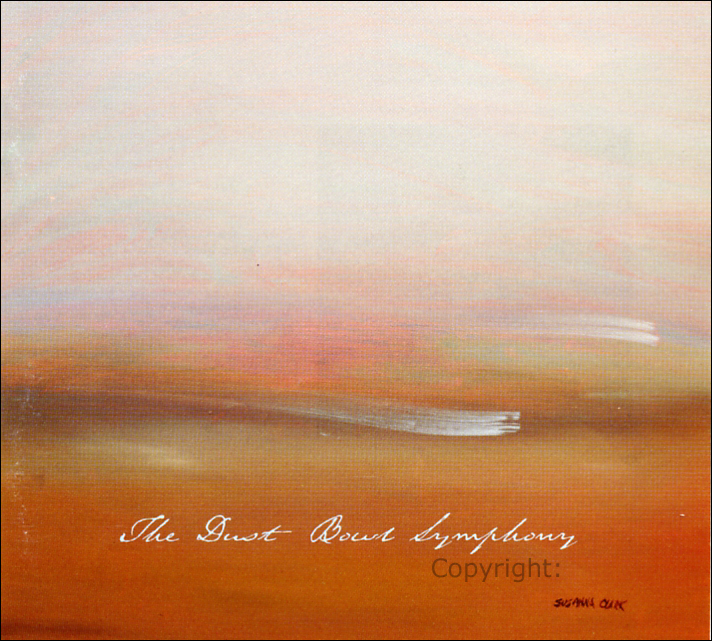
Here, the booklet was scanned with no de-screening filter. As you can see, it's a mess.
The next 2 images show the same booklet but were scanned using 2 different de-screening filters. As you can see, they're significantly better. One is a little smoother but has lost a little sharpness. The other is sharper but isn't as smooth. You'll have to find what works best for your scanner/artwork.
This site was started for pages/information that didn't fit well on my other sites. It includes topics from backing up computer files to small engine repair to 3D graphics software to basic information on diabetes.
This site introduces you to macro photography. Macro photography is nothing more than the photography of small objects. It can take quite a while to understand the limitations associated with this type of photography. Without help, people will struggle to get good images. Understanding what's possible and what's not possible makes the task much easier. If you need to photograph relatively small objects (6" in height/width down to a few thousandths of an inch), this site will help.
If you're interested in air rifles, this site will introduce you to the types of rifles available and many of the things you'll need to know to shoot accurately. It also touches on field target competition. There are links to some of the better sites and forums as well as a collection of interactive demos.
This site is for those who want to install or update their car stereo. It begins with the most basic electronics theory, progresses into basic transistor theory as well as covering virtually everything associated with car audio.