|
DVD Shrink
|
|
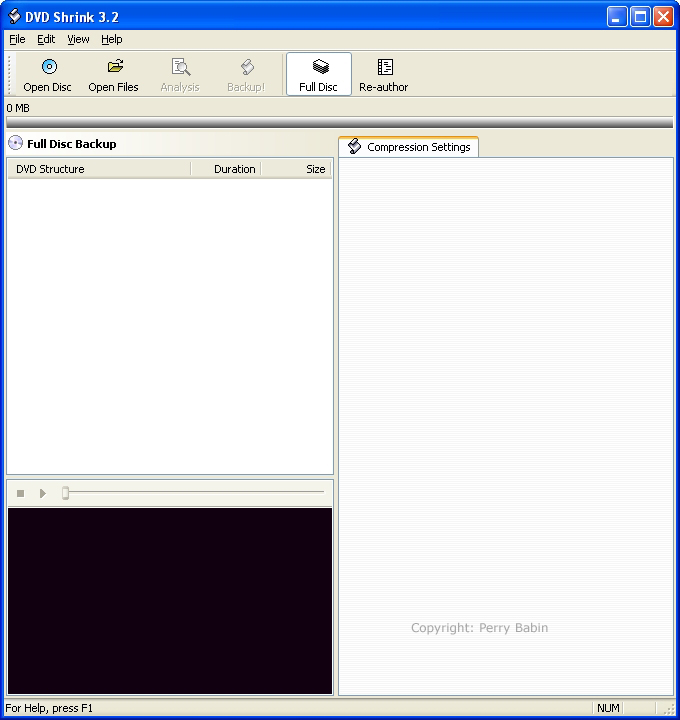
Overview: Note: The movie I'm using here is an old sci-fi flick made back in 1962. It was used on MST3K and is also available from several public domain distributors without the MST3K gang. DVD Shrink: Re-Authoring a DVD:
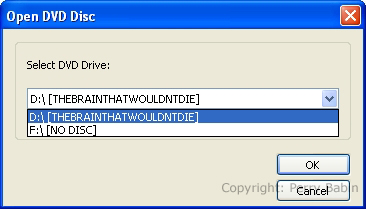
 When you click the 'open' button, the following dialog box will appear. If your DVD is in the DVD drive and it's not shown, click the down-arrow to expand the menu and select the DVD that you wish to re-author.
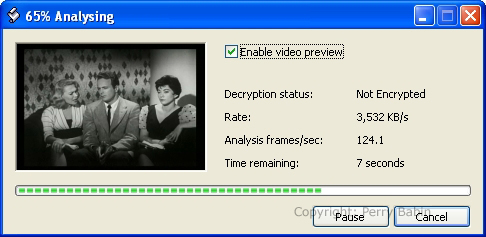
 After you select the desired DVD and you click OK above, DVD Shrink will analyze the DVD. This generally takes about a minute or so but the actual time will depend on the length of the DVD, the speed of your computer's processor and the speed of your DVD drive.
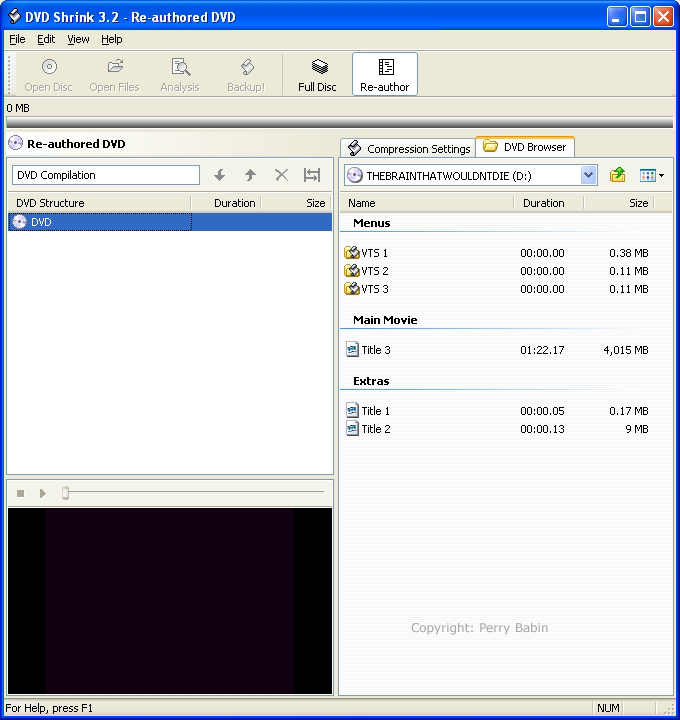
 When the analysis is complete, the window will look similar to the following image. The various sections of the DVD are shown in the left pane. Since we are going to modify the content, we will click the 're-author' button.
 In the re-author mode, you can see that the left pane begins as a clean slate. In the right pane, there are several items (menus, main movies and extras). Since we're doing this to get rid of the undesired items, we will only select the main movie (drag it to the left pane). In some instances, there will be two main movies (one with a standard 4:3 aspect ratio and one in letterbox format). When you get the movie on the left, you can highlight it (click on it) and then play it (click the 'play' arrow on the player below).
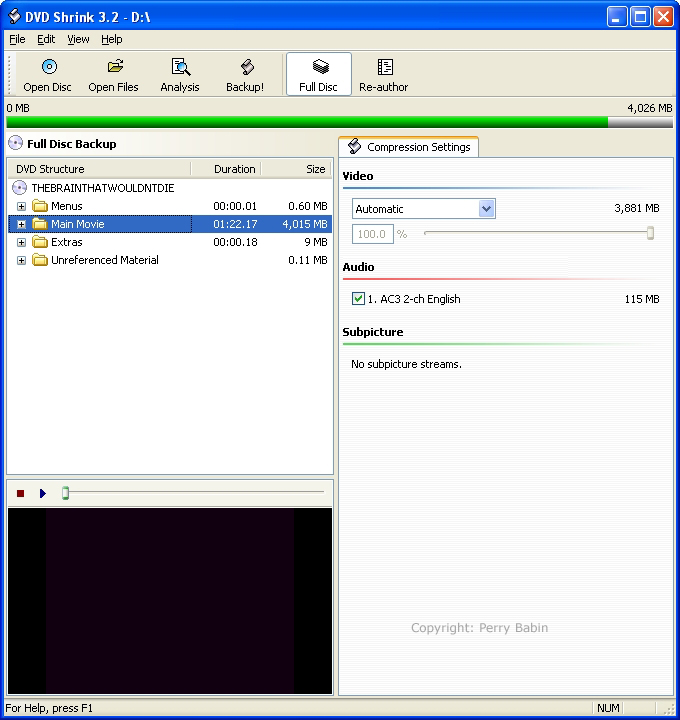
 Below, you can see that I moved the main movie to the left. You can also see that the right menu has changed (I clicked the 'compression settings' tab). If the main movie (or whatever you decide to include on your re-authored DVD) is less than the capacity of the DVD, you would select 'automatic' or 'no compression'. If you have selected more than the blank DVD will hold, you should select 'automatic' so that the software can determine the level of compression that will result in the smallest reduction in quality. It's rare that you will have a single main movie that is larger than that which will fit on a standard 4.7GB blank. Also notice that there is an audio format/file listed. Many times, you will see several audio formats or audio in several languages. Of course, you should choose the language and format that best suit your needs. Generally, the audio data is relatively small compared to the main movie 3,881MB/115MB here) and even if you choose all of them, it will not cause the main movie to be re-encoded (due to a lack of space on the target DVD).
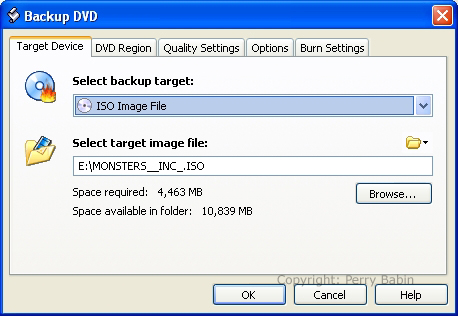
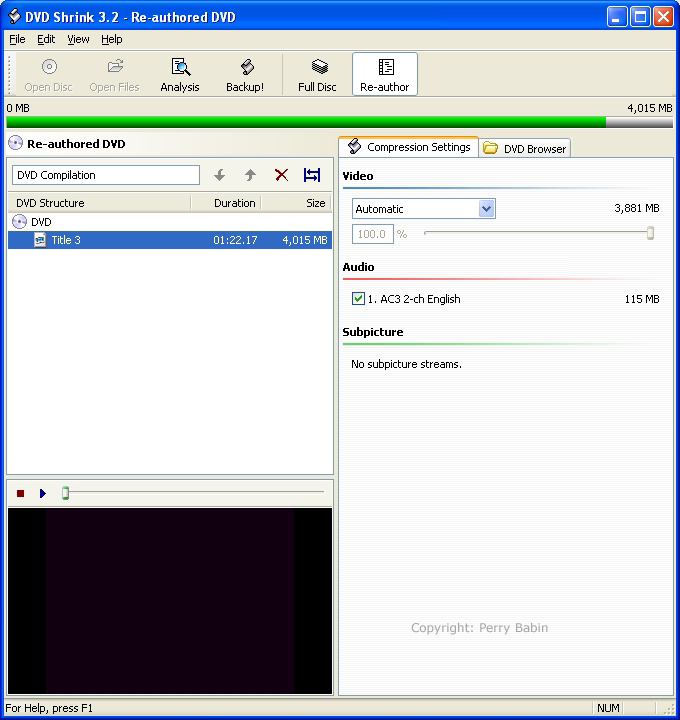 Note: I mentioned re-encoding above. If the selected content will fit in the target DVD, there will be no re-encoding/compression. The process of moving the desired content to the hard drive (an intermediate step) will take only as long as it takes for your computer to move the data (~3-5 minutes on an average computer). If the selected content will not fit, the computer will have to re-encode the data (compressing it) and this process can take several hours (depending on the speed of your machine). When you've made all of your selections, you will click the 'backup' button. The following dialog box allows you to choose the target directory for the ripped data files. It also allows you to choose the output type.
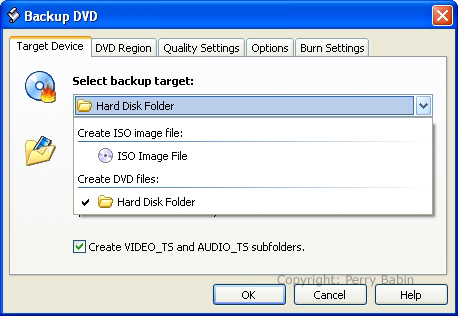
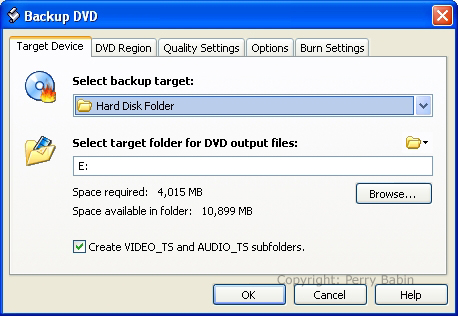 In the next image, I've expanded the 'select backup target' menu. There are two choices. If your burning software can burn ISO files, that will likely be the easiest. If you have Nero installed on your computer, you can simply double-click on the ISO file and Nero will be launched. All you have to do is load the disc and tell Nero to burn it. If you choose to have audio and video TS files generated (standard DVD files), that should work for most any burning software. In the lower menu, you can tell it where you want the file stored. I'd suggest creating a dedicated folder (especially if you're generating audio and video TS files) and giving the folder a distinctive name (not 'new folder').
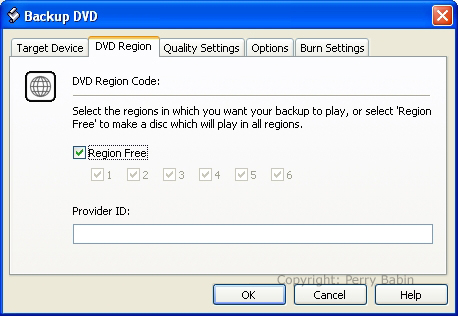
 As you know, DVDs are produced for various regions around the world (mentioned on the sound card page of the computer tutorial). This tab gives you the option to burn a region free DVD or one for a specific region (may be necessary for some players).
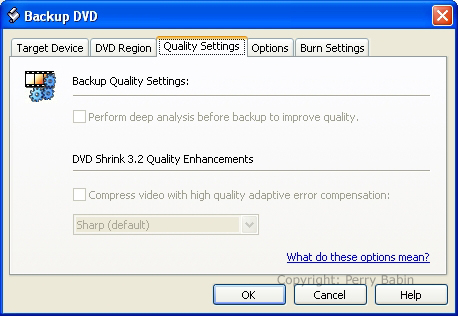
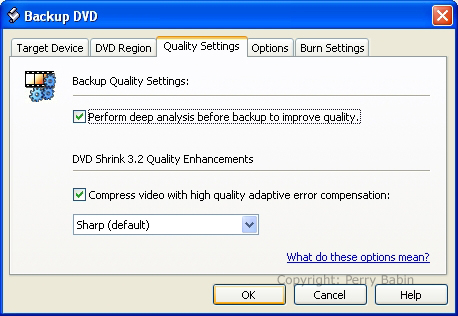
 Here, you can set the quality for the DVD. If the selected content will fit on the target DVD with no compression, these are not used. If you use these settings to improve the overall quality, the encoding time may increase.
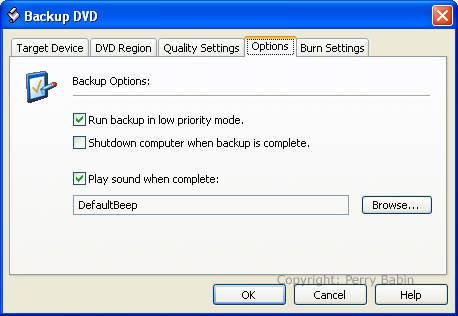
 On this tab, the only option that may be confusing is the 'priority'. When your computer runs, most programs have the same priority. This means the equal processor time is given to all programs that are running. If you set the priority higher for a given program, that program will get more processor power than the others. If you set the priority low, that program will be run when other programs are idle. If you want the backup to run with little or no effect on the computer's speed, set its priority low. If the priority is set low but no other programs are running, the program will get the full power of the processor.
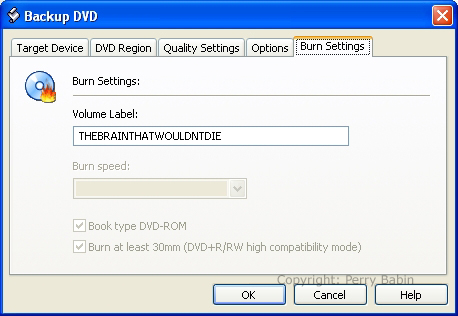
 Here, you provide a title for the DVD. This is what will show up when you look at the drives in 'Windows Explorer'.
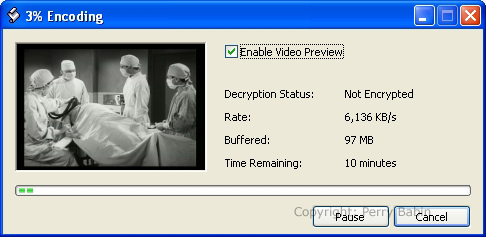
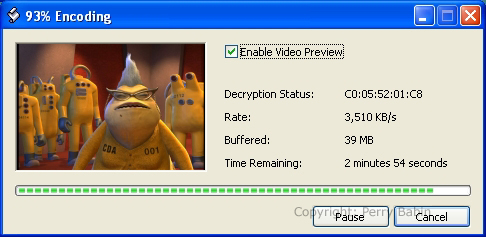
 This is what you will see while the files are being encoded or transferred. The speed will start out slow and, at the end, will be faster. This is due to the fact that the disk is spinning at the same RPMs throughout the process and there is a larger circumference as the drive reads the outer area.
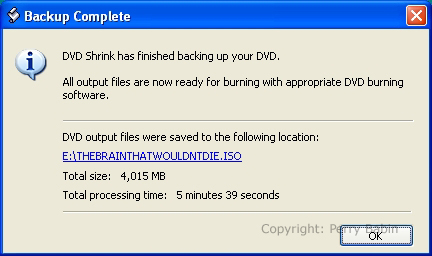
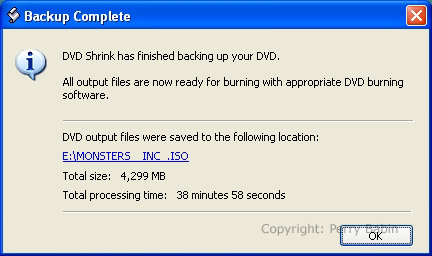
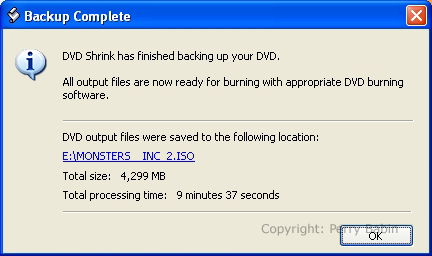
 This is the end of the process. It gives several bits of information. The most important is the location of the file (so you can find it when you want to burn it).
To this point, we were simply copying files directly from a DVD. If you look back at the 'video compression settings' on any of the previous images, you will see that all of them were at 100% and the compression was set to 'automatic'. If the files that were selected would have been larger than the target DVD's capacity, AND the compression would have been set to automatic, then the compression 'percentage' would have been less than 100%. In the following image, you can see that I've loaded a different disc that has significantly more data on it. The compression level is at ~50%. Notice that the green bar near the top of the window. If all of the selected material will fit on the target DVD, the bar will be green and only green. In this image, it is partially red. This means that there is too much data (even when the files are compressed as much as possible). DVD Shrink CAN convert this file to the size shown but it will not fit on the average blank DVD (and therefore can not be burned).
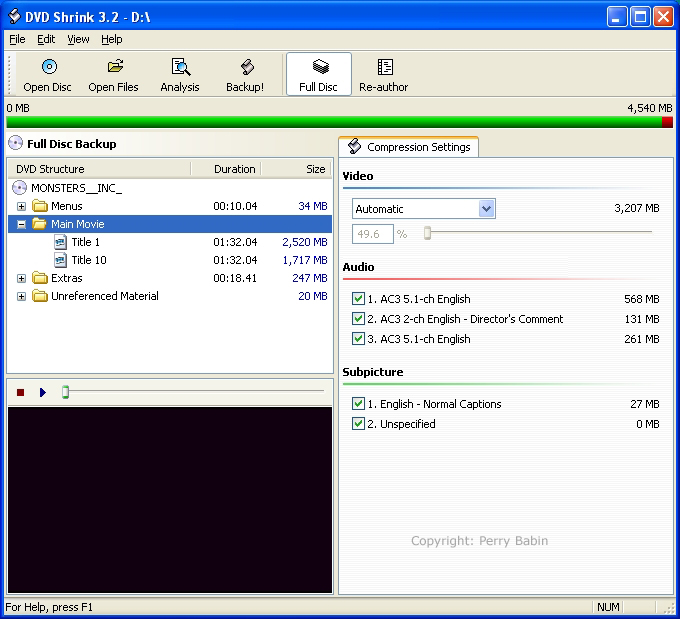 Below, you can see that this DVD has two main movies. One is letterboxed and the other has the 4:3 aspect ratio. The file sizes shown to the right of the files in the left pane are the file sizes AFTER compression is applied. As was mentioned above, the files are too large to fit onto the target DVD. Since you only need to reduce the file size a small amount to get the files to fit, you can try deleting un-needed audio data files. On each main movie, you need at least one audio file. Here we have 3. Generally, the largest AC3 file in your native language is the best choice. Below, we can delete the director's voice-over and/or the second AC3 audio file.
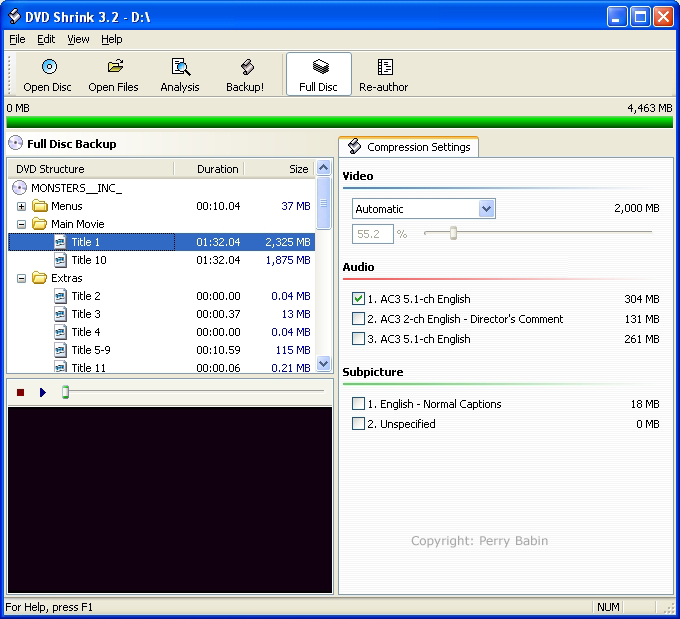
 In the following image, you can see that I've un-checked all of the un-needed streams. You should also notice that the compression required to fit the content onto the target DVD is less (higher percentage -- closer to an uncompressed file -- 100%). This will give allow the final image quality to be slightly higher but the difference from 50% to 55% may not make a noticeable difference.
 When you have made all of the needed changes/selections/choices, you click the 'backup' button. When you do, you'll see the same dialog box as in the previous example.
 In the previous example where the selected data would fit onto a DVD without compression, the following dialog box had the controls 'grayed out'. Here, the choices are now available. If you want the highest quality finished product, you should select the options to deep analyze and to use adaptive error compensation.
 Encoding.............
 And done. Notice the time. Faster machines will encode more quickly. This is an average computer (AMD 2400+). If this page stays up for more than a year or so, the fact that I'm calling this computer 'average' will be good for a laugh or two. :)
 Here is the same DVD re-authored. It took less time to encode and will automatically begin to play when you put it in your home DVD player.
 Disc Capacity: Note: Remember that we discussed the difference in values in the binary and decimal number systems. From that, you should see that a DVD should be rated to hold 4.377GB of data. You can try using 4.37 as the maximum size that will be burned/generated by the encoded file but it's easier to be a little more conservative. It prevents having to re-encode and doesn't cause you to burn a coaster (a useless, partially/improperly burned disc -- only suitable for use as a drink coaster -- OK it's not completely useless).
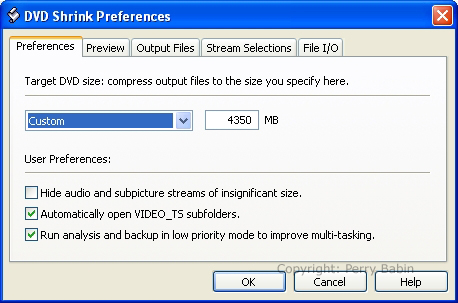 Note: When DVD Shrink sets the compression level, it does so based on the value above. If you reduce the value, the available space for the selected content will also be reduced. This will require slightly more compression for a given volume of data. Making Good Quality Burns: Conclusion:
|
|
| Contact Me: babin_perry@yahoo.com | |
|
Perry Babin 2005 - Present All Rights Reserved
|