Fans/Drive Coolers
The Case
Below, you can see the relatively empty computer case. To access the inside of the case, all that is needed is a #2 Philips screwdriver. Remove the four screws on the rear of both side panels. The panels slide back about 1/2" and are then free. This case included the power supply. The motherboard mounts to the large flat area in the case.
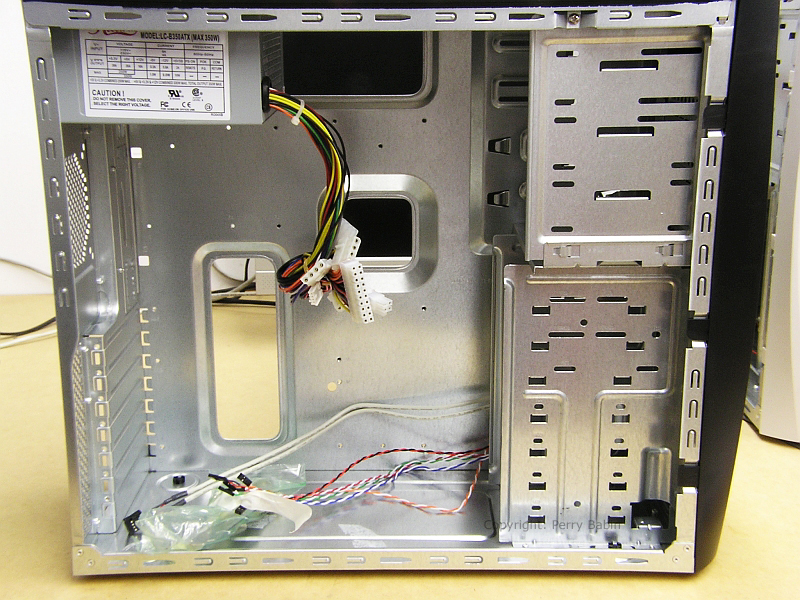
When ordering a computer case, you need to case that fits your motherboard. The two most common sizes (form factors) are the ATX and the micro ATX. A micro ATX board will fit into a regular ATX case but an ATX board will not fit into a micro ATX case. Even if you find a case that's made to hold an ATX board, it may be so small that the ATX board just barely fits. This often happens when you try to buy the least expensive case possible. When the board doesn't easily fit in the case, it can make it difficult to access the various drive connectors and could require that you buy additional cables (with right-angle connectors) to make the connections. This alone could make the cheap case more expensive than a case with a slightly higher initial cost. Cases that are designed for ATX boards range in depth (face of case to the rear panel of the case) from ~15" to ~20". This may not seem like a significant difference but it is.
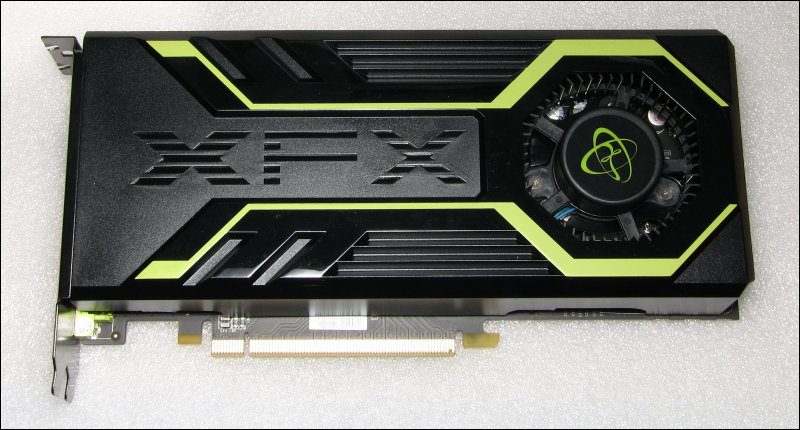
Earlier, graphics cards were covered. The graphics cards shown were relatively small, low end models. The low-end models are often no more than 6" long and very thin (no more than 1 slot wide). The newer cards are often much larger. They can be about 12" long and can require more clearance than that on the end to allow clearance for the power supply wiring/plugs. THIS one is only 9" long and was a relatively tight fit in a relatively large case. Many times, there is a problem with clearance with hard drives and you'll have to shuffle drives around to make room for the graphics card. If you're buying a case for a computer that is likely to be upgraded, buy one that's long enough to accommodate virtually any hardware.
The Rear Panel
A quick note...
When building, repairing or modifying your computer, you'll likely be tempted to put the screws in the bottom of the case so that they don't get lost. Don't do it. You'll move the case, for whatever reason, while working on it, a screw will get lost or fall behind something in the case. When you reassemble it and move the computer again, that screw can become dislodged and get behind your motherboard or in some other sensitive location and cause a short circuit. This can destroy the motherboard, the CPU and possibly even the power supply.
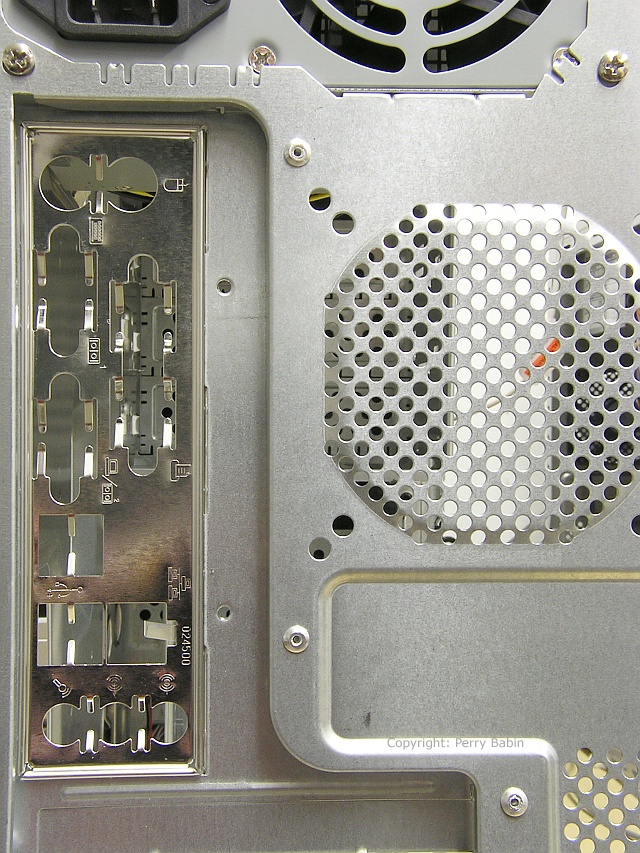
In the next image, you can see the rear of the case and the panel that is supposed to surround/dress-out the motherboard connectors. This one will not fit our motherboard. To change it to the one that was supplied with our motherboard, you simply remove the two screws to the left of the panel. On some cheap cases, this panel has to be broken out (no screws, tiny metal tabs to be cut) and it can be difficult to remove without badly bending the thin metal of the cheap case.

The new panel is not mounted with screws. It snaps into the space from the inside of the case. Care has to be taken to get it fully snapped-in on all sides. Most have the tiny bumps that have to be pushed beyond the cutout lip on the case. If they're not all out, it can make it VERY difficult to get the motherboard in place.
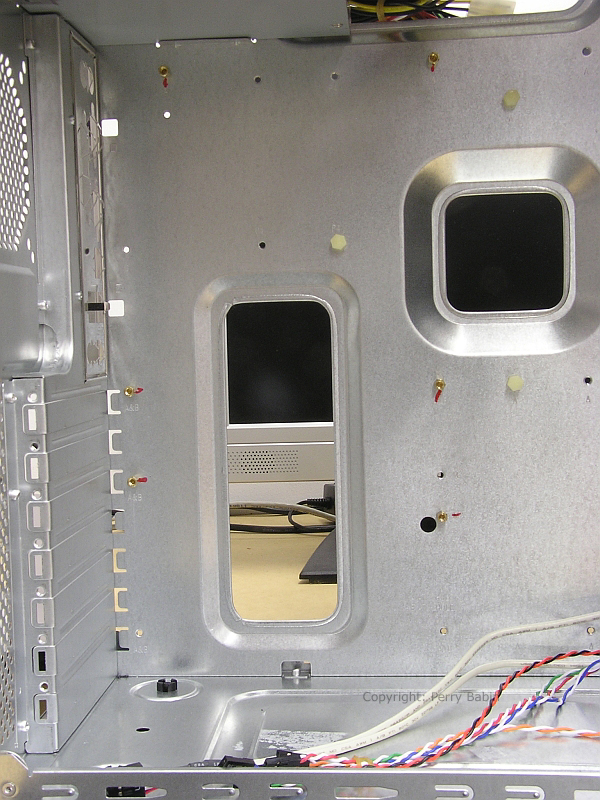
There are various holes in the case that accept brass standoffs. They are marked as to whether they fit AT/ATX or P4 boards. Since the mounting holes vary from one board to another, you need to set the board in place and note which holes in the case correspond to the holes in your MB. The mounting holes on your MB will have a round silver area around the hole. Do not use any other holes to screw the board down. After you determine which holes you need to use, mark each one. Screw a brass insert into each of the marked holes. Tighten each one with a 5mm socket.
Finding the Correct Mounting Holes
Hardware
Below, you can see the hardware that was included with the case.
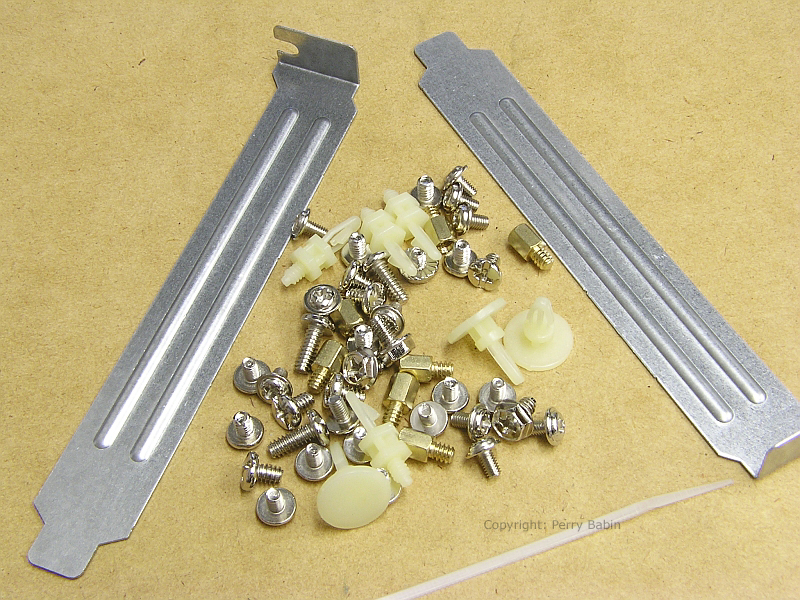
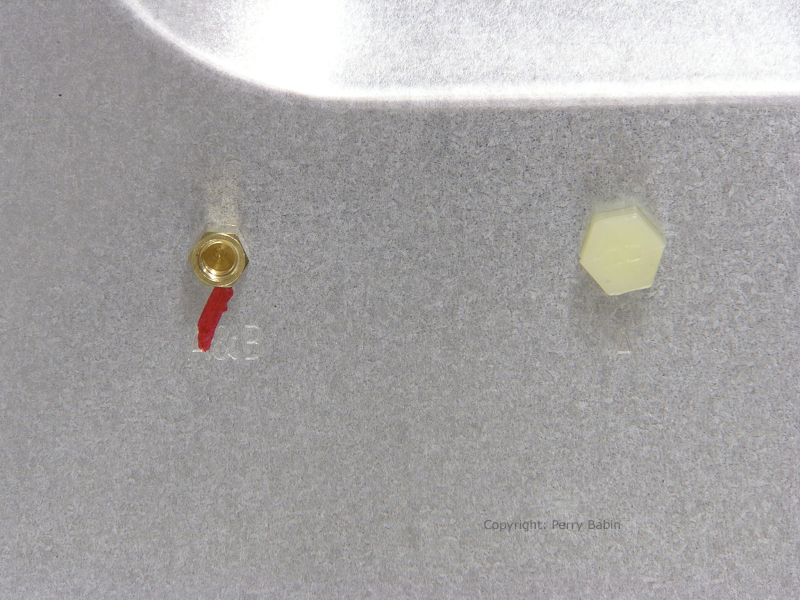
This shows two pieces of hardware installed into the case. The one on the left is a brass standoff. It will be used to secure the motherboard to the case. The piece of hardware on the right is 'part' of a nylon standoff. It's used to provide additional support to the board when you're pushing a card into a slot.
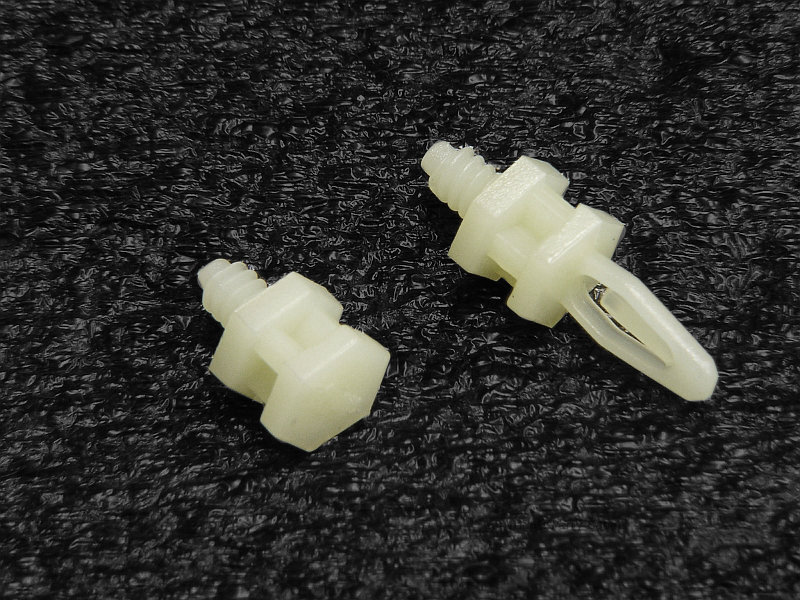
This is a close-up view of the full standoff and the modified standoff. As you can see, I simply cut off the top with a pair of flush-cutting pliers. I screw these in unused holes that are under the motherboard but where there is no corresponding hole in the motherboard. When they are in areas under memory or expansion slots, they help prevent the board from being bent too far. Fortunately, they are not really needed in this case since there are cutouts behind the memory and expansion slots that will allow us to support the board from behind when inserting cards.
The Motherboard
Below, you can see that the motherboard is installed. When selecting the screws to mount the motherboard, you need to notice two things. The first is the size of the screw head vs the area around the mounting holes. Sometimes, you'll have very little clearance between the screw hole and the traces on the board. make sure that the screws you use don't go outside of the shiny area around the hole. You also need to notice the threads in the brass standoffs. I've seen both the course 6-32 threads (as those used in hard drives and the case but I've also seen standoffs that have the fine threads like those used in the floppy and optical drives. If you force the wrong screw into the standoff, you may have trouble getting it tight and possibly even more trouble when you try to remove it.

The Heatsink and Fan
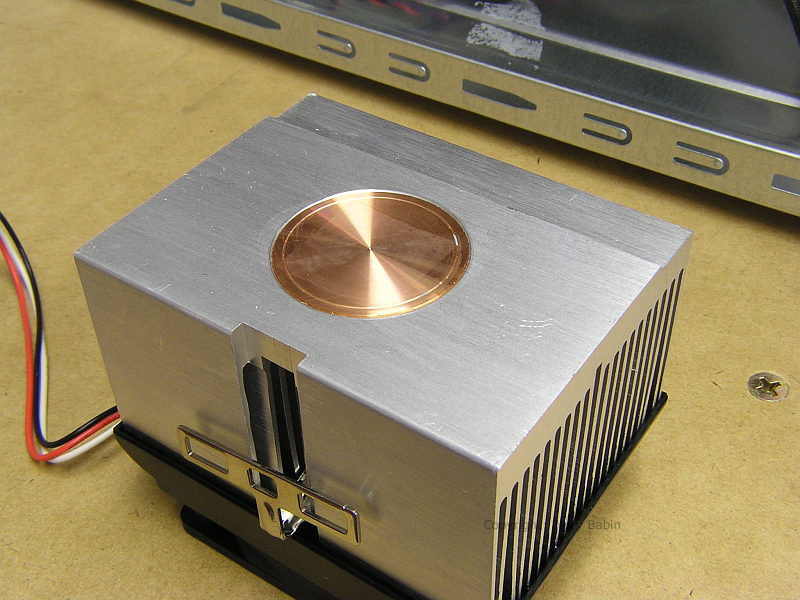
There was a picture of the following heatsink earlier in the tutorial. Here, you can see that the thermal pad has been removed and the heatsink has been cleaned. Now it's ready to be installed onto the CPU.
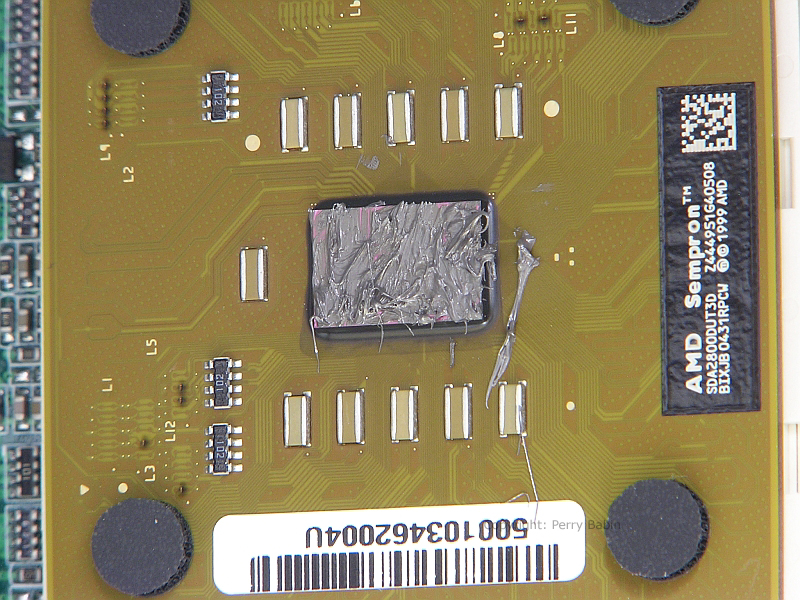
In the following image, you can see that I've applied a layer of heatsink compound to the CPU. You don't want a thick layer. You simply want enough to cover the core. When the heatsink is mounted, virtually all of the compound will be squished out. The small remaining amount will simply serve to fill microscopic gaps that would otherwise be filled with nothing but air. As you can see, I made a mess. If you do the same, you can use a cotton swab to clean it up. Try not to get the compound on you. It's not harmful but it seems to get everywhere.
You'll see various discussions that mention that the heatsink compound has to 'burn in'. They say that this is true because the compound seems to work better after a few days. This is because they used too much compound and it's taken a while for the pressure from the spring clamp on the heatsink to displace it. If you apply the correct amount, it will work as it should without any 'burn in'. If you think you may have used a bit too much, you can 'very gently' twist the heatsink back and forth a few times to help seat the sink on the processor.
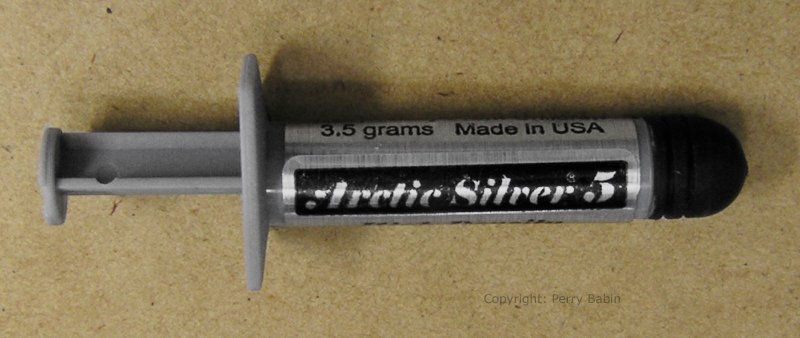
The following compound is widely regarded as the best. It's super fine particle size (it's actually a fine powder in a synthetic grease) is one reason it works so well.
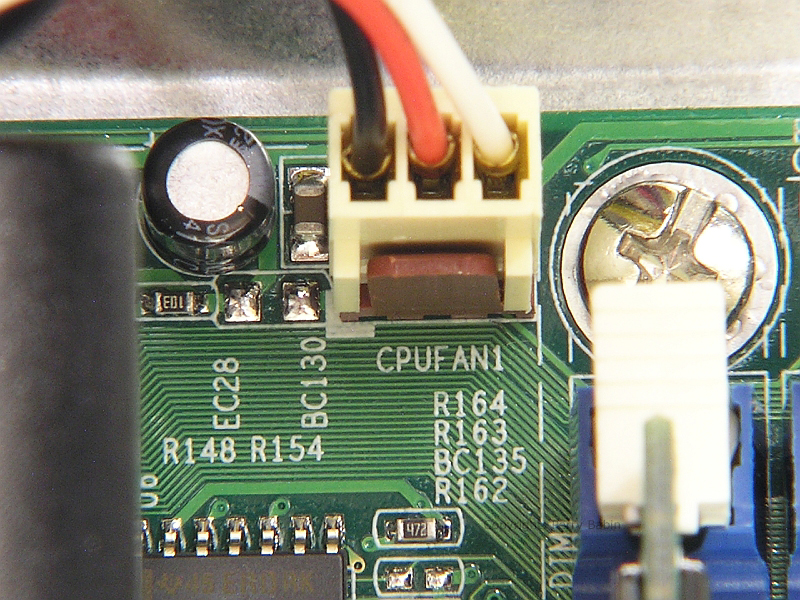
As you know, the CPU fan has to be powered. Most motherboards have dedicated connectors for the CPU fan. This board is no different. You can see that the connector is clearly labeled.
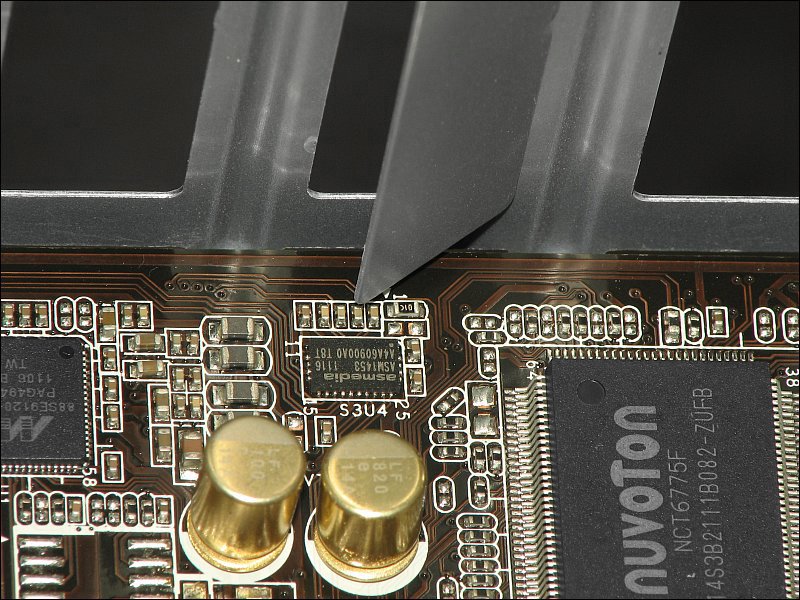
Before installing the various cards (video, sound, etc...) in the expansion slots, you'll have to remove the covers for each slot in the case. It's important that you don't damage the motherboard. Many times, there are very tiny components near the covers and when you're twisting the covers to break them free, it's possible to damage the components. This would require that you return the motherboard for a replacement (which may not be covered under warranty because it's not a manufacturing defect). The following shows how close the piece of sheetmetal was to the components. Sometimes there is no clearance.
End of Part One -- Click HERE to go to part 2
|
You May Be Interested in My Other Sites
-
This site was started for pages/information that didn't fit well on my other sites. It includes topics from backing up computer files to small engine repair to 3D graphics software to basic information on diabetes.
-
This site introduces you to macro photography. Macro photography is nothing more than the photography of small objects. It can take quite a while to understand the limitations associated with this type of photography. Without help, people will struggle to get good images. Understanding what's possible and what's not possible makes the task much easier. If you need to photograph relatively small objects (6" in height/width down to a few thousandths of an inch), this site will help.
-
If you're interested in air rifles, this site will introduce you to the types of rifles available and many of the things you'll need to know to shoot accurately. It also touches on field target competition. There are links to some of the better sites and forums as well as a collection of interactive demos.
-
This site is for those who want to install or update their car stereo. It begins with the most basic electronics theory, progresses into basic transistor theory as well as covering virtually everything associated with car audio.
|