|
Installing a Sound Card
|
|
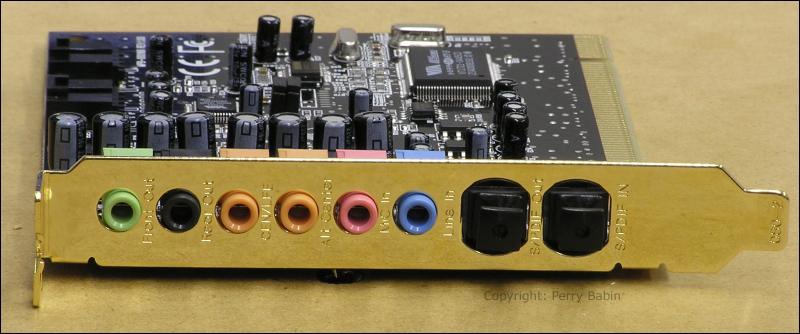
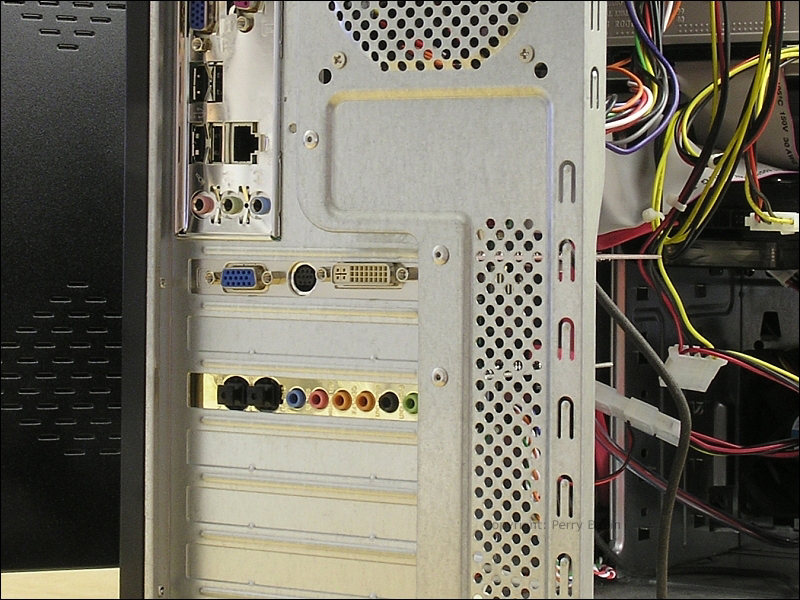
Overview: This first image shows the end of the sound card. This is the part of the card you will see when the computer is closed up (after the installation). You can see that there are more jacks than the on-board sound 'card' have but they perform the same basic functions. I will cover the individual jacks later.
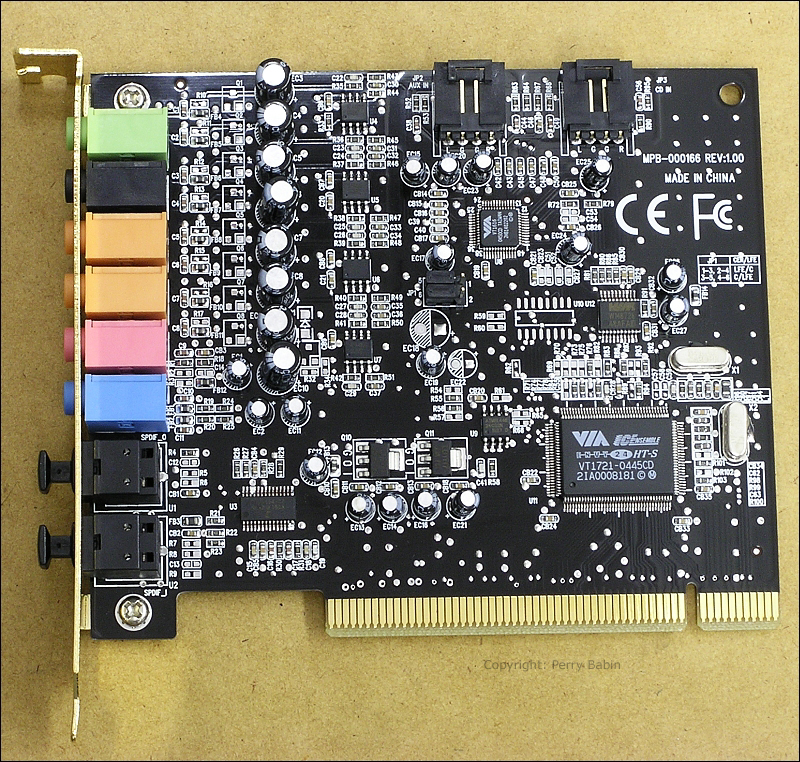
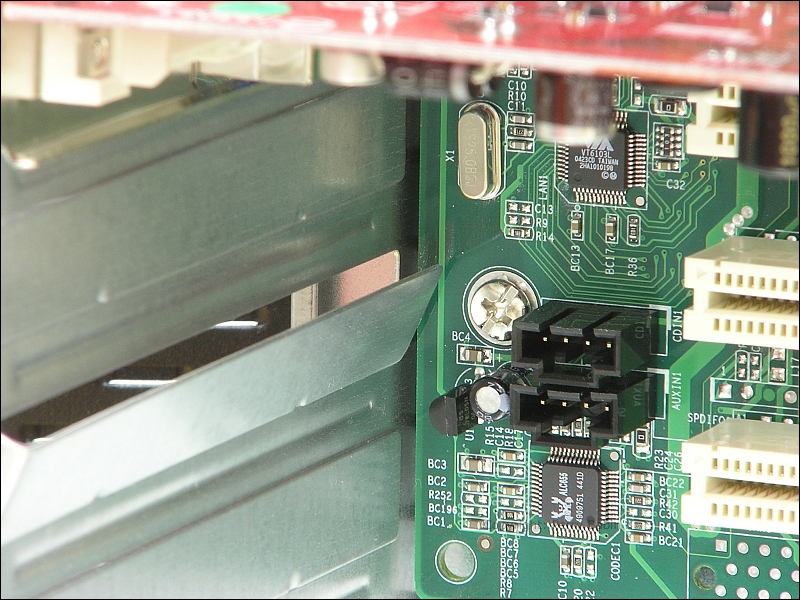
 This is the 'component side' of the circuit board. About the only thing of importance here is the input connectors along the top of the board. One is an AUXiliary input and the other is the analog input for the CD ROM drive. I rarely use these connectors but I may do so here (you'll have to wait and see). :)
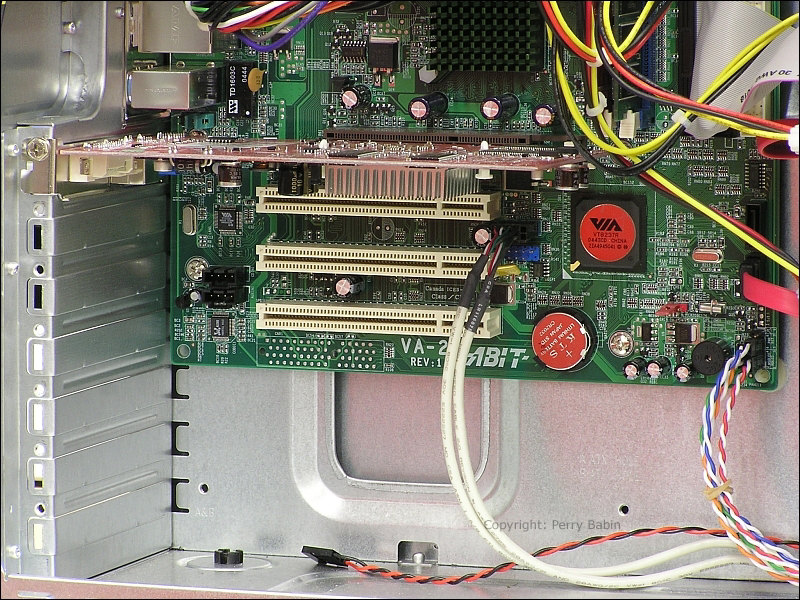
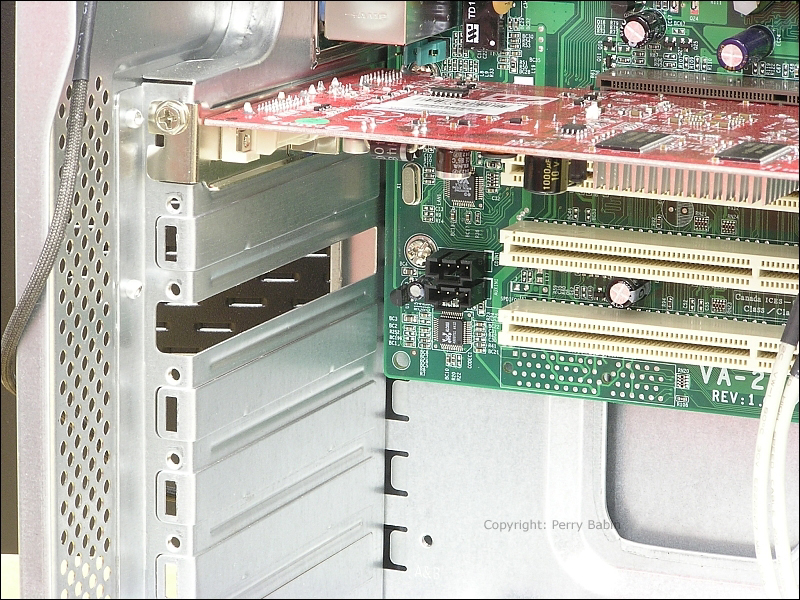
This is the inside of the case. You can see the graphics card (in the brown socket). There are also 3 more tan colored sockets. Those are PCI slots. This is a PCI sound card so we will use one of the sockets. I could have used the socket that's adjacent to the AGP (video card) slot but I've been warned not to use that slot (even Turtle-Beach warns against it). I will say that I have used that slot in the past (on other machines and didn't have a problem). I didn't do it here -- there's no point in potentially causing more headaches than absolutely necessary.
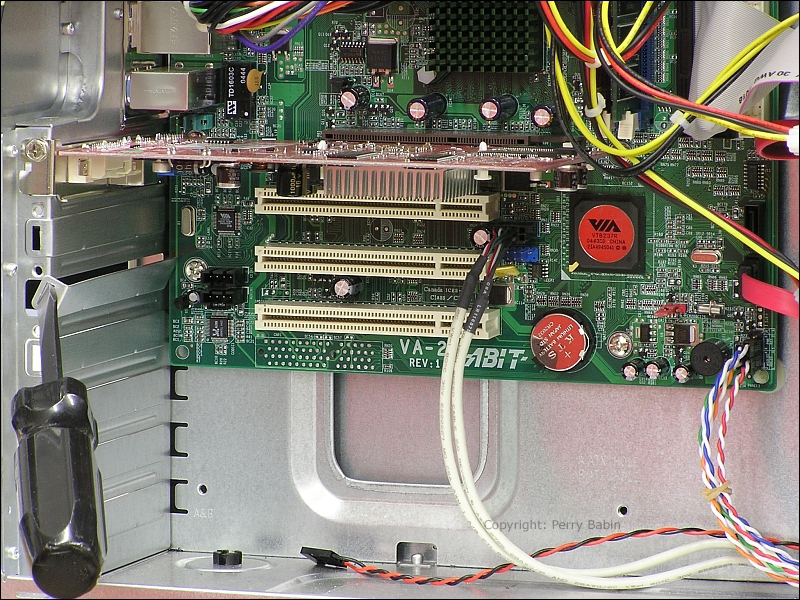
 If you look at the back of the computer case (on the left here), you can see the expansion slot cover plates. To remove this type of plate, you turn it with a screwdriver (working it back and forth until the metal fatigues and breaks).
 Look closely at the area where the plate is near the motherboard. As you can see, there is VERY little clearance. Sometimes, there is zero clearance because electronic components are mounted there. When twisting the plate to remove it, be VERY careful not to crash the plate into any components and don't scratch the motherboard (if for some reason that the plate will contact the motherboard). When installing the card, also be careful that the card doesn't touch any components on the motherboard. Sometimes, there is a capacitor or other tall component that is directly in the way of the card you're installing. If that's the case, you would move the sound card to a different slot. If you had only one free slot, you would see if one of the other PCI cards would fit in the newly opened slot and you would install the sound card in the other slot.
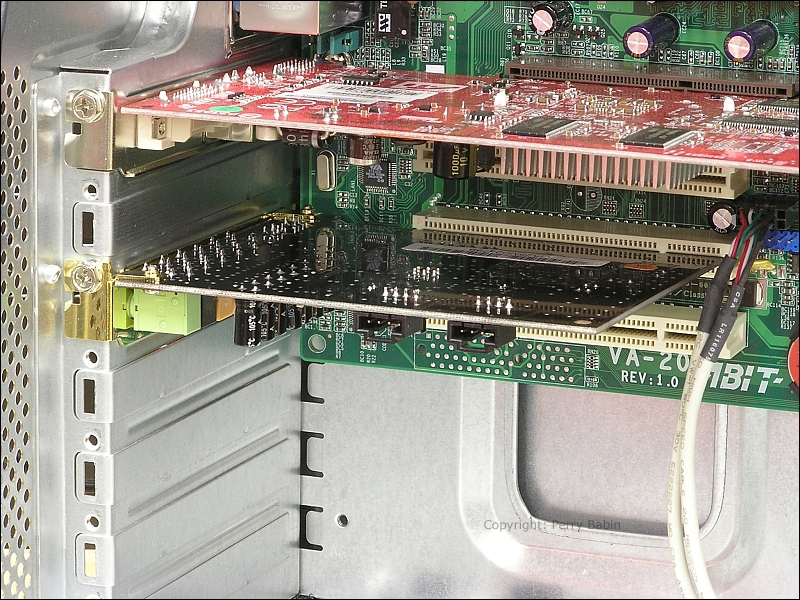
 Here, the plate has been removed and the slot is ready to accept the card.
 Below, you can see that I've inserted the card into the slot (making sure that it was properly seated in the slot). You can see that only one screw is used to secure the card.
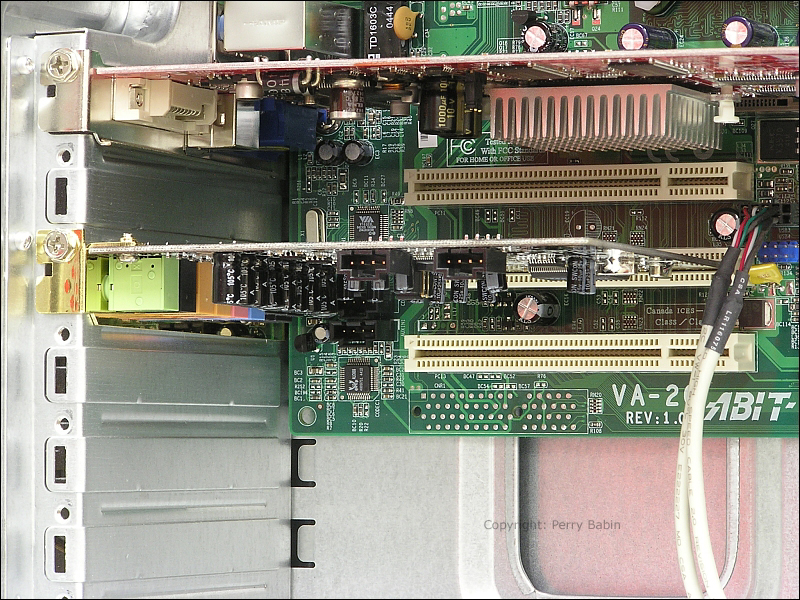
 This is the view from the bottom of the card (well, sort of). There's nothing really important here. It's simply a different viewing angle.
 And this is the view from the outside of the case.
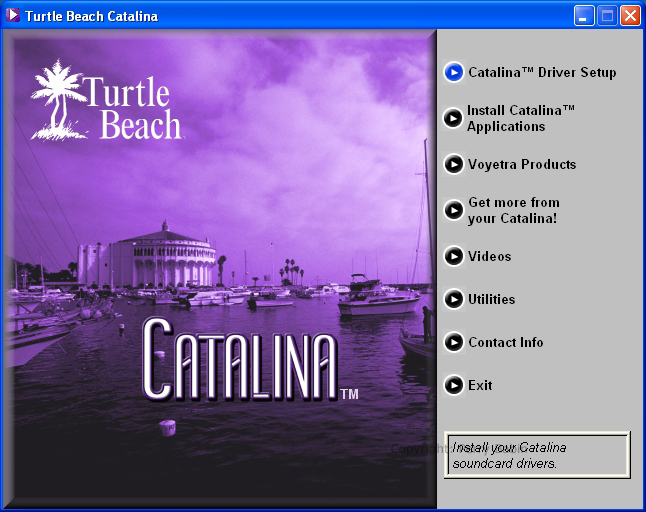
Now to install the drivers... Drivers are software that tells the hardware what to do when it received certain pieces of information. Most all hardware is shipped with software. Unfortunately, sometimes, the included drivers are buggy and don't work as well as the newest versions. No need to be concerned, the drivers are available on the manufacturer's website. We will start with the drivers that were shipped with the card. To get to this window (below), you simply insert the driver disk and close the drawer. The autorun information on the disk should bring up the software.
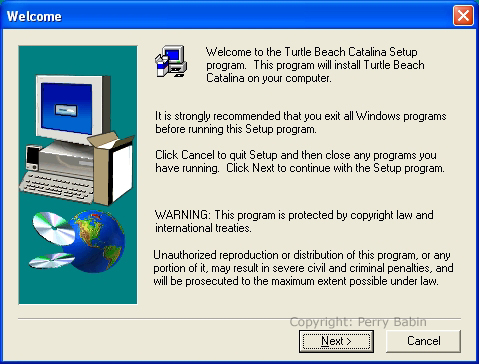
 Above, I clicked on 'Catalina Driver Setup' and the result was the following page. I again clicked on the driver setup link and the installation procedure began.
 This page provides standard information/warnings that you'll see when installing drivers or software. The most important thing (in my opinion) is to close all software that you see running on the taskbar (except the installation software).
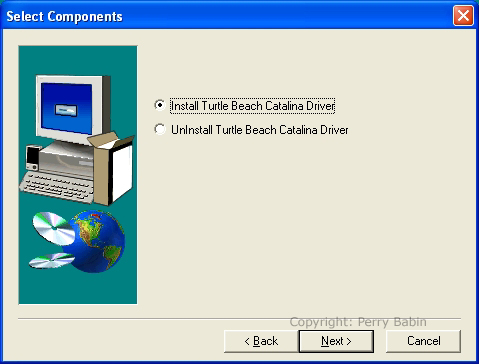
 Here, you're asked if you want to install or UN-install the drivers. Many times, it's recommended that you completely uninstall the old drivers before installing the new ones. Well written installation software will not have problems but some of it is less than well written. :(
 In this dialog box, you're being asked if you want to change the installation directory. I strongly recommend leaving the default location.
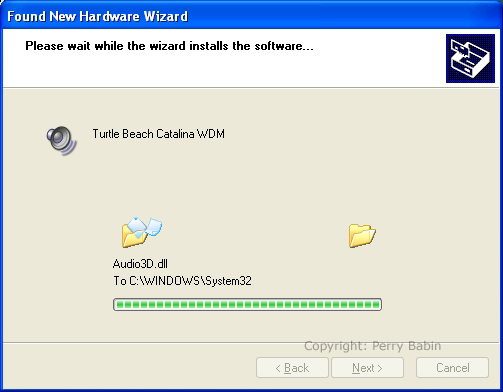
 This is what it looks like when the drivers are actually being installed.
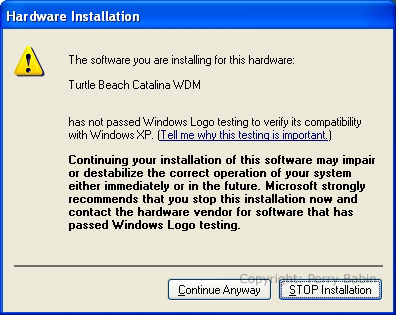
 The dialog box below regularly pops up when installing drivers. It's telling you that Microsoft has not approved the drivers. This doesn't mean that the manufacturer hasn't tested them though. Any good manufacturer is perfectly capable of testing their drivers.
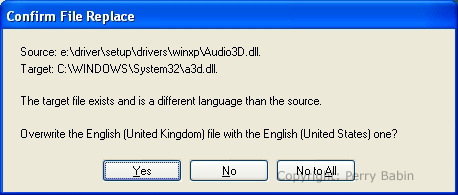
 The following message is not too common when installing something completely new (I've never seen it). Since I'm in the US, I chose to have the US English language installed.
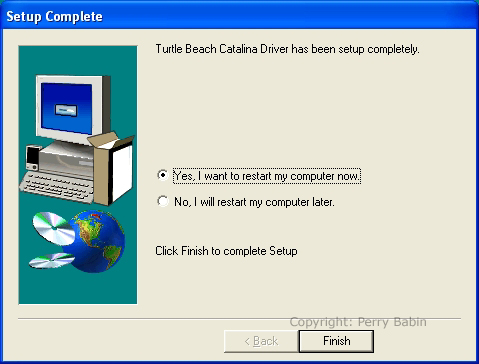
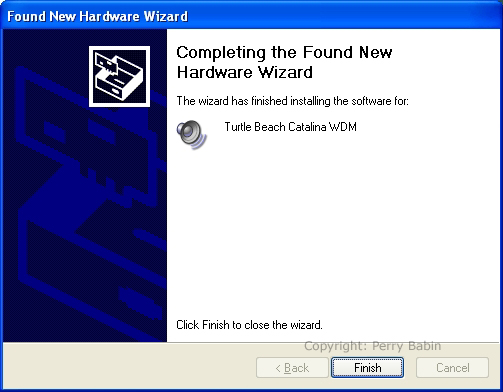
 This is simply letting us know that the installation has finished. When installing some types of software and drivers, it's necessary to restart you computer to take advantage if the new features/software. If we had nothing left to install, we would restart now. Since I want to install a few more pieces of software (bundled with the sound card), I'll restart a little later.
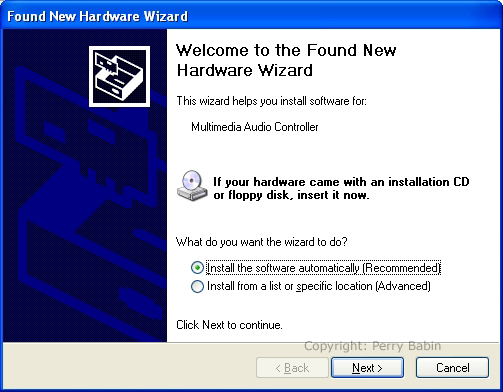
When Windows XP sees that new hardware has been installed, it will launch the 'Found New Hardware Wizard'. When you click NEXT, windows XP will start looking for drivers (actually looking for '.inf' files). When it finds the files, it loads the appropriate drivers. Although this usually works fine, it doesn't let you know that other software is available (and sometimes that other software is required to fully use the new hardware). The installation of the drivers looks a little different here but the procedure is essentially the same.
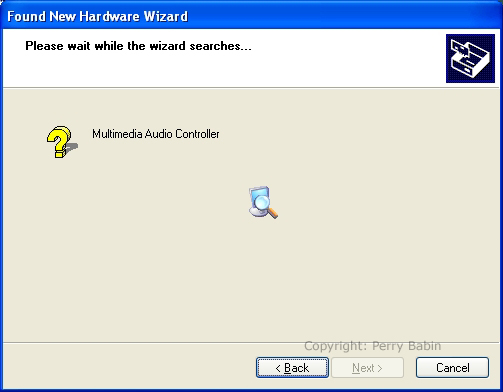
 The following images show the installation procedure. Again, I'll only explain the stuff you haven't already seen. This dialog box tells you that it's searching for drivers for a 'multimedia audio controller'.
 Below, it says that it could not find the drivers on the computer (I forgot to insert the driver disk in the CD ROM drive). There are a couple of options. You could allow Windows to look on the net for the drivers or you could click BACK, insert the driver disk in the drive and then click NEXT (so that it would search the disk). That's what I chose to do.
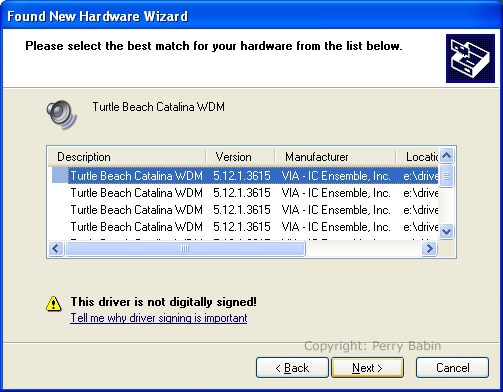
 These are the drivers it found. Generally (not always), the best choice is highlighted and you can simply click NEXT.
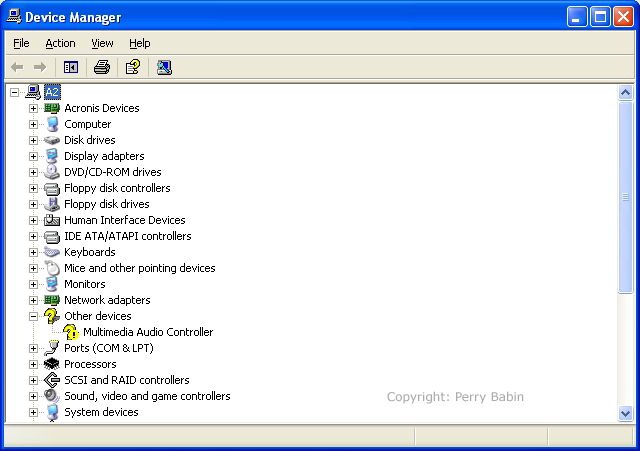
Windows has a module known as the 'device manager'. It allows you to access critical information and settings for the computer's hardware. The device manager window is shown below. If there is a problem with a piece of hardware (defective hardware or driver installation), you will see an exclamation point in a yellow circle. You can see one next to the sound card below. This is before the drivers were installed.
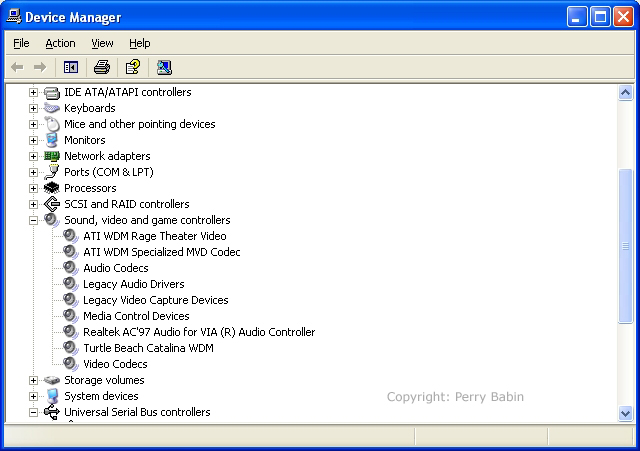
 Below, you can see that there are no other indications that there are problems with any of the hardware. This is AFTER the drivers have been installed. Above, Windows didn't know exactly what the device was. Below, you can see that it's no longer listed under 'other devices' and is now listed under multimedia controllers (Turtle Beach Catalina WDM).
In the computer I showed in the images above, I tried (unsuccessfully) for 2 days to get the computer to be stable with this sound card. I tried new drivers for virtually every device in the computer (video card, motherboard, sound card...), I tried various BIOS settings, Installed and un-installed all related software and nothing would make the computer stable. It would crash with every DVD in every DVD player software that I had (Nero Showtime, PowerDVD, InterActual's player, WinDVD, Windows Media Player both v9.0 and v10.0...). I tried more memory and different memory modules. I even tried removing the video card (went back the the on-board video card) and nothing helped. I pulled it from that computer and the computer again became stable. I installed it in a different computer and the card worked beautifully. Sometimes, you will find a piece of hardware that is simply not going to play nice with the other hardware in one particular machine. The card was (and still is) fine.
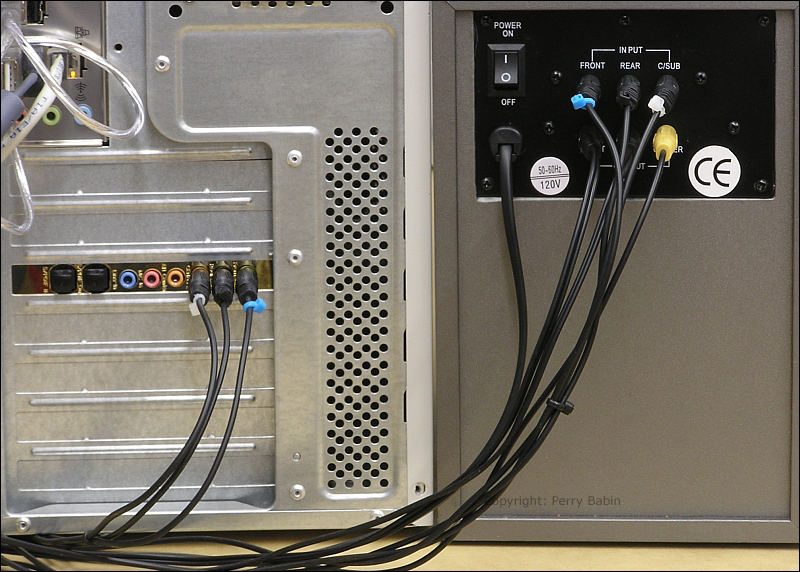
Before we go any further, we need to make the connections between the computer's sound card and the speaker system. The following system is a 5.1 channel system. As you can see the computer is on the left and the speaker system's subwoofer (I use that term VERY loosely) is on the right. We know that we have to get the individual signals (6 of them) to the speaker system. There are three signal cables (2 signals per cable). I used color-coded zip-ties to differentiate between the front, rear surround and the center/LFE cables.
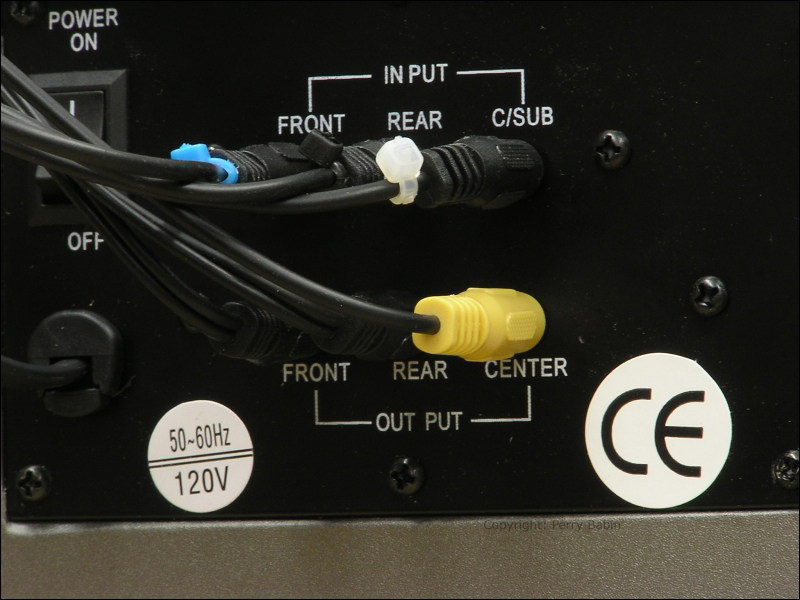
 This more clearly shows the connections on the subwoofer. The bottom row of connectors goes out to the speakers. The front and surround cables again carry two signals each. The center channel output originally was mated with the LFE output but the subwoofer is in the cabinet where the connectors are located so there is no need for the LFE signal to leave the enclosure.
 Ok, now that we have the sound card's drivers installed and the sound card connected to the speaker system, we have to cover sound card and speaker configurations, the software that was bundled with the card and the software that allows you to change the various parameters related to sound card operation. I'll cover that on the next few pages.
|
|
| Contact Me: babin_perry@yahoo.com | |
|
Perry Babin 2005 - Present All Rights Reserved
|