|
Searching for Files on Your Computer
|
|
Overview: Using the Folder You Created Earlier: Finding Files You Saved Recently:
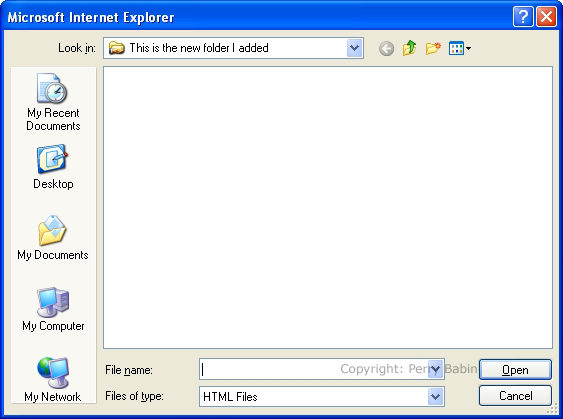
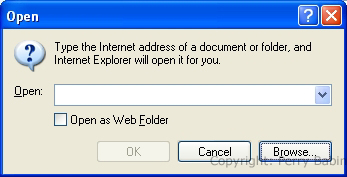 Here, you will see the last folder used (next to 'look in:' in the address bar). Since Internet Explorer assumes that you're opening a saved web page, it is showing only pages with HTML extensions (web page extensions).
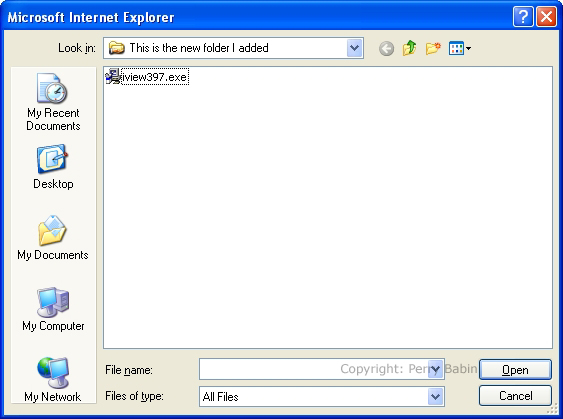
 If you click the 'down arrow' to expand the drop-down menu at the bottom of the dialog box, you will see that there are several choices. If you were opening a file with a known extension, you would select 'that' extension. Assuming that you don't know the file's extension (or if it's not in the list), select 'all files'. When you select 'all files', all files in the folder will be shown (except for hidden/system files). Below, you can see that the file 'iview397.exe' is now displayed. If you recently saved the file, it's likely that the file you were looking for is in the folder.
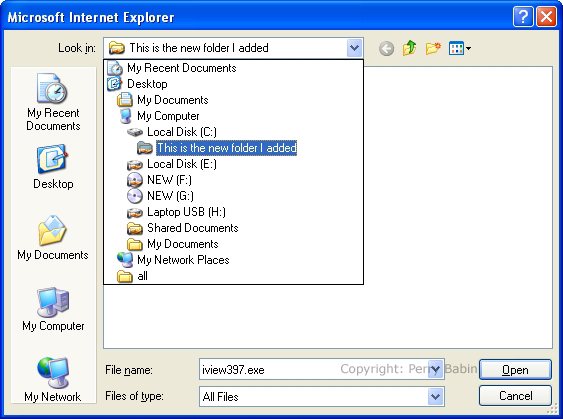
 If your file is in the folder but you don't recognize the folder and/or you don't know exactly where it's located on the hard drive, click the down arrow to expand the menu. Now you can see exactly where the folder is located. Ours was simple (because we saved it to our dedicated folder) but if it's buried deep in the hierarchical structure, this technique will be very helpful. If you want to create a desktop shortcut for the file, right-click it and select SEND TO >> DESKTOP.
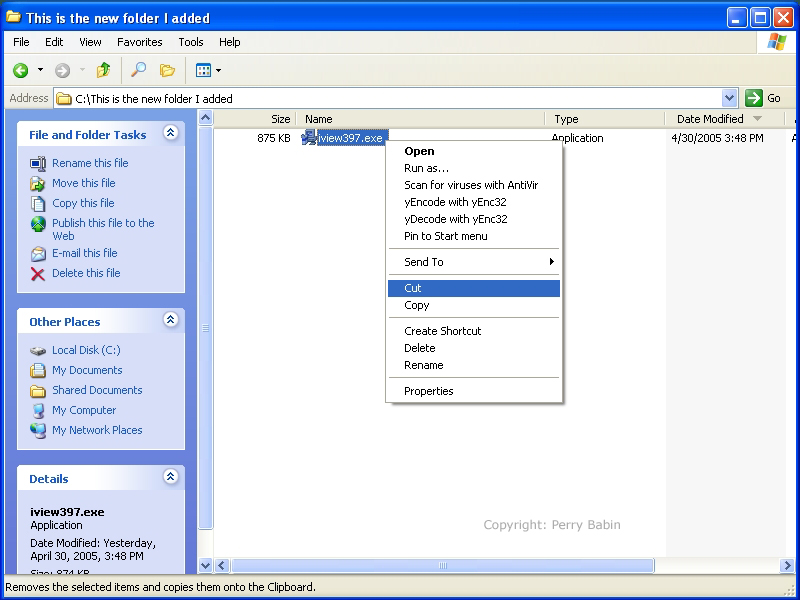
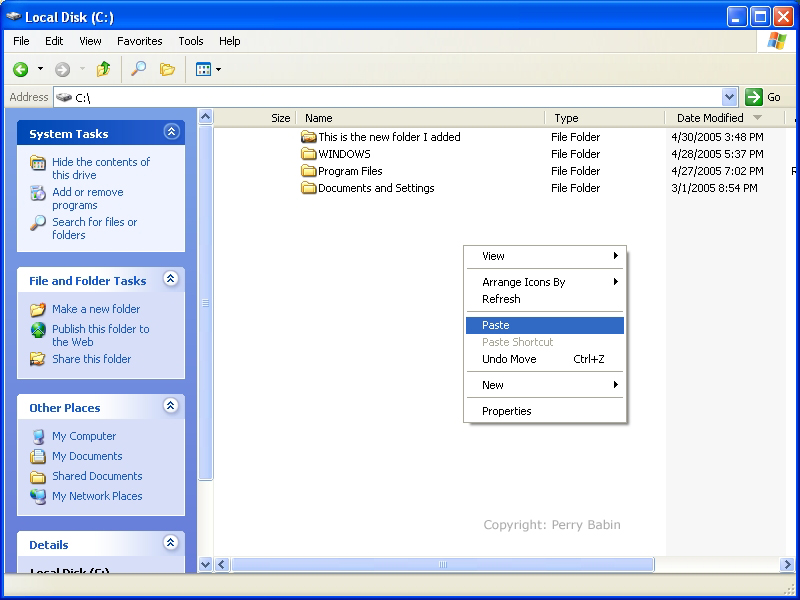
 You can also move it to your dedicated folder by right-clicking on the file and selecting CUT. Then navigate to your folder, right-click a clear area of the right pane of your folder and select paste from the right-click menu. This will move the file. The next two images show the cut and paste dialog boxes.
 Finding Files You Saved (maybe not_so_recently):
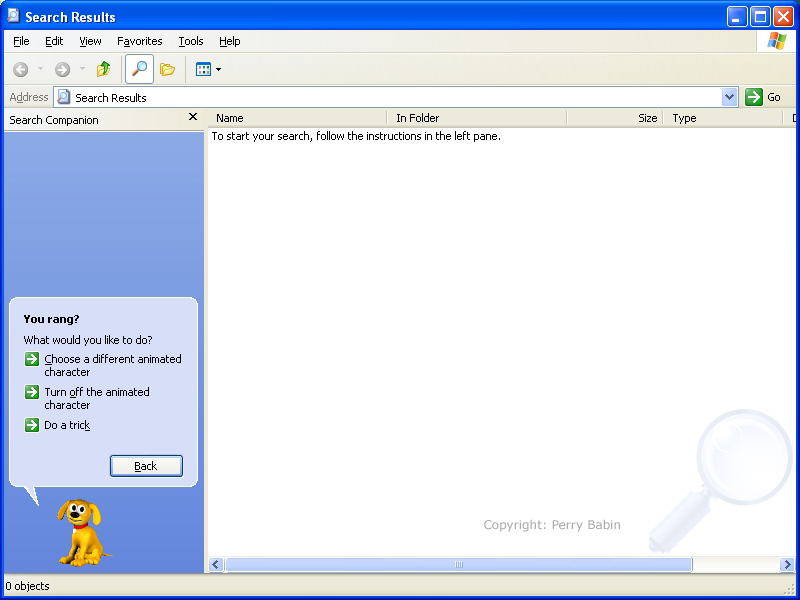
 This is the main search window. It's where you will begin to make the choices about where you want to search and for what you want to search. You'll notice the little animated character at the bottom of the page. If it's as annoying to you as it is to me, right click on it.
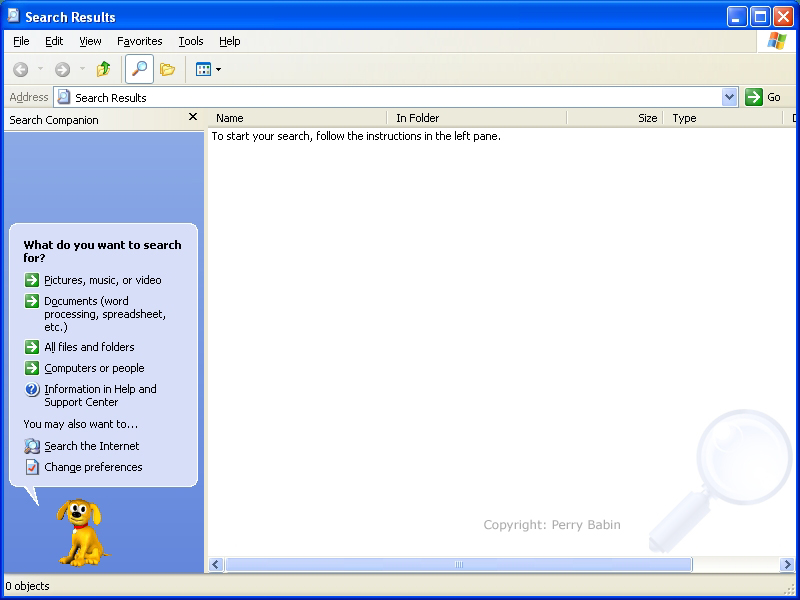 Click 'Turn off animated the character'. It is beyond me why they would even include such an annoyance.
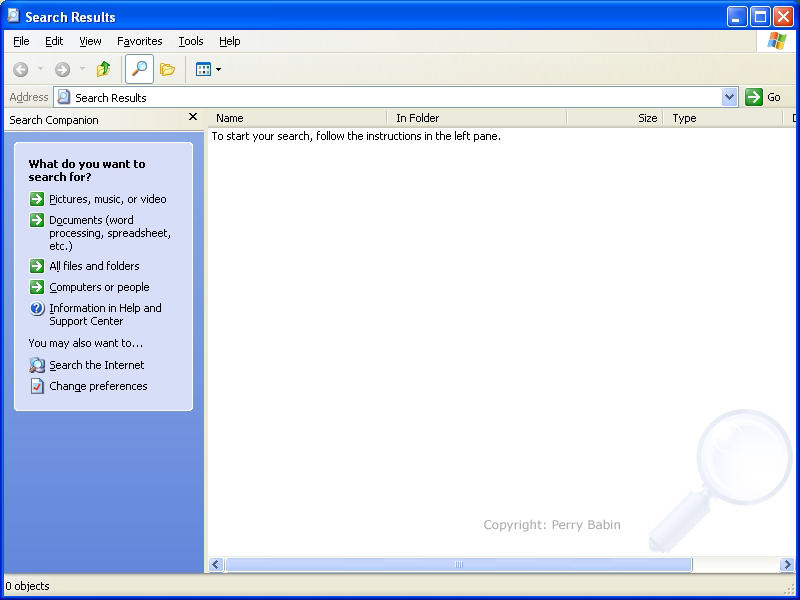
 Ok, now that that's gone, we can continue. As you can see, on the left, you have a choice of several different types of searches. If you know what type of file you've lost, and it's one of the main choices (images, documents...), you can select it. If you really don't remember what type of file it was, you can select 'All files and folders'.
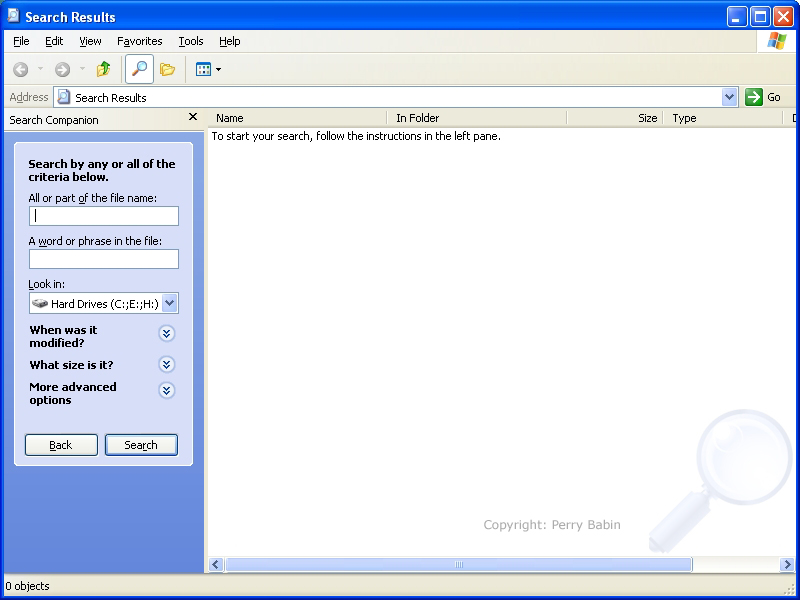
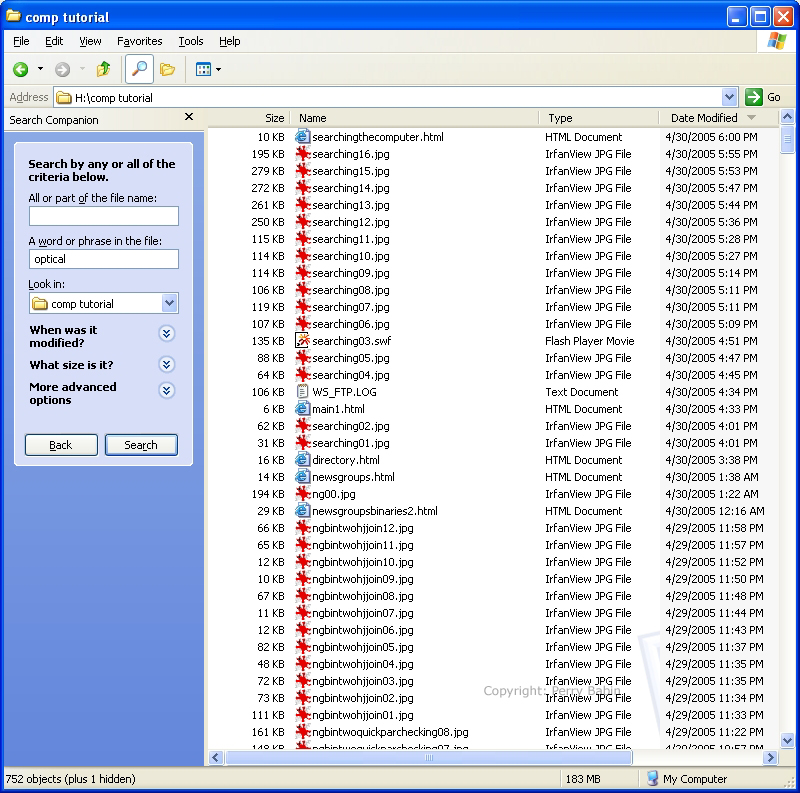
 Below, notice that there are two text fields. The first one allows you to enter all or part of the file name. The second one allows you to enter a word or phrase that would be included in the file (as when you're searching for files that contain text). Here, we will only use the top field.
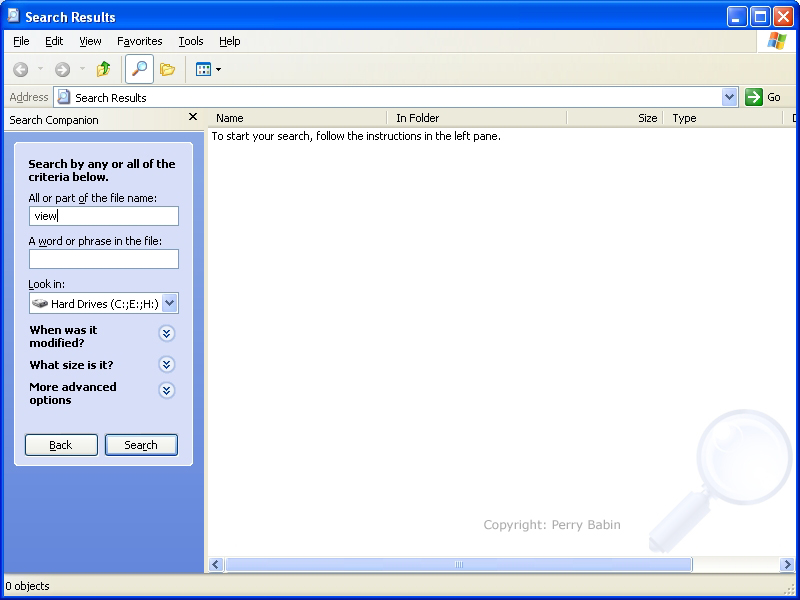
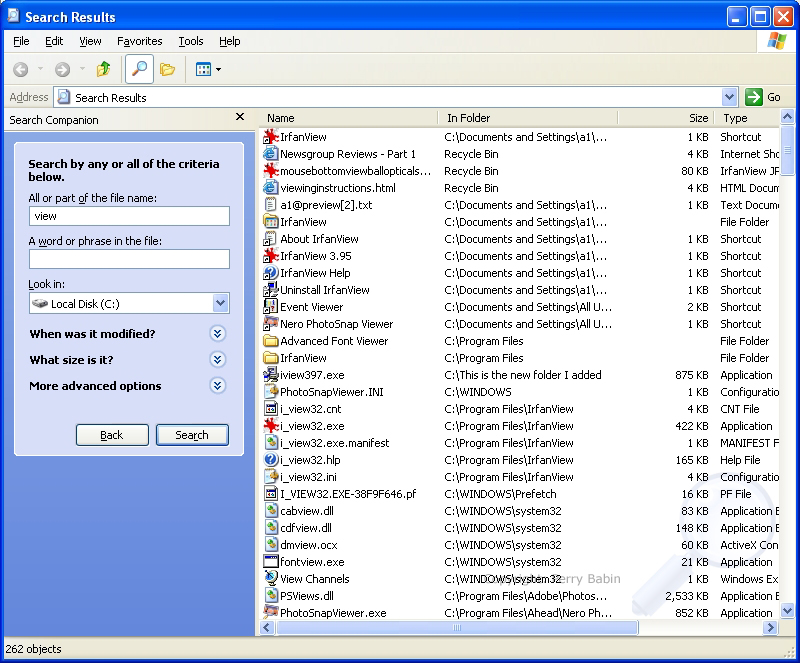
 Let's say that I'm looking for the file I downloaded at some time in the past. I know the name of the program is IrfanView but I'm not sure whether the installation had 'Irfan' spelled out or whether it was simply 'Iview'. No matter. I KNOW that it had 'view' in the name so I entered that into the appropriate field and clicked SEARCH.
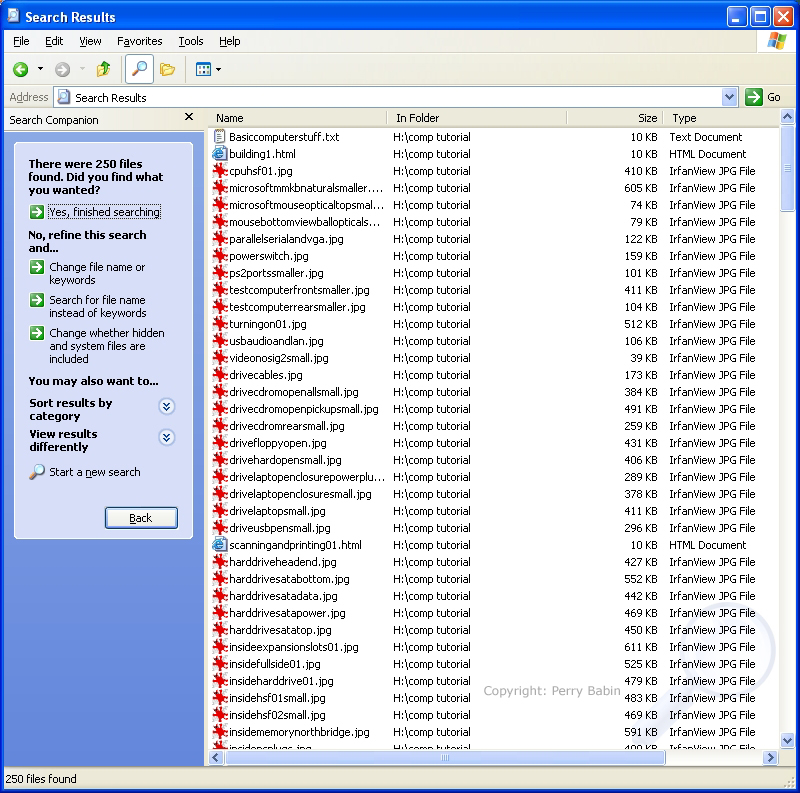
 WOW!, 262 files found. Ok, that's too many to look through. Let's narrow the search.
 By default, when you open the search engine from the start menu, the entire computer and all of the hard drives are searched. Click BACK to return to the previous window. You can also make changes here but I'd prefer to show you from the original window. After clicking the back button, I clicked the down arrow next to the field marked 'Look in:'. Here I can tell it to look on only one drive or I can 'browse' to look in a specific folder. Below, I simply selected drive C. What you see in the right pane is the old search results. The contents of that pane won't be updated until I click SEARCH.
 Below, I clicked SEARCH and the new results are now shown in the right pane. It's still a lot of files. Let's make it a little easier to search through the names of the files. To do that, we'll sort them by name.
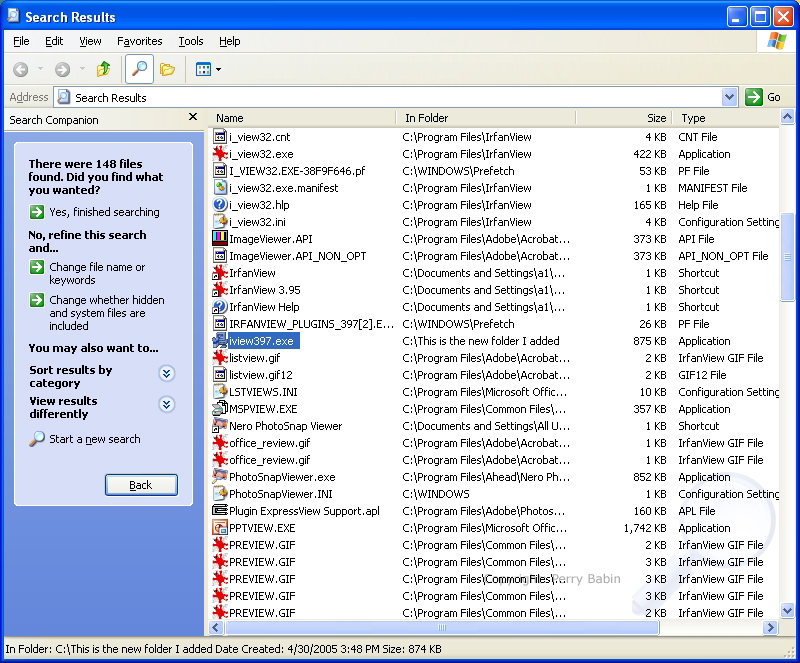
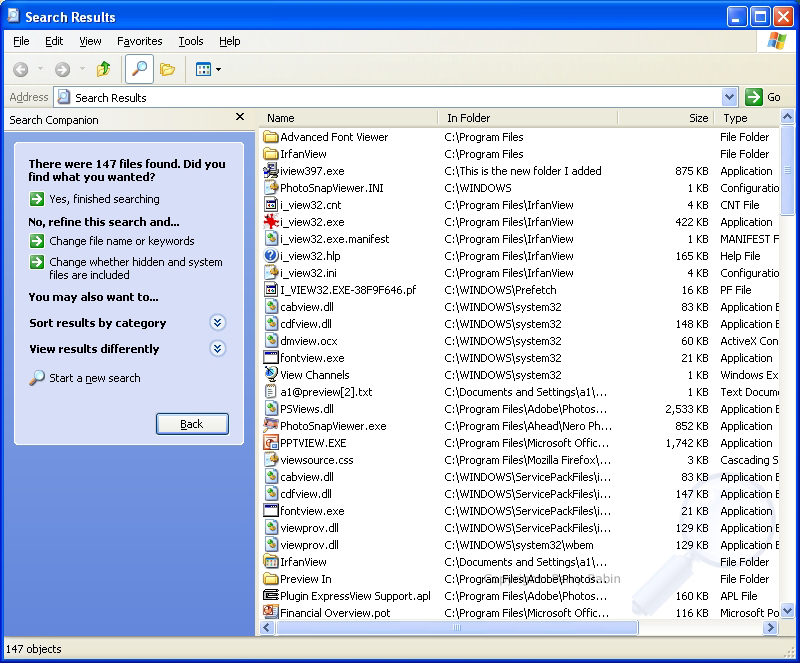 There are several different ways to get them sorted by name. We can click on the NAME button across the top of the white part of the file browser window. We can right-click on a clear area of the window and select ARRANGE ICONS BY >> NAME or we can go to the top to VIEW on the main toolbar and tell it to arrange icons by name. Aahhh... There it is, iview397.exe (highlighted). It wasn't automatically highlighted. I clicked on it so you pick it out of the list more quickly.
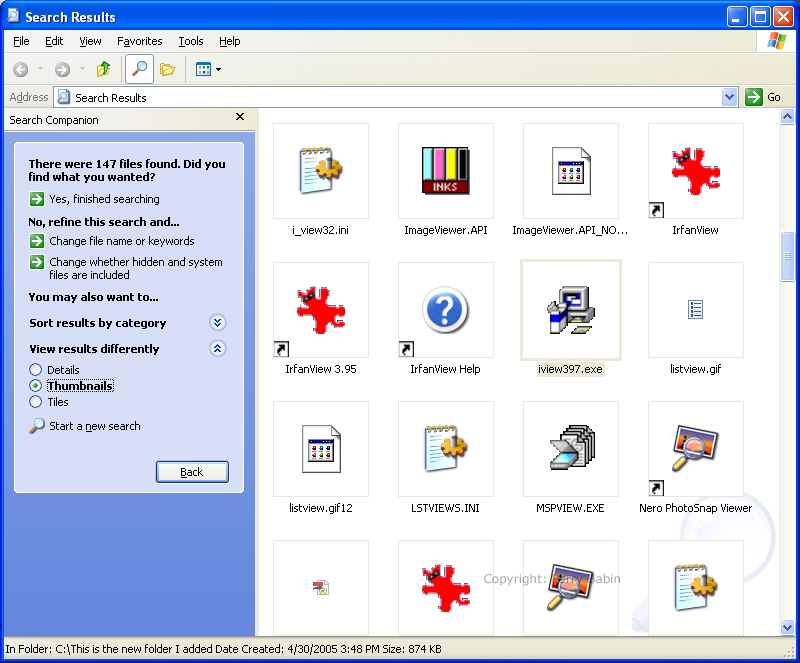
 If we were searching for an image, we could click the 'View results differently' link and we would have the choices you see. I chose 'thumbnails'. Although 'thumbnails' wouldn't be a good choice when searching for an executable file, it may be a perfect choice for your particular search.
 A Variation on the Previous Search:
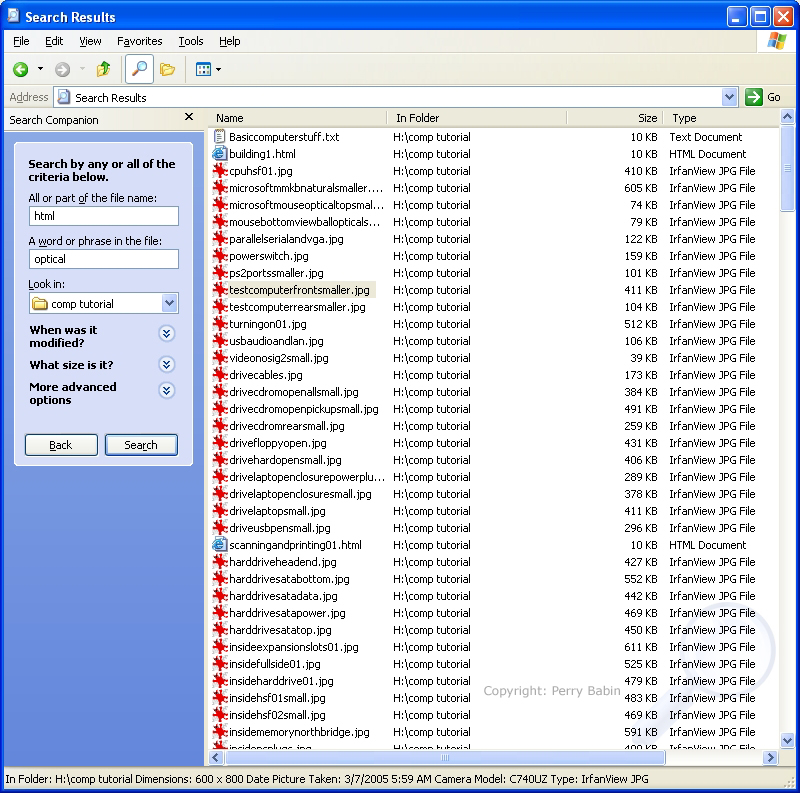
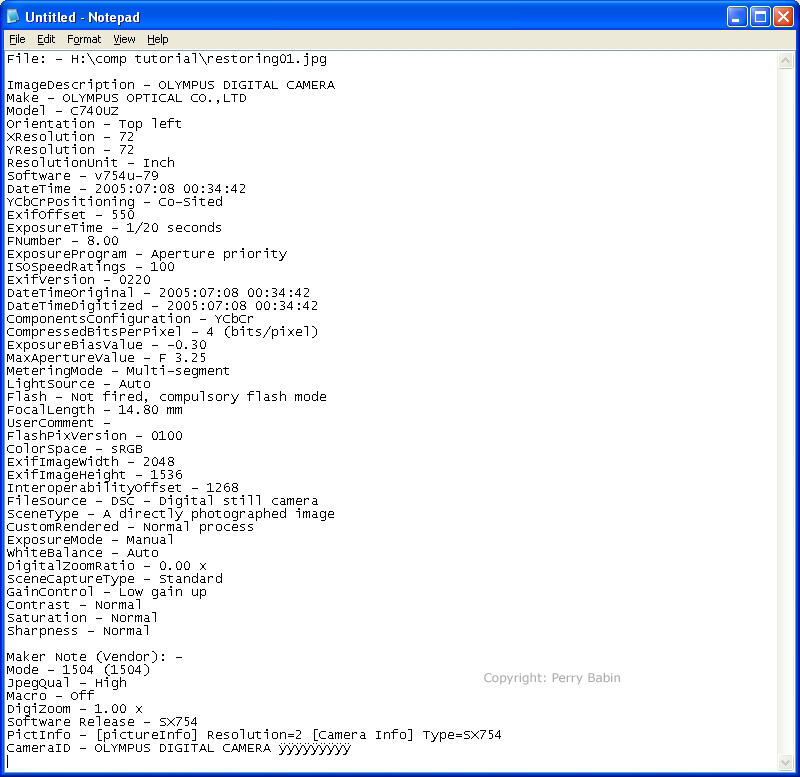
 OK, this is a mess. It should not have returned image files but... The image files have EXIF data embedded in them and that's what it found (the camera's manufacturer is listed as 'Olympus Optical Co.').
 Here's what the image file looks like in a text editor. You can clearly see Olympus Optical Company.
 To avoid this, let's go back and use both fields. We'll tell it we want HTML to be part of the name and optical to be found in the body of the file. Of you were searching for a Word document, you would use DOC instead of HTML. For plain text documents, you would have used txt.
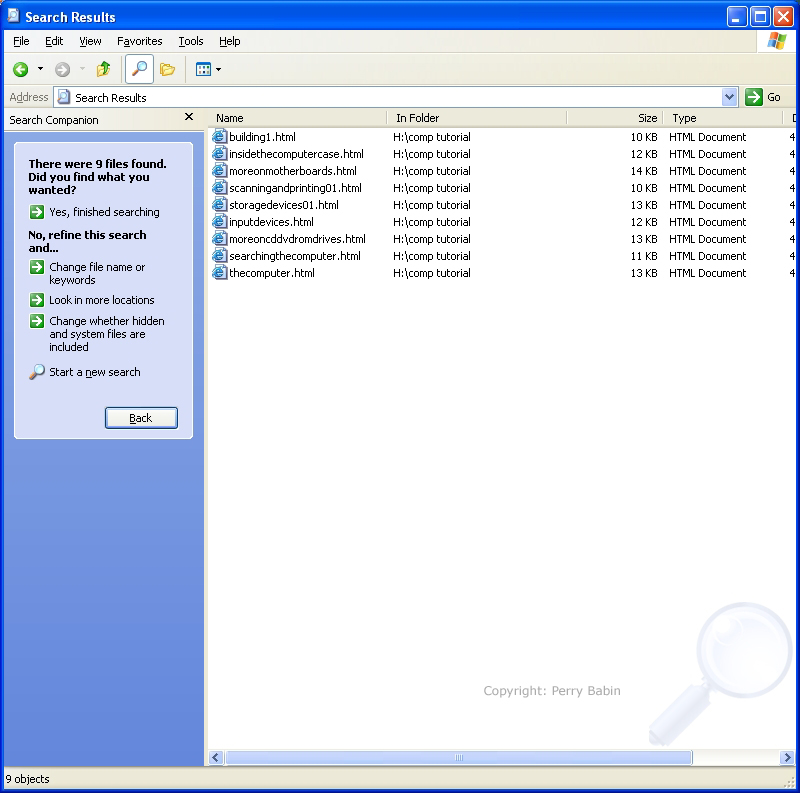
 This is a more usable list of files. We can easily go through these files to find what we need. To open the files, you would simply double-click them.
 Using the other search options, you can search by date and file size. Remember that all of the functions for sorting and viewing work just as they did when we used Windows Explorer in the previous examples. Now you should be able to find any files you've lost in the past. Of course, you shouldn't lose any more files now that you are going to be paying close attention when saving them. :) EXIF Data:
|
|
| Contact Me: babin_perry@yahoo.com | |
|
Perry Babin 2005 - Present All Rights Reserved
|