|
Restoring Your Hard Drive
|
|
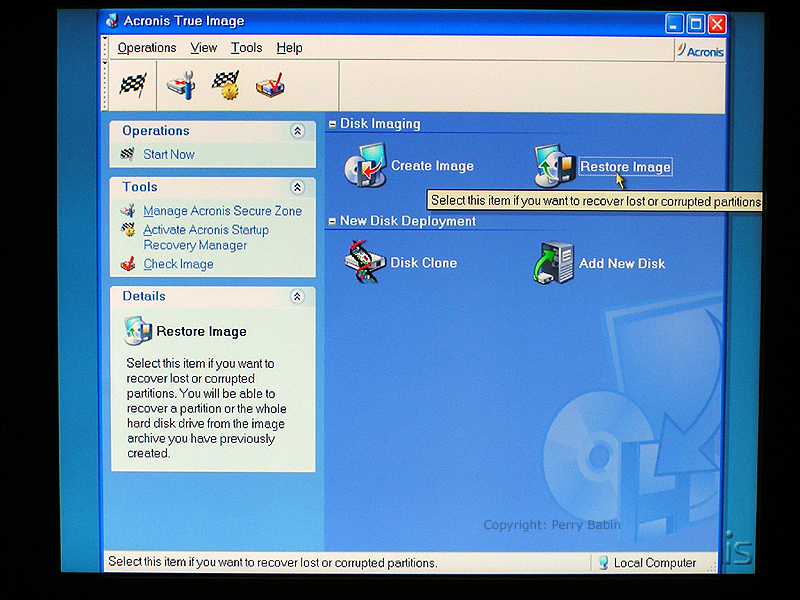
Overview: The next screen is the first usable window. Here we select 'restore image'. The 'image' is essentially a copy of the information as it was laid out on the hard drive when the backup image was produced. When True Image or Norton's Ghost restores a hard drive, it essentially does it blindly. It's a very different process than when Windows or any other operating system is installed.
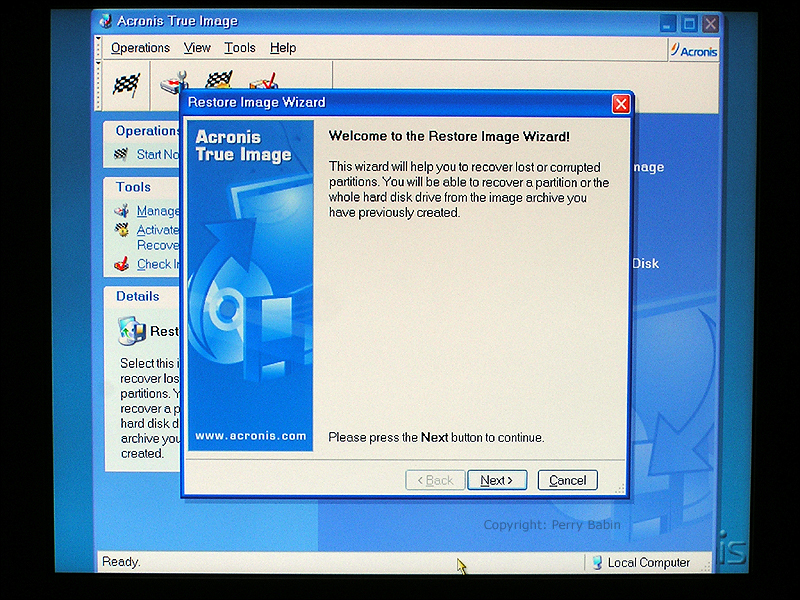
 This is the 'wizard' that will guide you through the rest of the restoration process. A wizard in software terms is simply a series of dialog boxes that give you information on the choices that you have to make.
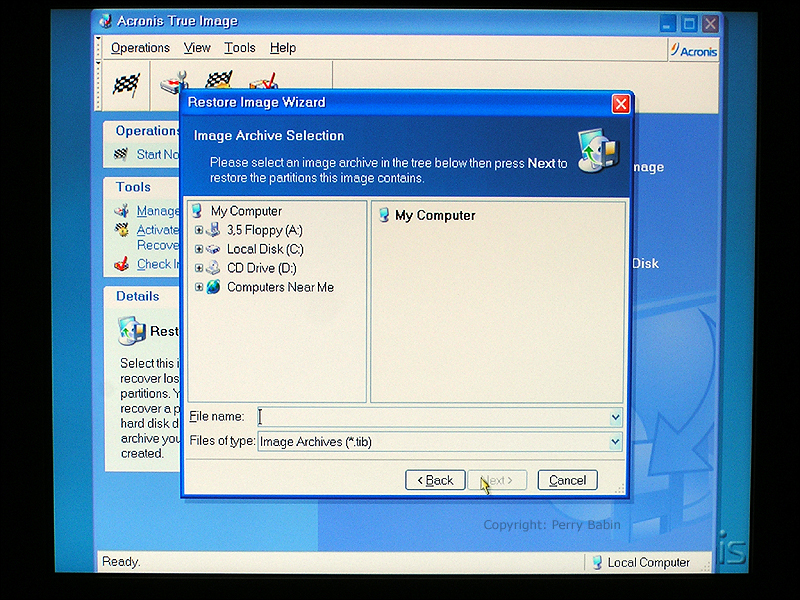
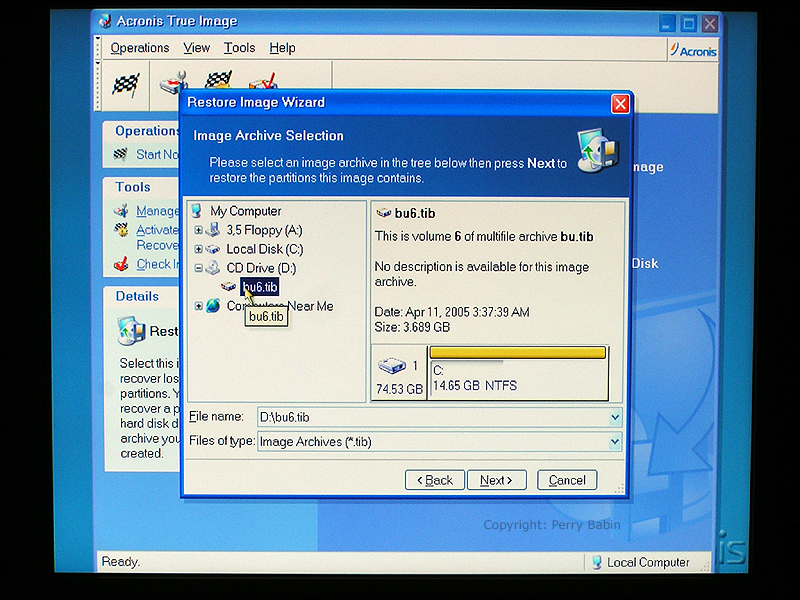
 Below, you have to select the drive on which the image files are located. In our case, the image files are on six CDs. In order to load the first one, I have to remove the True Image boot disk and replace it with the image CD.
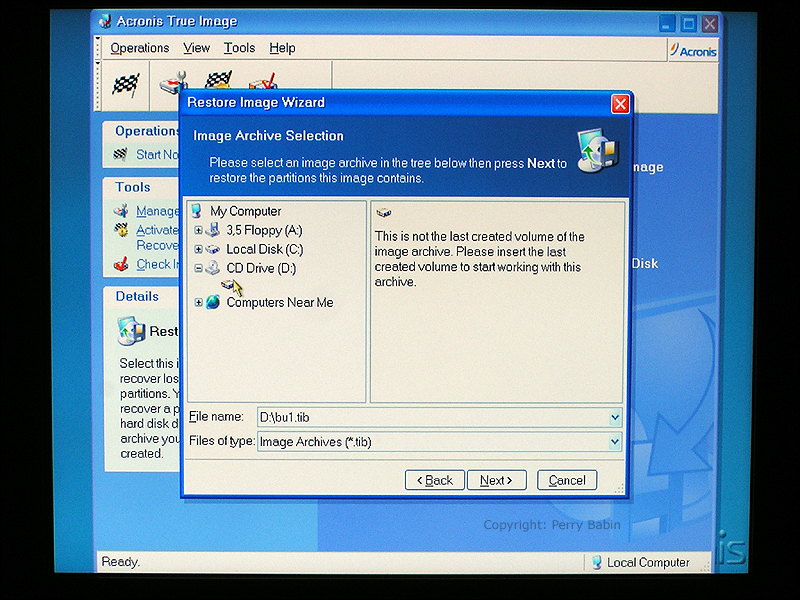
 As you can see here, I loaded number 1 instead of the last one. It needs the last disk produced so that it can tell if the original file has been appended.
 After loading disk 6, it finds the information that it needs to begin the restoration.
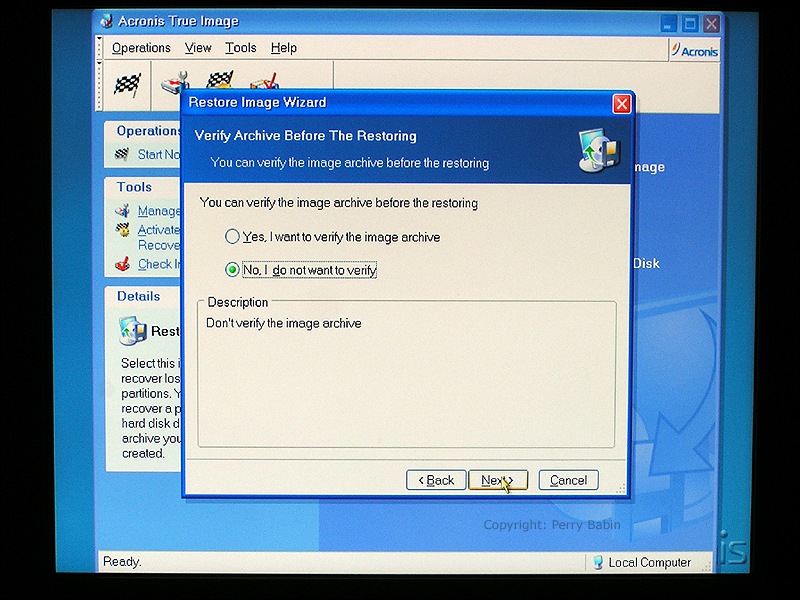
 Next, it wants to know if you want to verify the integrity of the archived image. On CD, this takes too long. If you're restoring from an image on the hard drive, you may want to verify the image.
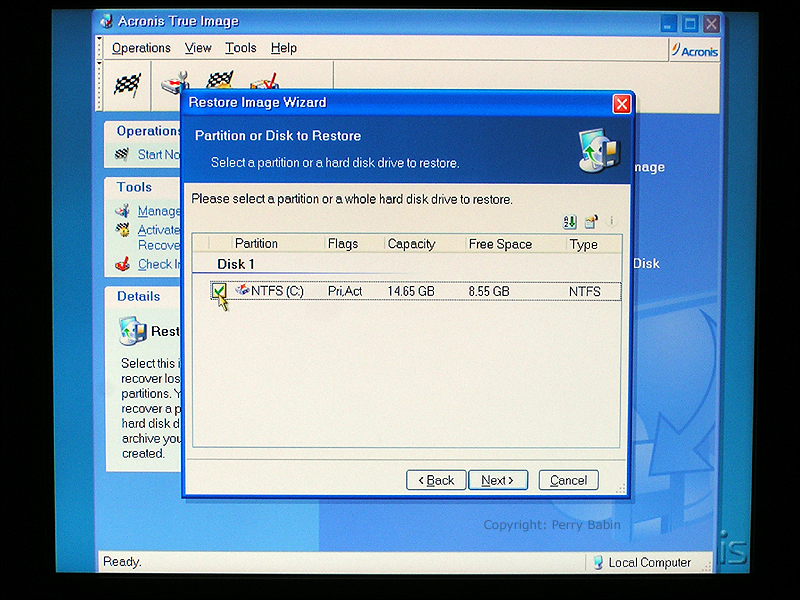
 If you backed up more than one partition, you would select the partitions you want to restore. We only have one partition backed up so there is only one choice to select.
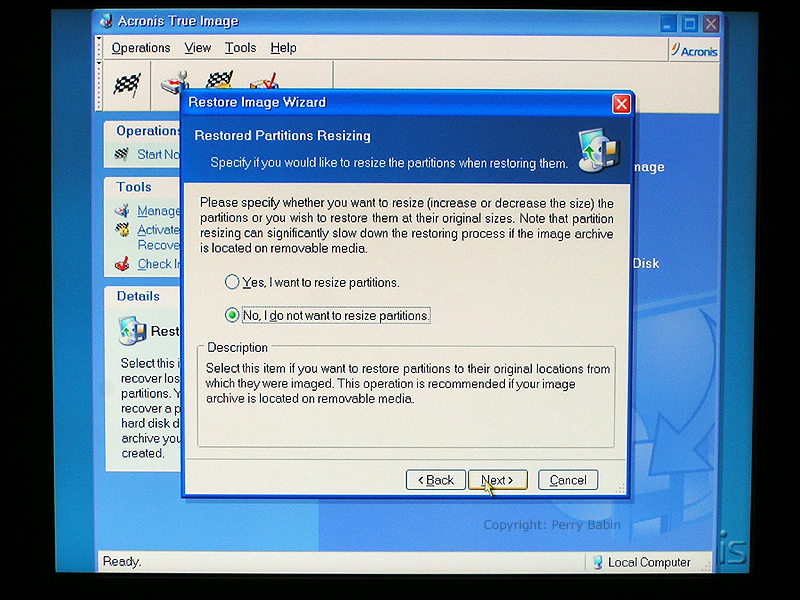
 This allows you to change the restored partition size. If you changed hard drives and you want a larger partition than you backed up, you can tell it that you want to change the size of the new partition here. Keep in mind that the partition size can not be larger than it originally was if you are restoring your original drive. If you do if you do make the partition larger, you will destroy the data on the other partition.
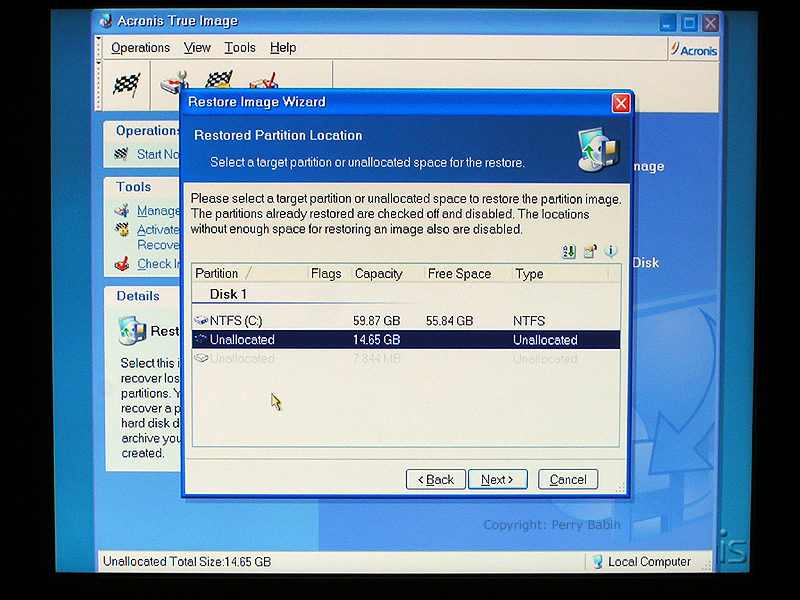
 Below, you can see that I have two partitions. One is a good, formatted partition. The other is the partition where the OS was located. Before I started this demo, I went in and wiped the partition. The 'unallocated' space is where I want to restore the files.
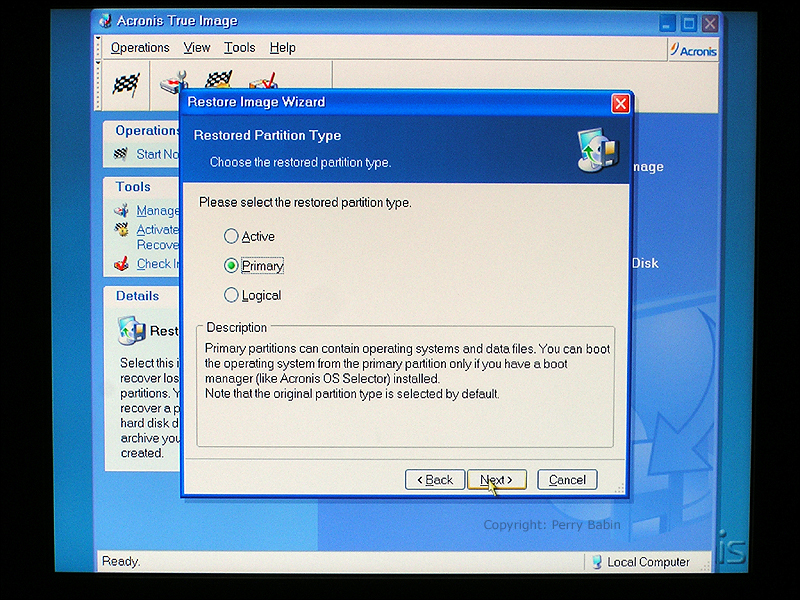
 Here, we can select the type of partition but the original type is already selected so we simply have to click NEXT.
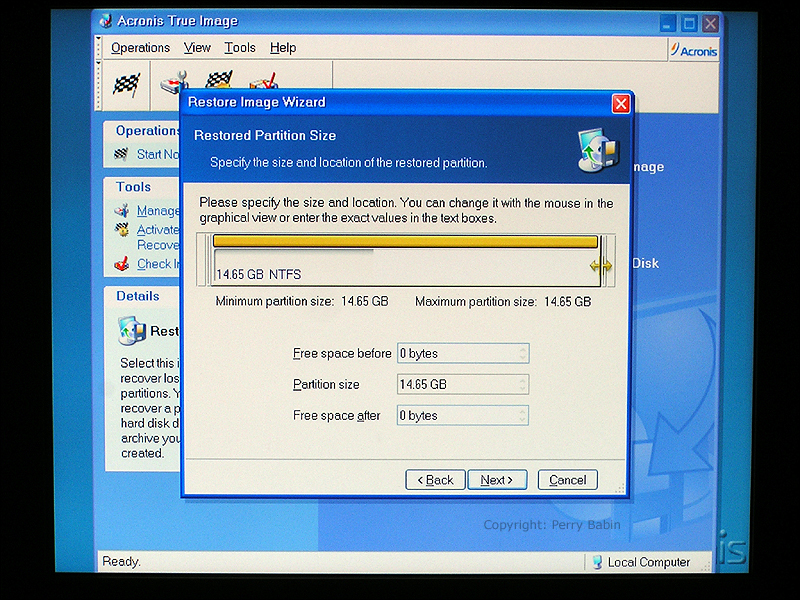
 Earlier, we said that we could not make the partition larger without destroying the other data on the drive but here you can make it smaller if you wish. You can see that ~1/2 of the area under the gold bar is darker in color. This is the minimum partition size for all of the files that are to be backed up. If you have no good reason to change the size of the partition, I recommend that you leave it as it is. If you look at the right side of the window that's located under that gold bar, you can see a gold, double-ended arrow. That's the cursor as it appears when it's over a handle. If you drag that handle, it resizes the partition.
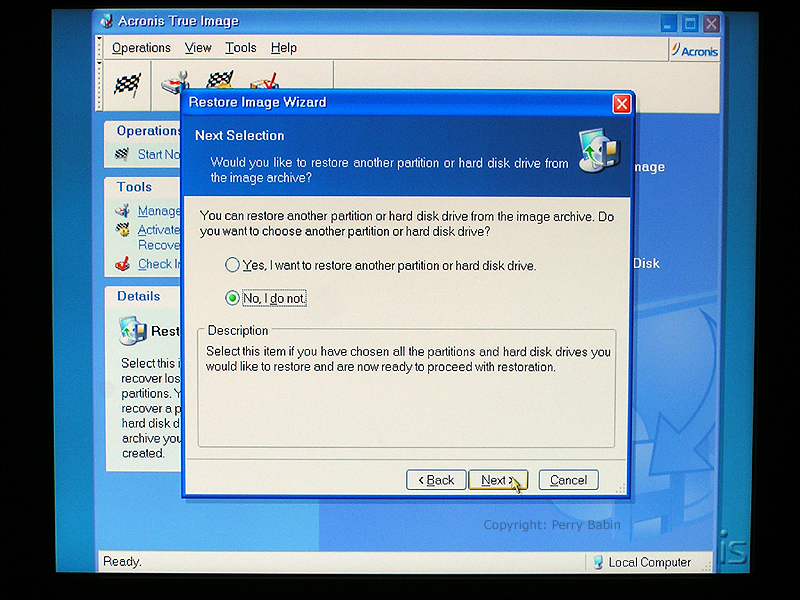
 Below it's asking if we want to restore any other partitions. Since we only have one to back-up, the answer is no.
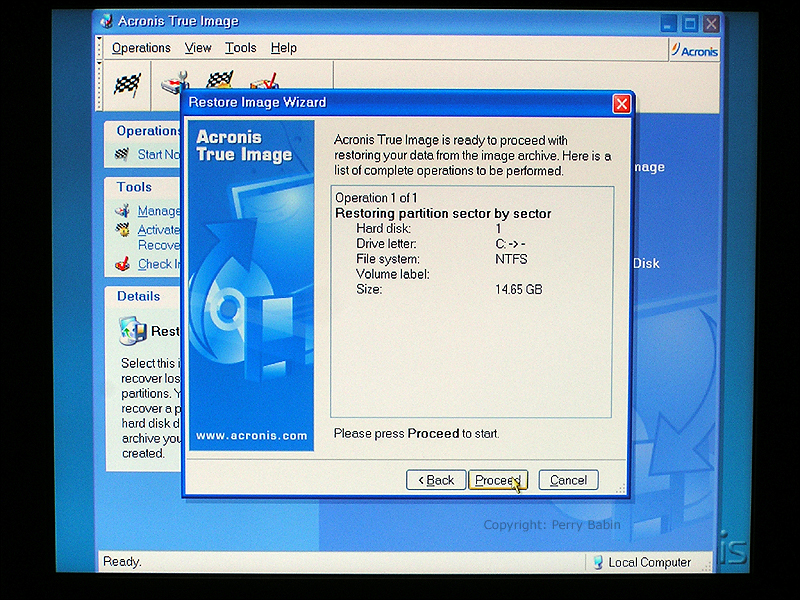
 Clicking 'proceed' in the following dialog box will get the restoration process started.
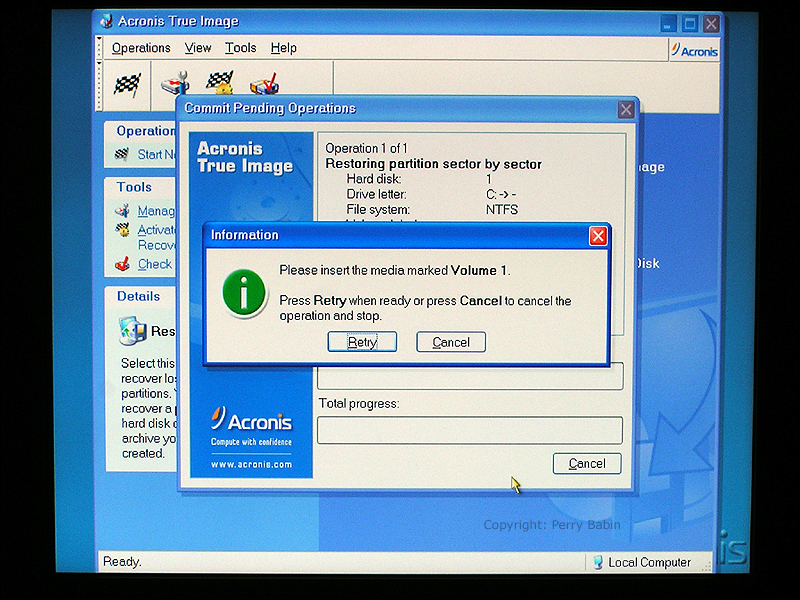
 Remember that earlier we inserted disk 6 in the drive. Well, it's still in there. Now True Image needs Disk 1. Insert it and click 'retry'. Remember to allow a few seconds for the disk to spin up and the for the drive to recognize/read it before clicking the retry button.
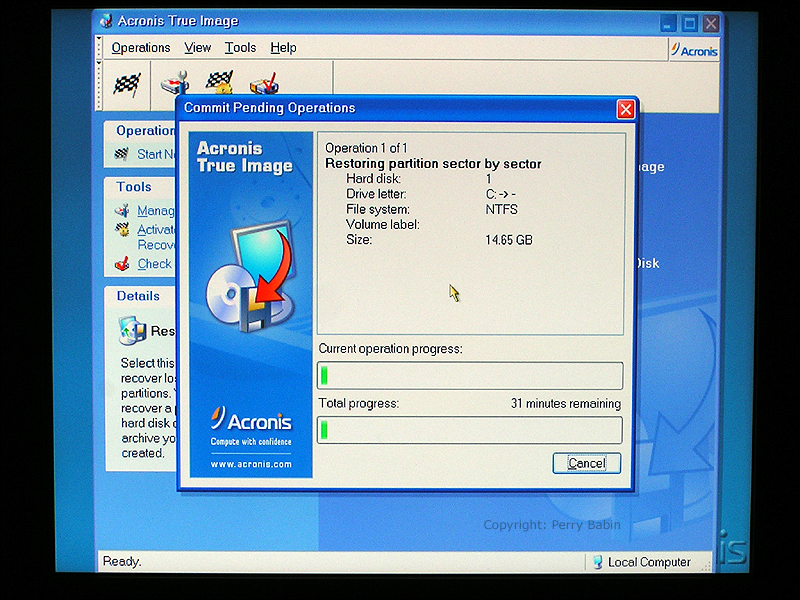
 The image below is simply a progress meter. It lets you know approximately how much time you have left. It will also let you know when you need to insert the next disk.
 And here it is asking for the next disk. Do just as you did when it asked for disk one.
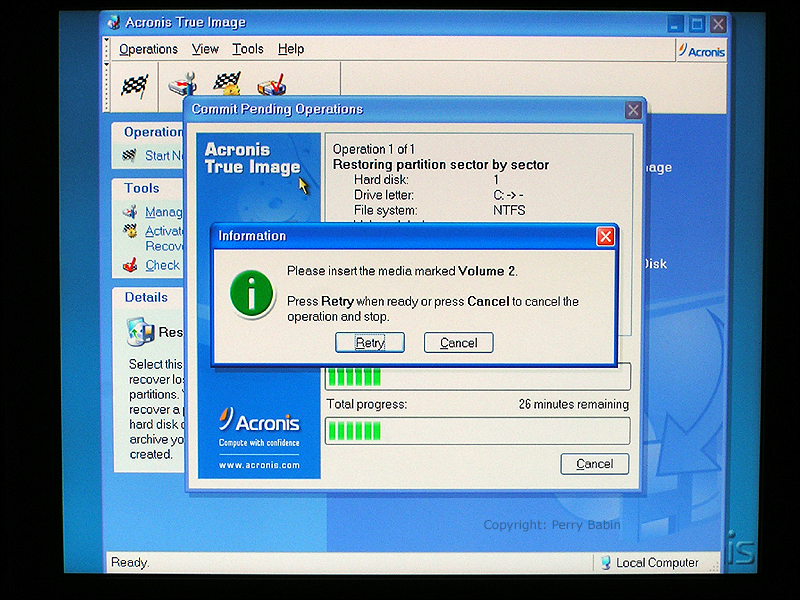 Here's it's asking for the last disk. You can see that there are only a few minutes left to go.
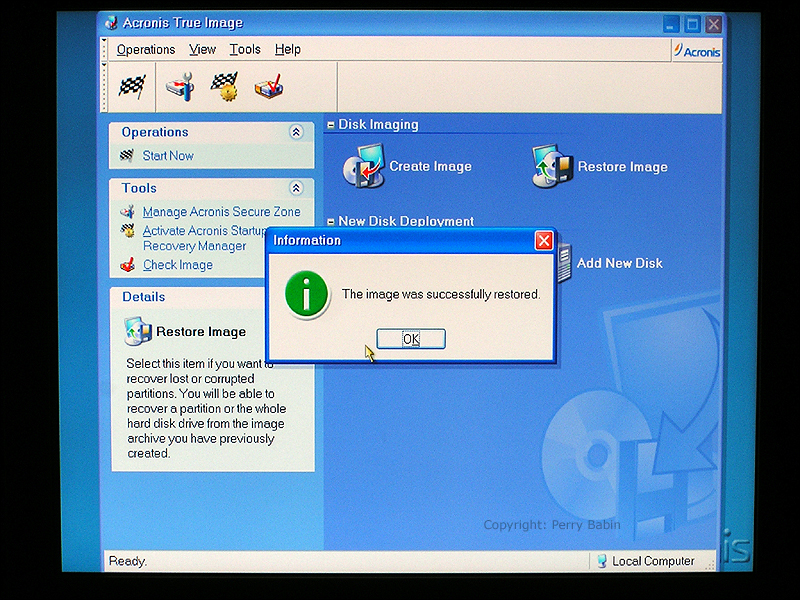
 And... We're done. Remove the True Image boot disk from the drive and restart the computer. It should boot just as it did the day you made the backup disk.
Notes:
|
|
| Contact Me: babin_perry@yahoo.com | |
|
Perry Babin 2005 - Present All Rights Reserved
|