|
Using Outlook Express
|
|
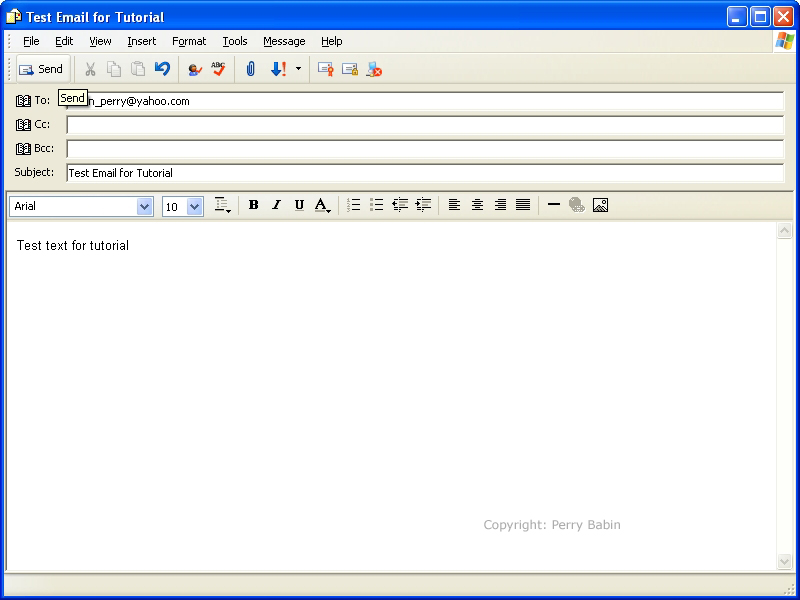
The previous page dealt with setting-up Outlook Express. This page will deal with the features/functions needed to send and receive email. To send an email, you need only type the address into the 'To:' field and click 'send'. The address has to have a user name and the email service provider name. They are separated by an '@' symbol. Although the subject and body are optional (the email will be sent if you don't include them), there's little point in sending an email without at least one of them.
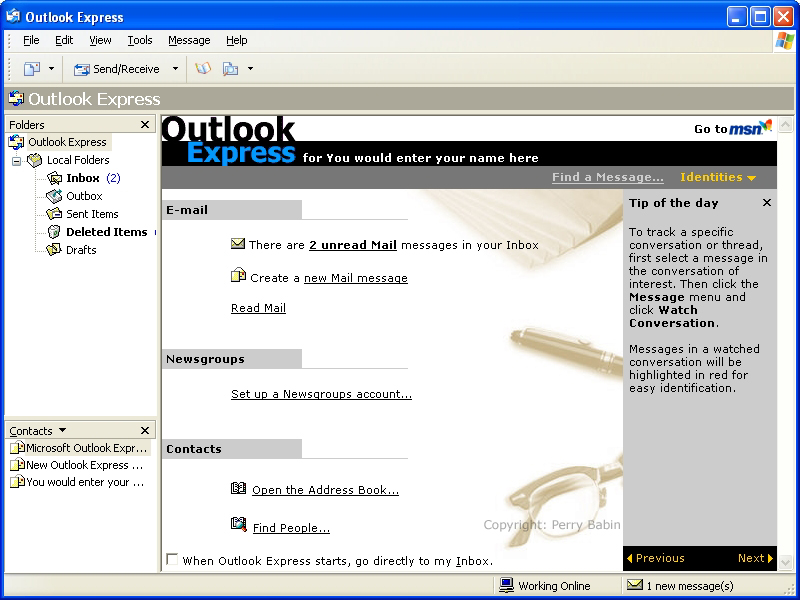
 When you open Outlook Express, you will see a screen similar to this one. If you have unread email, Outlook Express will notify you (as you can see below). Clicking on any of the links on the page will open the respective page. I clicked the message that indicated that I had unread messages.
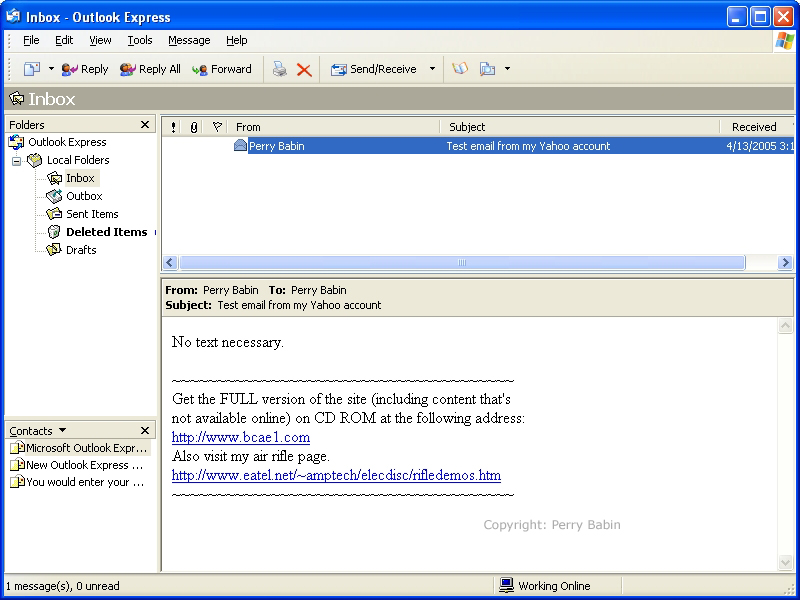
 Below, you can see that I have only one email message. The other was spam and I deleted it. To delete a message, you can right-click the message and select 'delete'. You can see that there is a 'deleted items' folder on the left and that the text is bolder than that of the others. This means that there are unread messages in that folder. To view any message in the 'preview' window (the lower right pane), you simply click on it. If you double-click the message (in the message list), it will open in a larger window. The size of the larger window can be adjusted to fit you tastes. After resizing it, all new windows should come up at the new size when you double-click a message.
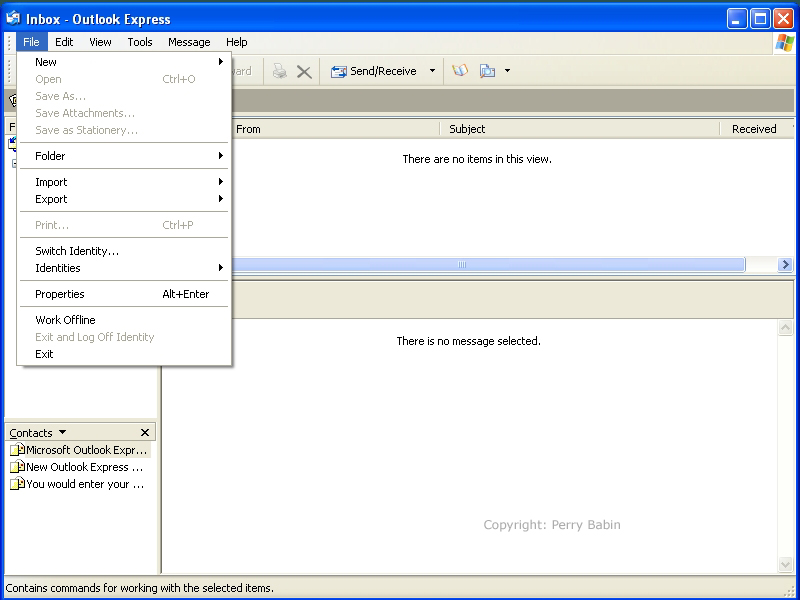
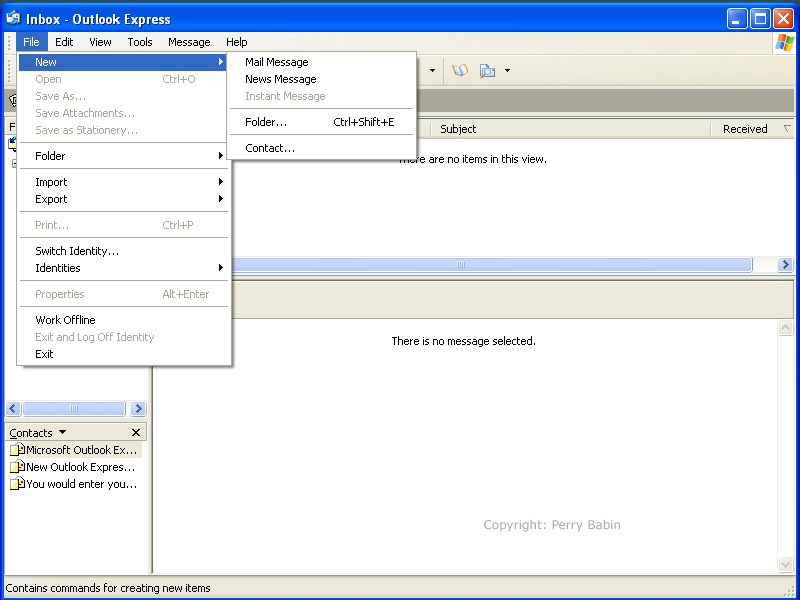
 Here, you can see the 'file' menu. In the next few images, I'll go through a few of the different options in this list.
 The 'new' flyout menu allows you to choose to compose a new email or newsgroup message. The other selections are new folder and new contact. If you want to make a new folder, go to FILE >> NEW >> FOLDER and enter the name of the new folder in the appropriate field. Be sure to highlight the folder under which you want the new folder to fall. If you put it under the wrong folder, you can easily move it later by dragging and dropping it into the desired location. If you want to add a new contact to your address book, go to FILE >> NEW >> CONTACT and enter the relevant information into the appropriate fields.
 Below is the 'edit' dialog box. All that is available in this instance is the 'find' and 'Empty Deleted Items Folder'. Most of the other options are self explanatory. The only one that may be confusing is the 'mark as read'unread'. I'll cover that in a few paragraphs.
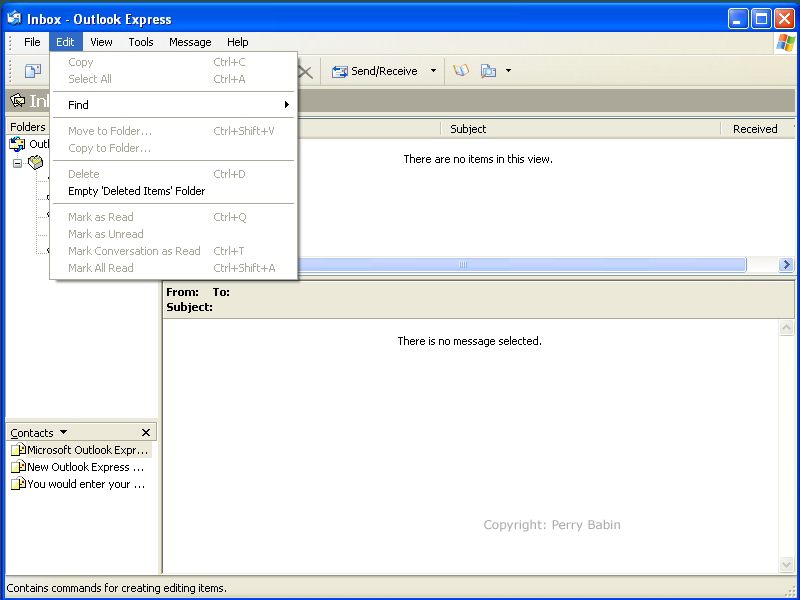 In the flyout menu for 'find' you can see there are limited options available but if you're in a folder with multiple messages, the other options will become available. The 'find people' option searches your address book.
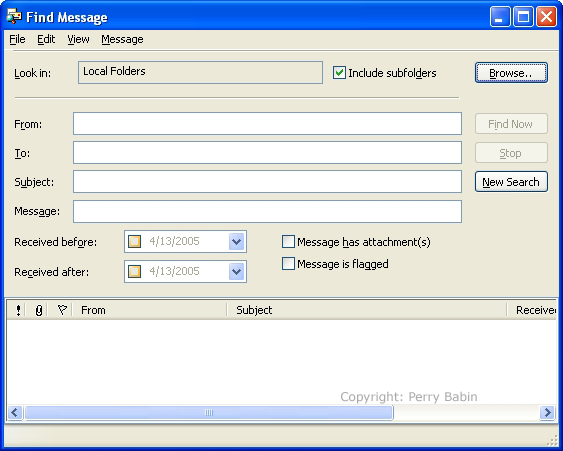
 In the 'find message' dialog box, you can see that there are fields to search in virtually any part of a message. Simply fill the appropriate field and click the 'find now' button.
 In the 'view' dialog box, there are several useful options. The 'text size' option allows you to increase or decrease the font size. In the 'next' flyout menu, you find keyboard shortcuts to read the next message or to read the next UNread message. The 'layout' option allows you to determine the appearance of Outlook Express. For example, you can have the message body located on the side of the message list instead of under the message list.
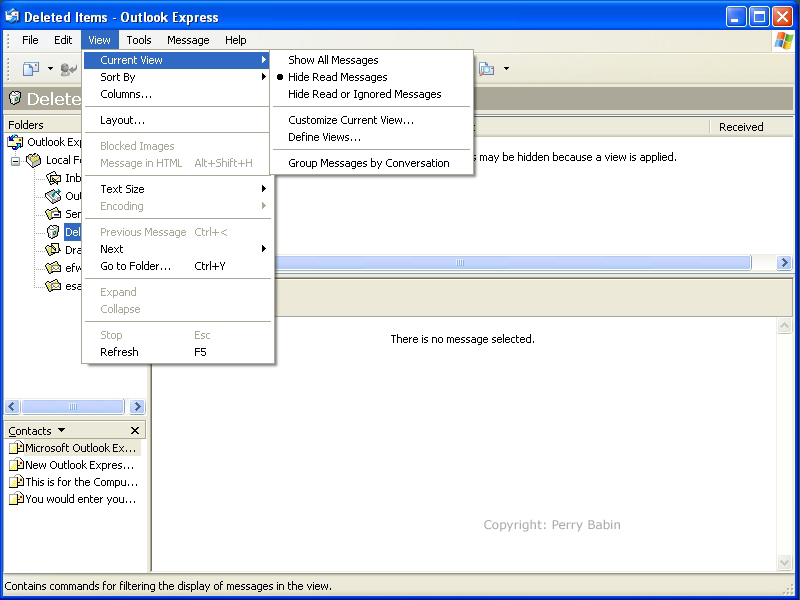
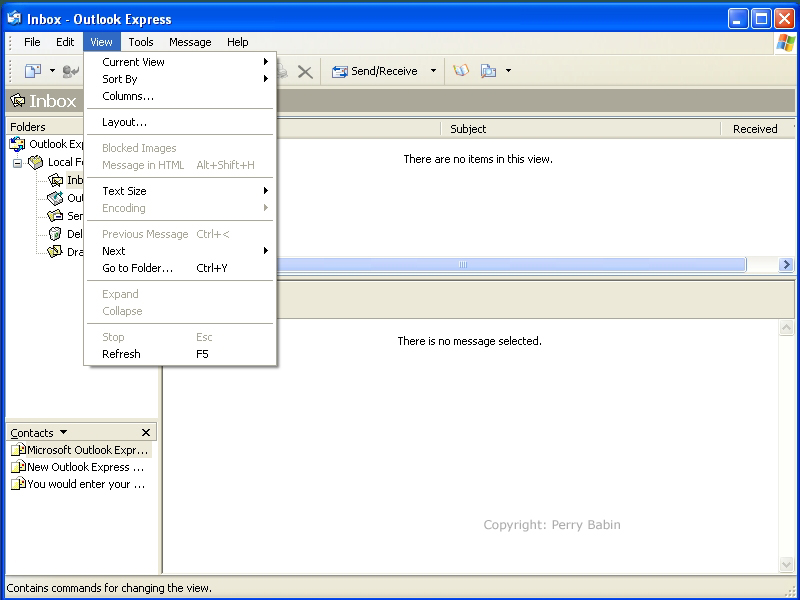 In the 'current view' menu, you can see that you can choose whether you want to see all of the messages or just the unread messages. Earlier, we discussed the ability to mark a message as read or unread. If you generally have Outlook Express set to only show the unread messages and you want the message you're currently reading to show up in the message list, you can mark is as unread (before you go to another message) and it will continue to be visible in the message list.
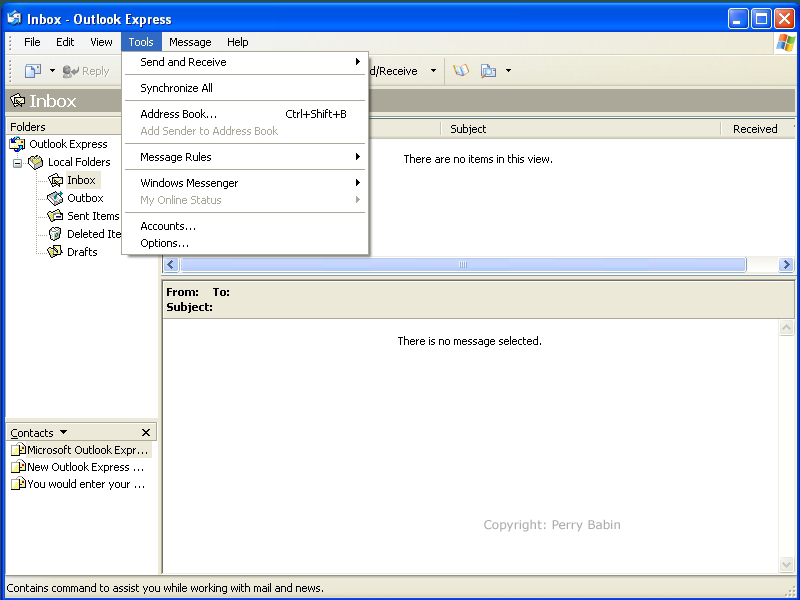
 The 'tools' dialog box provides access to several tools (believe it or not). You can access the address book and you can add/modify your mail accounts.
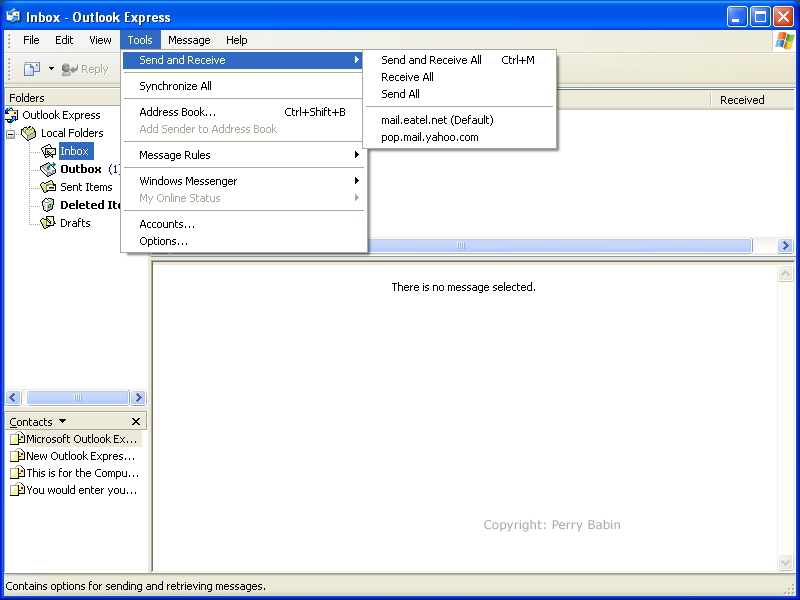
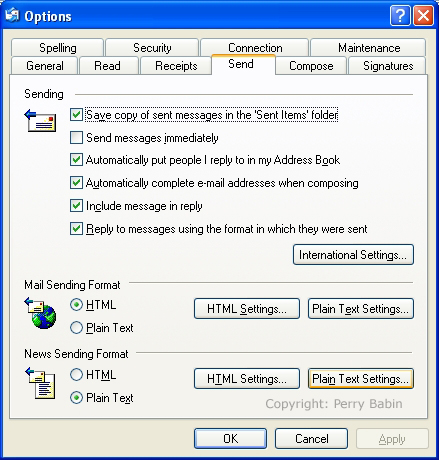
 Here, in the 'send and receive' flyout menu, you can see the three options. The first is 'send and receive all'. When you click this, Outlook Express will retrieve all of your messages from all of your servers and it will send all of the messages in your outbox. Messages will, by default, be sent as soon as you hit the send button. If, however, you choose to send them to the outbox to be sent later, you can do so by UN-checking the 'Send messages immediatley' under TOOLS >> OPTIONS then select the SEND tab.
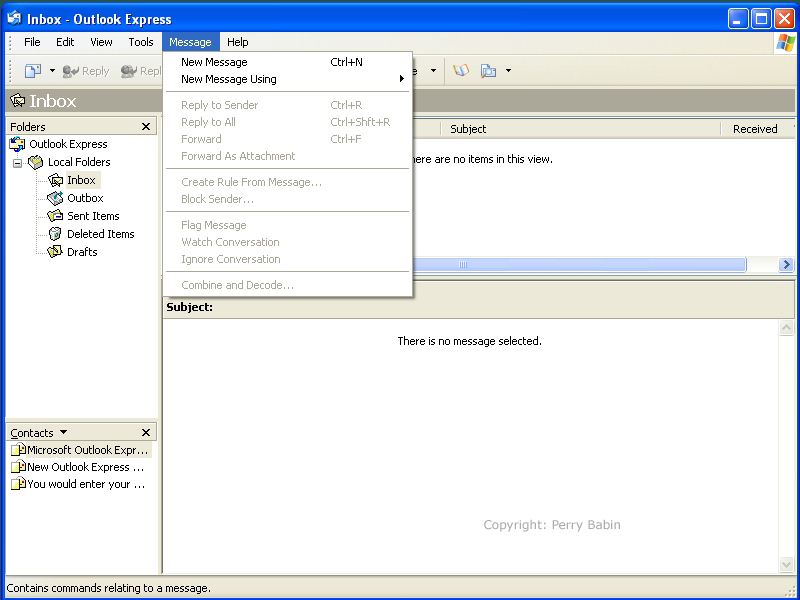
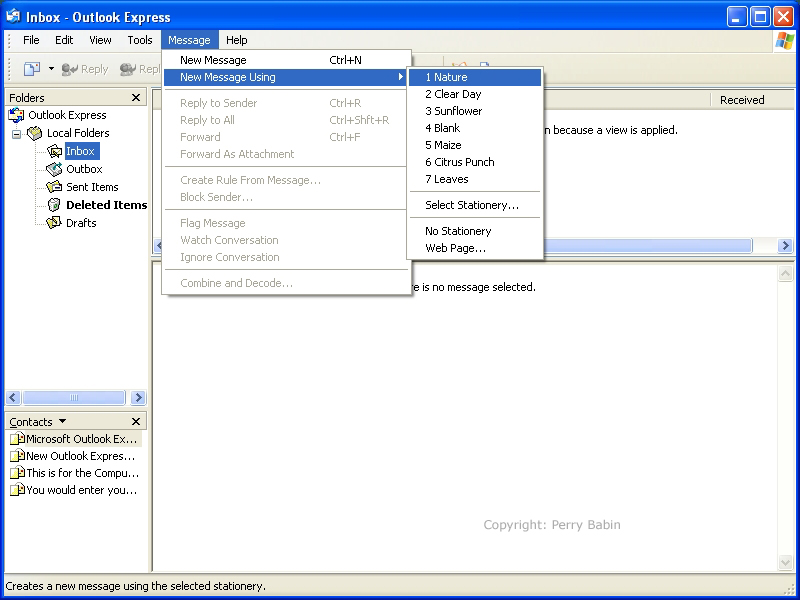
 Under 'message', you can select 'new message' To create a new message, you can also use the keyboard shortcut 'ctrl-n'. There is also a button on the toolbar that allows you to create a new message. It's the far-left button labeled 'create mail' (if you have the toolbar customized to show all text labels). The balloon help for the button says 'write message'.
 If you select the 'new message using' option, you will have several formatting choices. While I don't like to see unnecessary things sent in formal email, you may want to use them for personal email. The various choices have fonts and backgrounds pre-selected. If you're sending email to someone who is not a close friend or relative, I'd suggest that you send email with plain text and no graphics.
 This is what the background looks like when sending email as described above.
 Note: As I said before, it's best to send email in plain text. Its more widely accepted and it can be read by any email client (software). To set the option to send email in plain text, go to TOOLS >> OPTIONS then select the SEND tab and click the radio button that tells Outlook Express to send email in plain text.
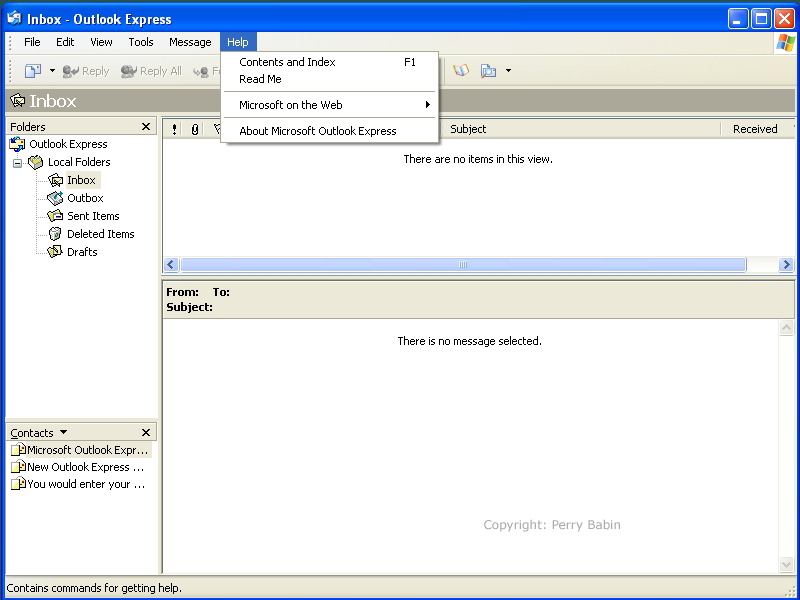
 This is the 'help' dialog box. The 'about Outlook Express' information tells you which version you're using and also gives the versions of several support files.
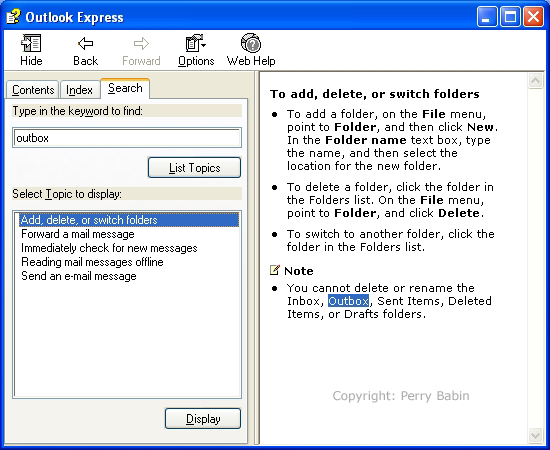
 If you select 'Contents and Index' under 'help', you will see this dialog box. For most people, the 'search' tab is the most useful. Advanced users may prefer the 'index' tab.
 From time to time, you will need or want to send a file along with your email. For most casual users, this will typically be images but you can also send documents. To add an attachment, click the paperclip on the toolbar.
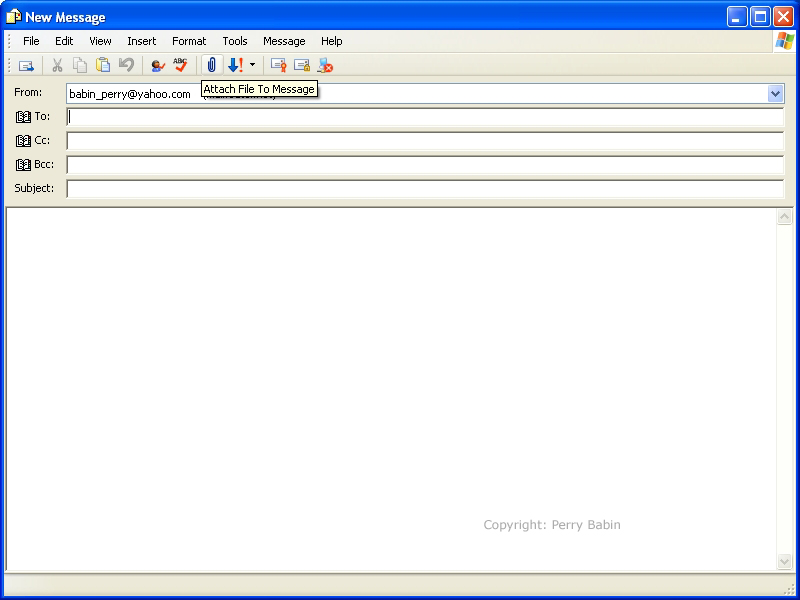 When you click the paperclip, a file window will open. You will then navigate to the folder that contains the file you wish to send. When you find the file, click 'attach'.
 This is what the 'new message' window will look like when there is an attachment. Of course, your attachment will not have the same name. If you look to the right of the file name, you can see the file size. If you're sending a scanned image, please no... PLEASE make sure the file isn't too large. If it's over 100KB, you should ask the recipient before sending it. The 'Scanning and Printing' page covered file sizes of scanned images.
 Entering the Email Address:
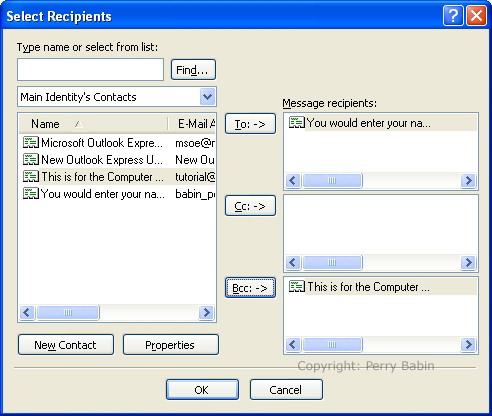 NOTE: If you enter an address in either the 'To' or 'CC' (Carbon Copy) box, all recipients will see the other addresses. If you enter an address in the 'BCC' (Blind Carbon Copy) box, that address will be hidden from the other recipients.
|
|
| Contact Me: babin_perry@yahoo.com | |
|
Perry Babin 2005 - Present All Rights Reserved
|