|
Downloading from Binaries Newsgroups Part 2
|
|
Overview: System Requirements: Damaged Files: Using Newsgroups to Share a File: Public Domain Material: Uploading a File to a Newsgroup: Making the File Manageable:
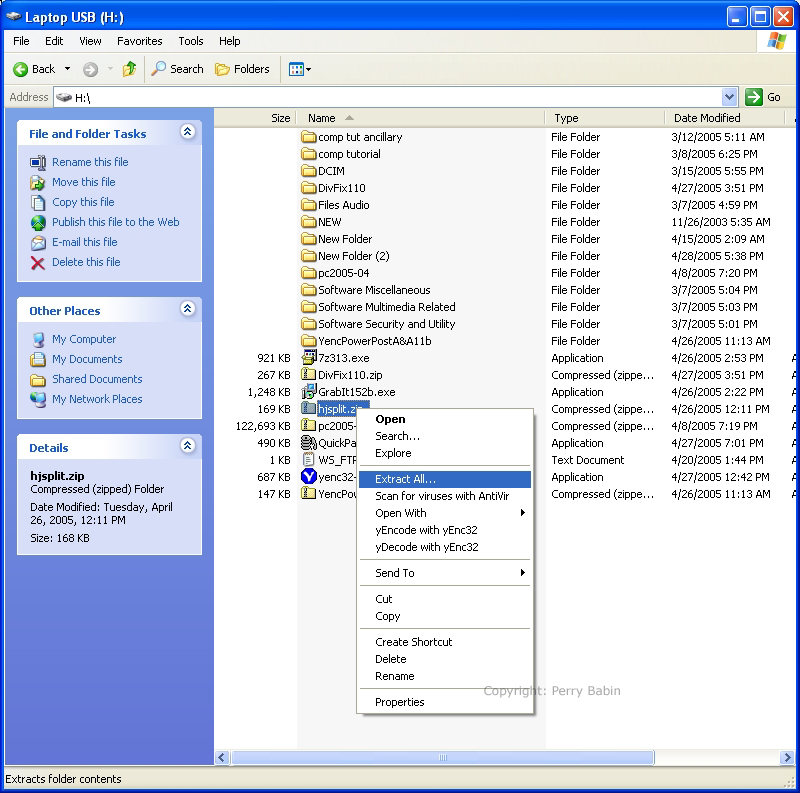
 HJ-split is easy to find on Google. When you install most software, a new shortcut is created on the 'all programs' menu. This program is different. When you download it, you will be asked if you want to open the folder in which it was dropped. When you open that folder, you will see the hjsplit.zip folder. Right-click it and select 'extract all' (the options may be different if you've installed a third-party unzipping utility).
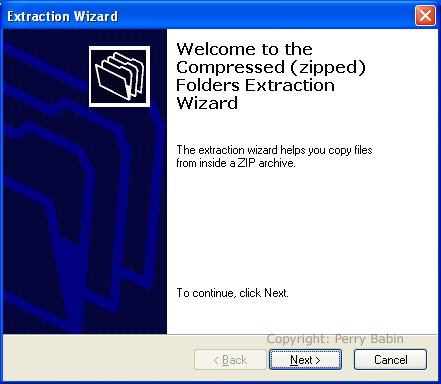
 Click NEXT.
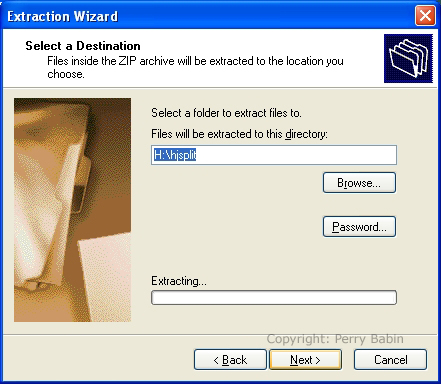
 This allows you to choose the folder in which the files will be dropped. By default, it will create a new folder in the same folder in which the zipped folder is located. Unless you want to change the default location, click NEXT. When installing software, it's a good idea to allow it to install to the default location. If you change the default location and you go to upgrade later, you may end up with multiple copies of the same program.
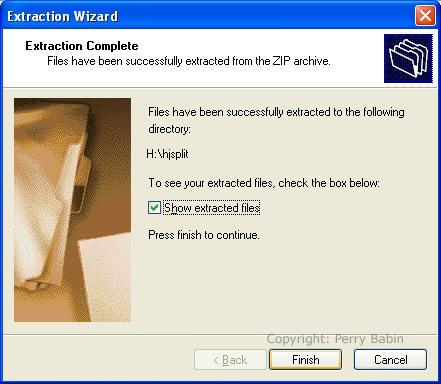
 If you want to view the newly unzipped (decompressed) files (you would in this case), click FINISH. If you don't want to view the files, uncheck the box and click FINISH.
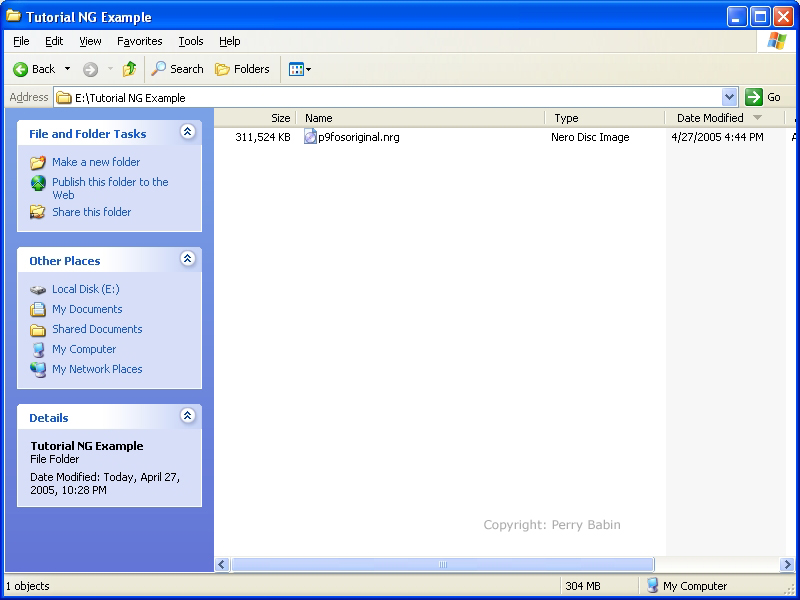
 This is the folder and all 'two' files. :)
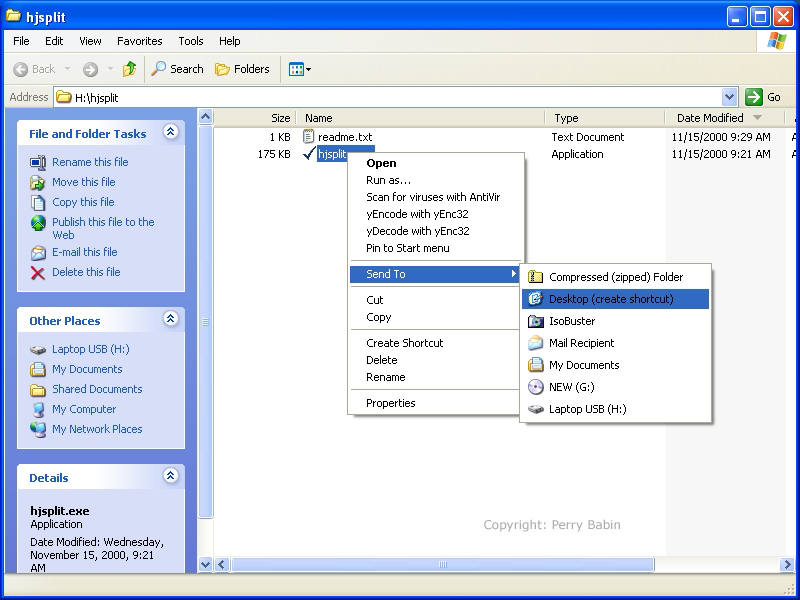
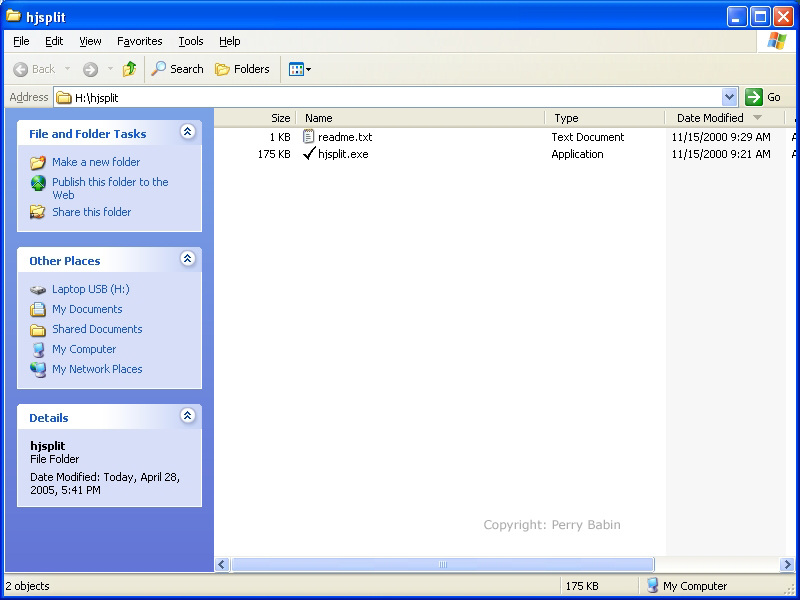 To access this program more easily, we will create a desktop shortcut. Right-click on the file with the file with the .exe extension and send to the desktop. If you can't see the extension, you can change that. Go to TOOLS >> FOLDER OPTIONS >> select the VIEW tab and check the appropriate box. Remember that you have to have the 'view' set to 'details'. The view can be selecetd from either the right-click menu or the button on the toolbar of the file browser window.
 Splitting the File:
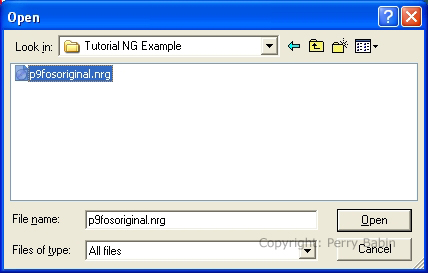
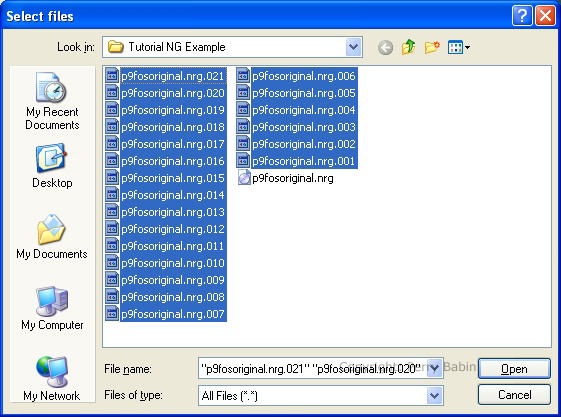
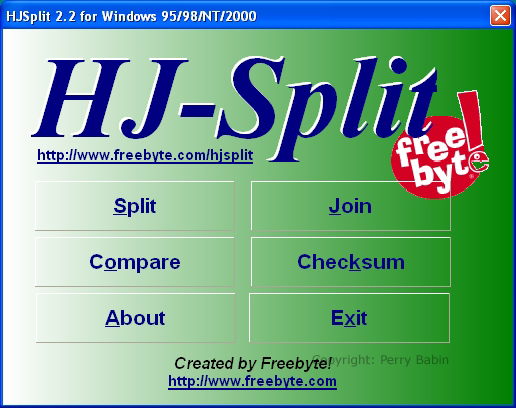 Here, we have to select the file that we want to split. I navigated to the file, highlighted it and clicked OPEN.
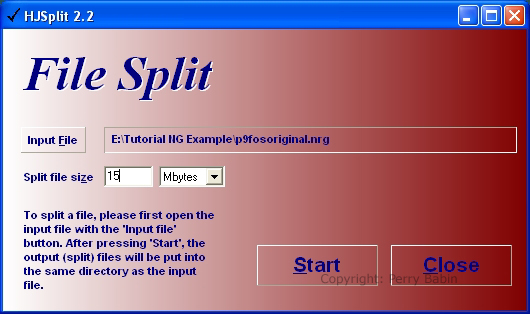
 Before we split the file, we have one more choice to make. We need to decide the size of the individual parts. Some people choose to make the parts 10MB. Others choose 15MB. Since 15MB is more common for the groups I visit, that's what I chose. Click START in the HJ-split window to continue.
 This is what you will see while the software is splitting the file.
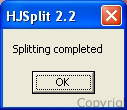
 We're finished with this program. Click OK to return to the main HJ-split window and exit the program.
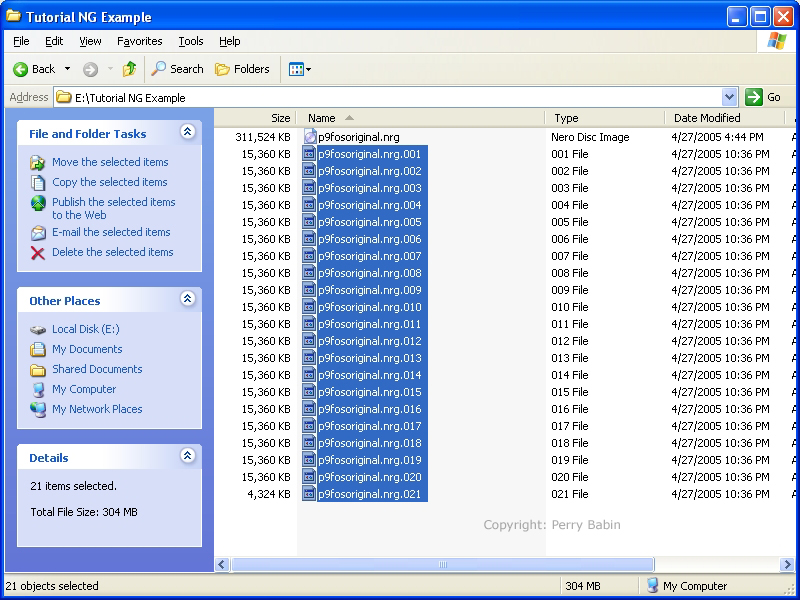
 The highlighted files below are the files that were generated by the software. To reduce confusion, we will call these pieces of the original file 'chunks'.
 Creating Parity/Recovery Files:
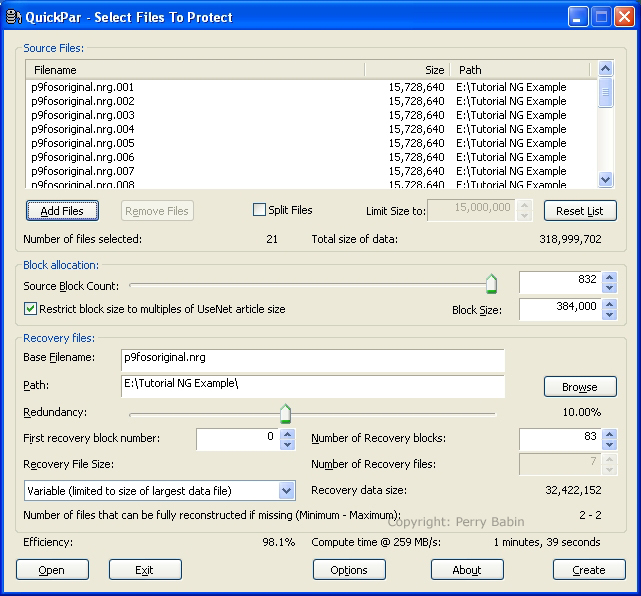
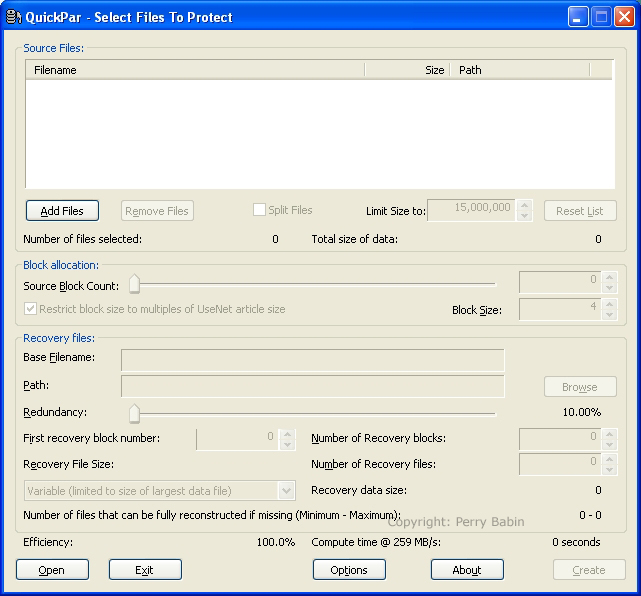 To add files, click the ADD FILES button in the window above. Then navigate to the files we previously generated and select all of the chunks (but not the original file). Now... If you're observant, you'll notice there is an option on the Quickpar window to split files. That's relatively new in QuickPar. Since I've split file with HJ-split in the past, that's the way I showed you here. If you didn't want to use HJ-split, when you have the option to add files, you could simply add only the original file and QuickPar would split it for you.
 Below, there are a couple of choices that you COULD make but the defaults are fine. If you want all of the parity (recovery) files to be the same size, that's one of the choices. I chose to make them varying sizes. This makes it possible to download one of the smaller recovery files if you have only a single part of a chunk missing.
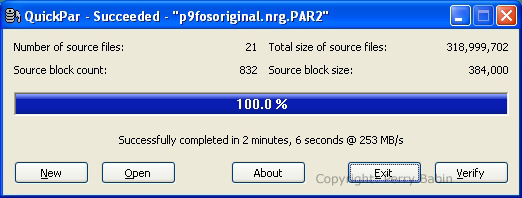
 In the next image, you can see that the progress indicator is telling you that it's computing the Reed-Solomon Matrix. The Reed-Solomon algorithm is widely used for error correction. It's one of the tools used with compact discs that allows scratched discs to play. Without it, or some other error correction scheme, scratched CDs would be unusable.
 Here, you would simply click EXIT to close QuickPar.
 Uploading the Files:
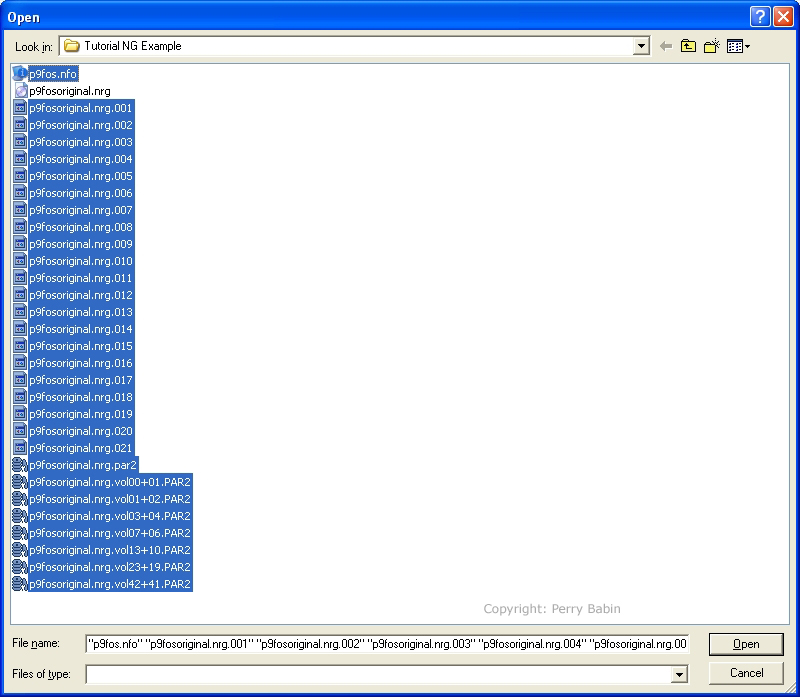
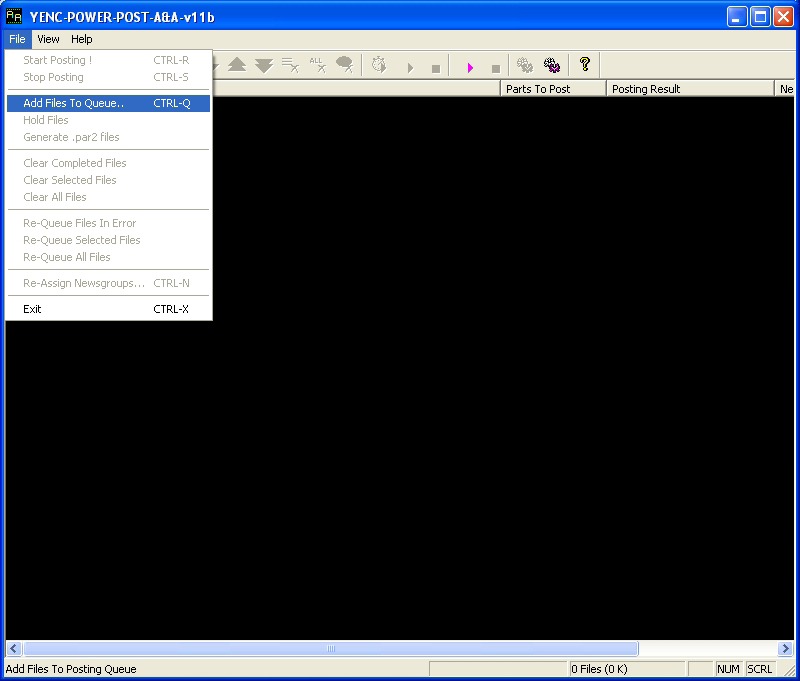 When the file window appears, navigate to the appropriate folder and select all of the split files (chunks), the recovery (par2) files and any other files you want to upload. Click OPEN to close the window.
 When you close the file window, the following dialog box will pop up. There are several things you need to do. As you can see, there is a line of text that begins with (??...??). This is the subject line that will appear in the newsgroup. This line should reflect the content of the file. If you want to have the subject line to indicate the file number and the total number of files, you use the $1 and $2 variables. Wherever the $1 variable is placed, the file number will appear in the subject line. Where the $2 is placed, the total number of files will appear. The $F can not be removed from the subject line. The text box below the subject line shows you what the output will look like.
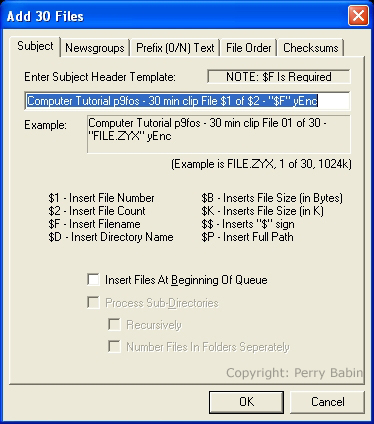 Note: In the previous paragraph, I said that the subject line should reflect the content of the file. Some people include other information such as their nickname. Whatever you do, PLEASE don't put the file count first. If you do and you do it for multiple files, you will have all of the files inter-twined and it will take lots of time to go through and pick out all of the chunks of the file. If you want all of the files you upload to be grouped together, do it in this order. Your name/nickname, a description of the file and the file count. Otherwise, it will look like the following mess:
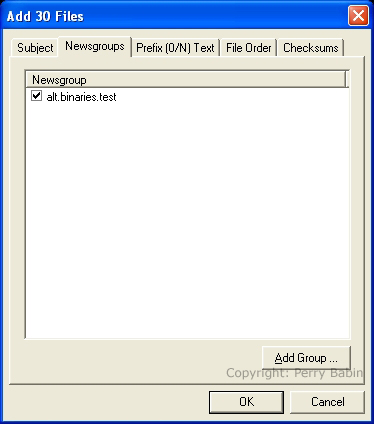
 In the following box, you select all of the newsgroups to which you want to post the files. You can add more groups by clicking the ADD GROUPS button (big surprise) at the bottom of the dialog box. Keep in mind that you should not post to more than one group at one time. Posting to multiple groups (known as cross-posting) is frowned upon by many newsgroup visitors.
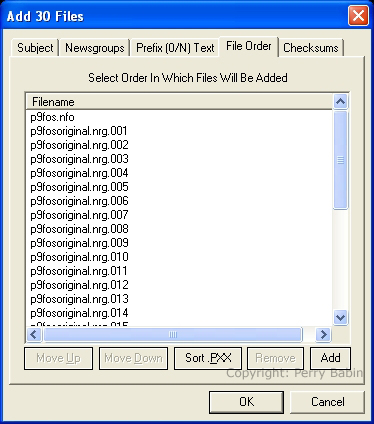
 Here, you can re-order the files if you wish. To move files up or down, select the file(s) and click the move up/down buttons. Generally no re-ordering is needed.
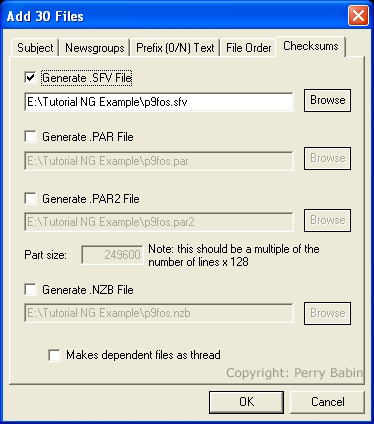
 The following window allows you to generate checksum files. The files are used to determine if the downloaded files are corrupt. If you generate the error-checking files, they will be added to the list of files to be uploaded.
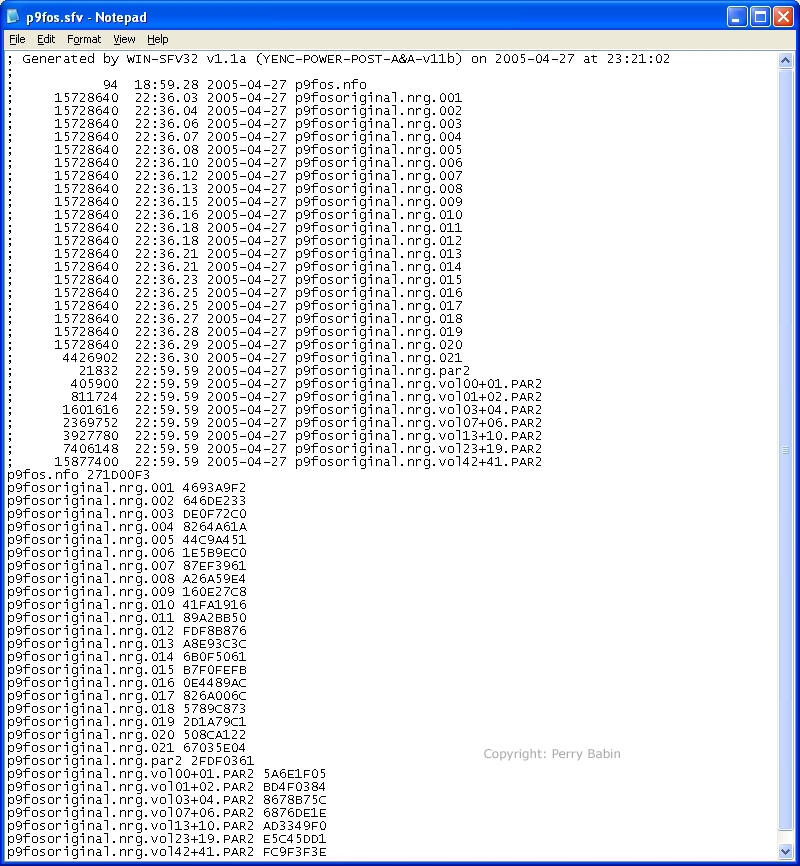
 The following file is an SFV (Simple File Verification) file. It includes a checksum value for each of the chunks of the original file. I didn't include an SFV file in my upload. There are programs available to check files using the SFV file. Since we generated the par2 files, we don't need to use the SFV files.
 The following window is the list of files that are to be uploaded. Clicking the 'post' button (the little yellow arrow).
 Below, you can see the progress indicator window. It shows the upload speed, the progress of the individual files and the progress of the entire post.
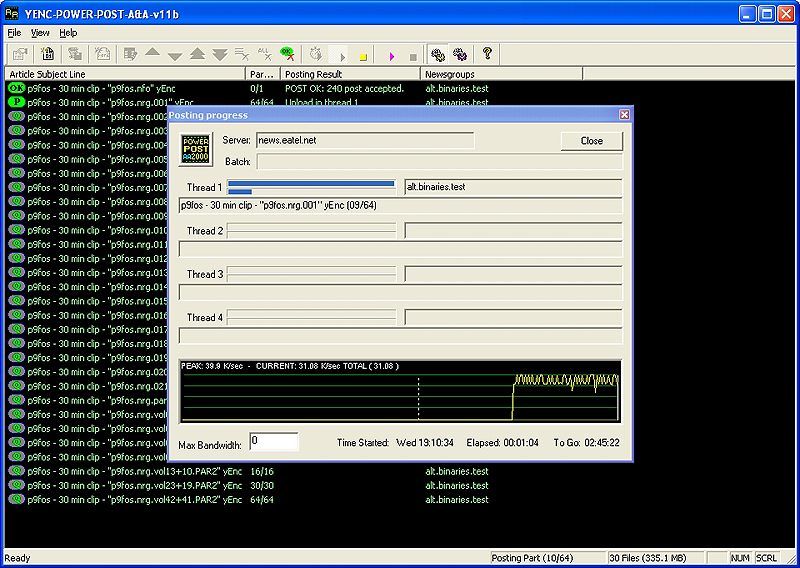 This shows you that the post has completed. Notice that all of the posts have been 'accepted' by the server. It doesn't give the total upload time but it took more than 3 hours for the upload. ADSL is great for downloads is not good for large UP-loads.
 If you were paying attention (and if you haven't fallen asleep), you noticed a file with an NFO extension. This is an information file. It was created in Windows Notepad. NFO files allow you to post relevant information about the uploaded files. There are other software programs that are used to create NFO files. If you upload lots of files, you may want to find one that suits your needs. In this NFO file, I only included the file information and a checksum of the original file (which could be used to verify the reconstructed file with HJ-split after the download).
 Downloading the Files:
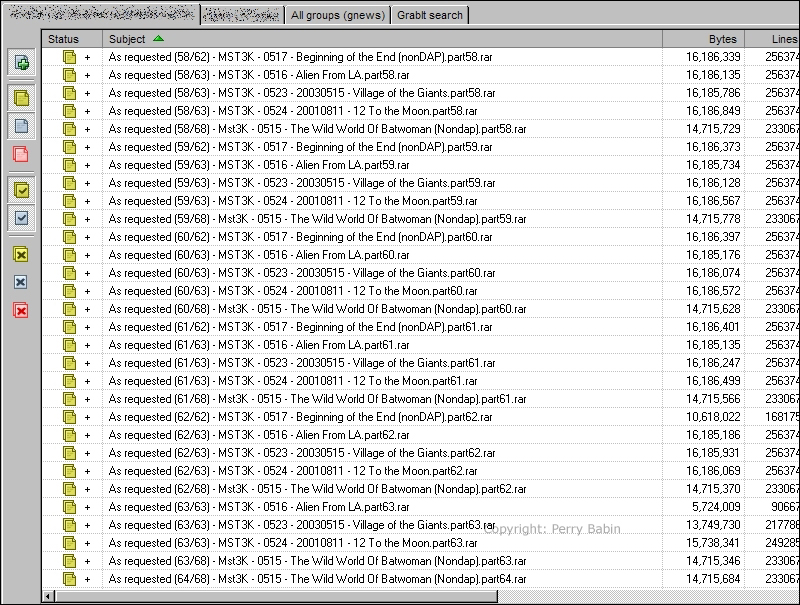
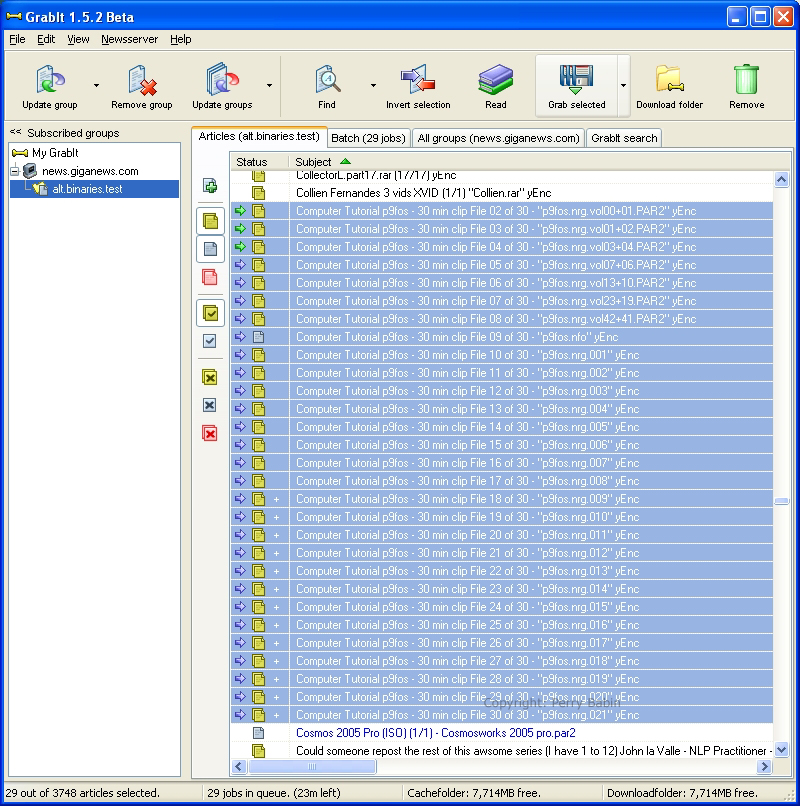
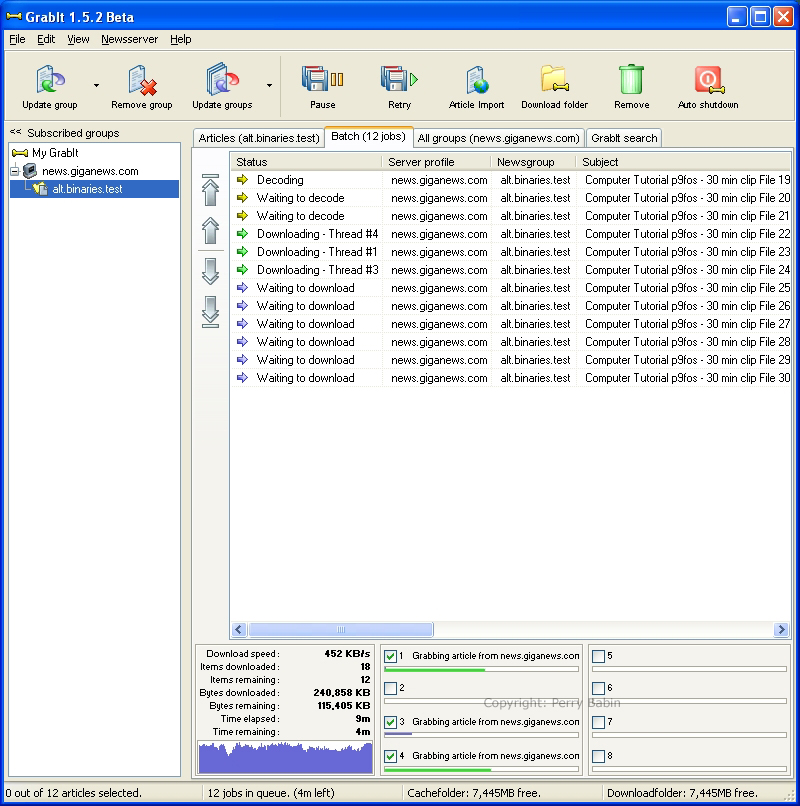
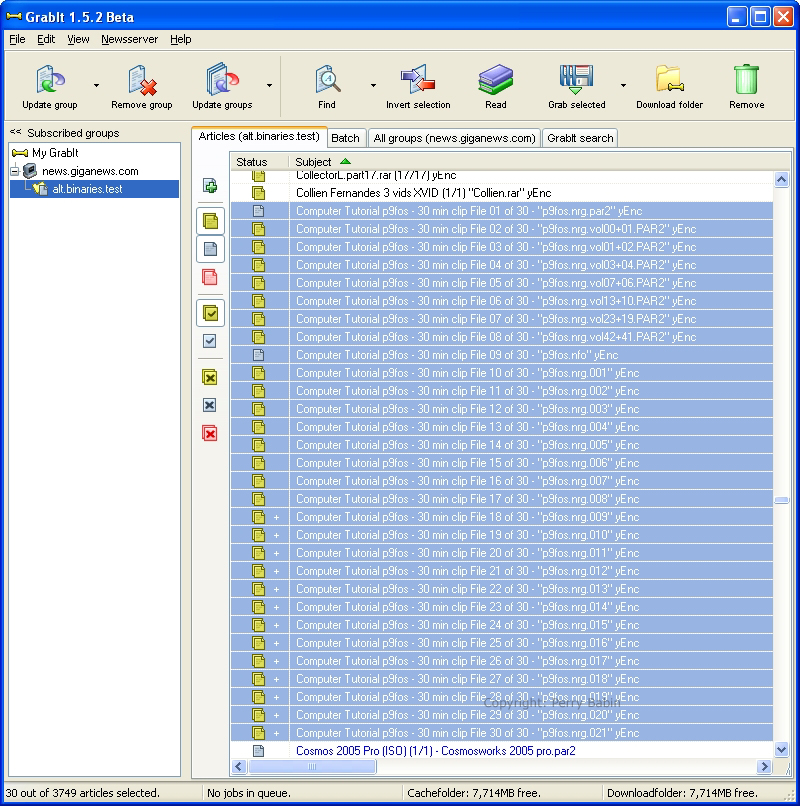 Here, you can see that the files have arrow icons on the left side of the subject line. Green arrows indicate that the file is currently being downloaded. Blue arrows indicate that the file in in queue to be downloaded. This image and the previous image show the list of all of the files on the newsgroup (although you can see only a few).
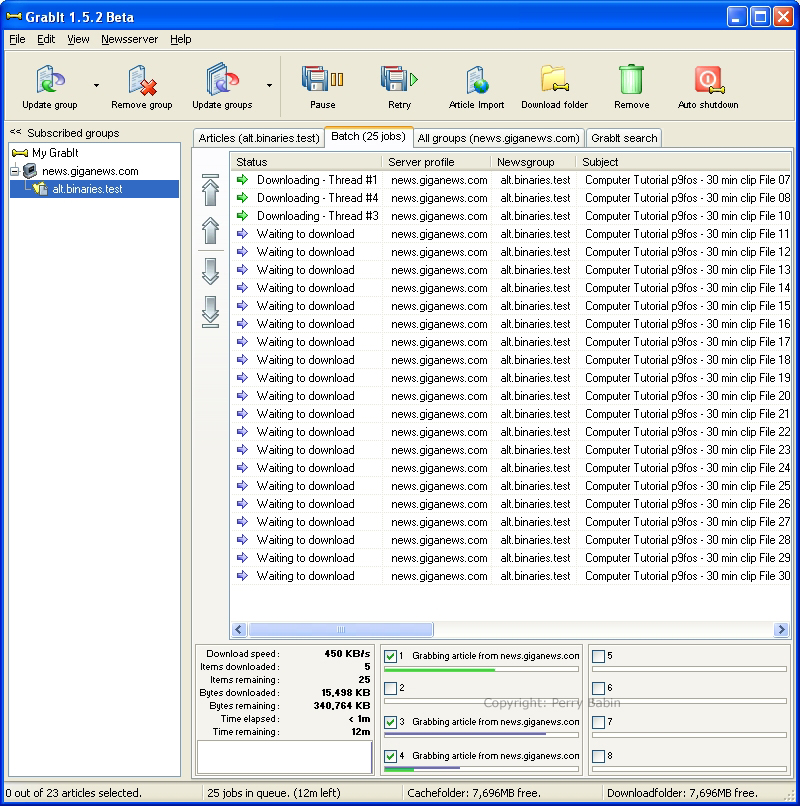
 This next image shows only the items in the batch of files to be downloaded.
 Here, you can see that there are 3 files that have been downloaded. The program is decoding the files. It only decodes one at a time.
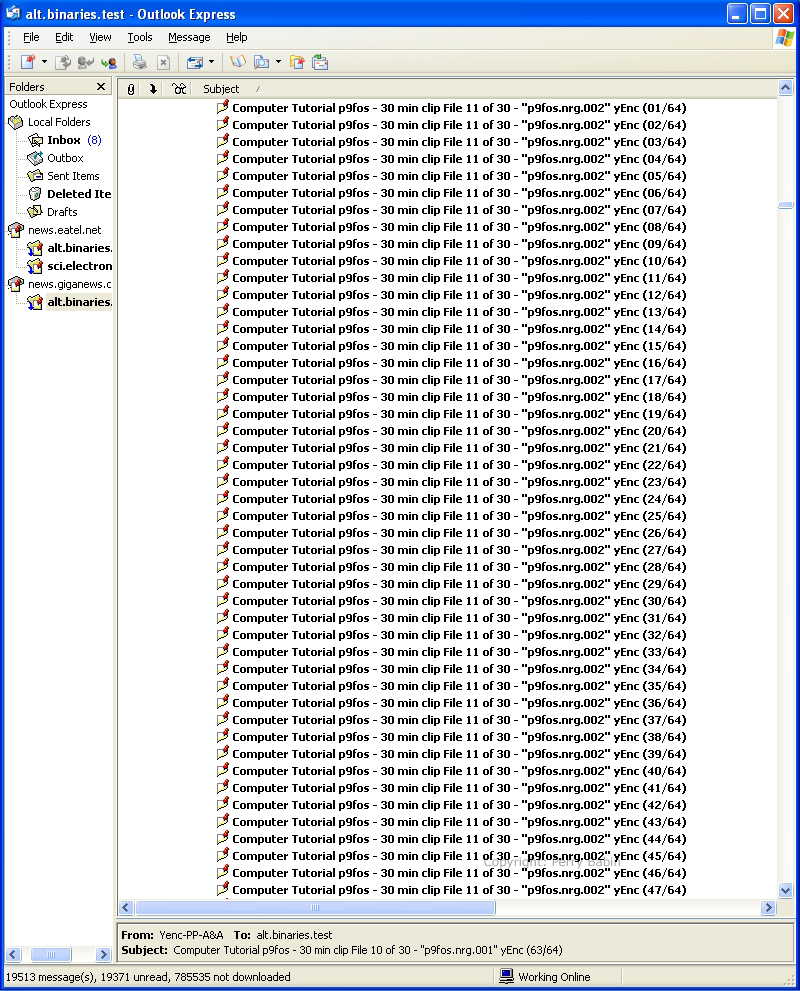
 The following image shows what the same files look like in Outlook Express. In GrabIt, the multi-part files showed up as a single file. Here, you can see all individual parts of the multi-part files.
 Notes: Recovering from Corrupt/Incomplete Files: In this first image, you can see the program working. It's simply checking to see that all of the files are in-tact.
 This shows you that all of the downloaded files are OK.
 In this next example, I renamed one of the files. QuickPar noticed the error and is ready to rename the file. To do so, click RENAME.
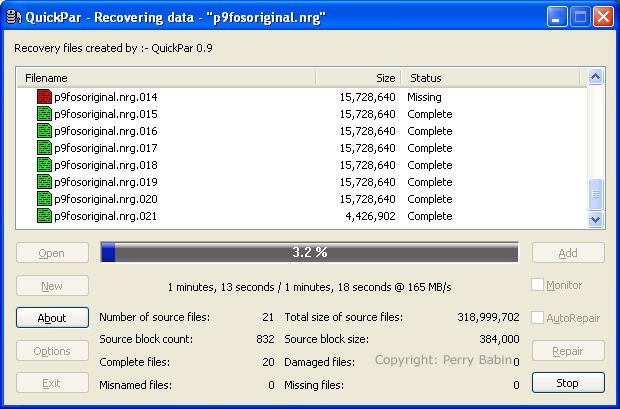
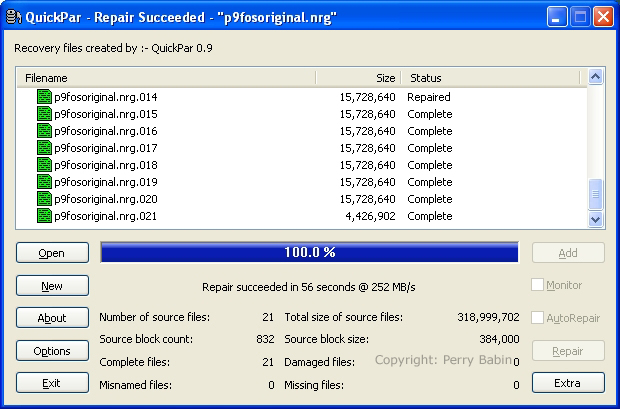
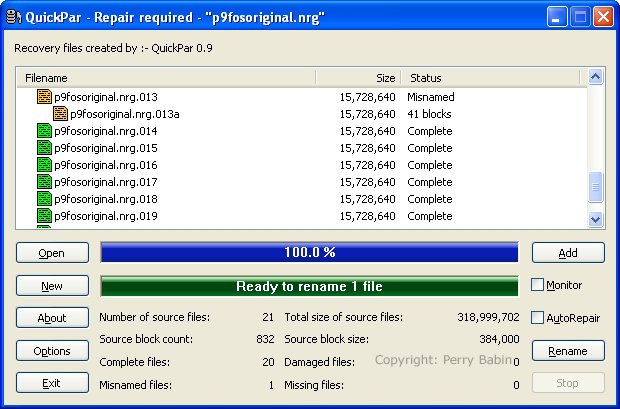 Here, I removed one of the files, QuickPar found that one file was missing and that there were enough recovery blocks to perform the repair. Clicking REPAIR will start the process.
 Working....
 And... Viola. It's done.
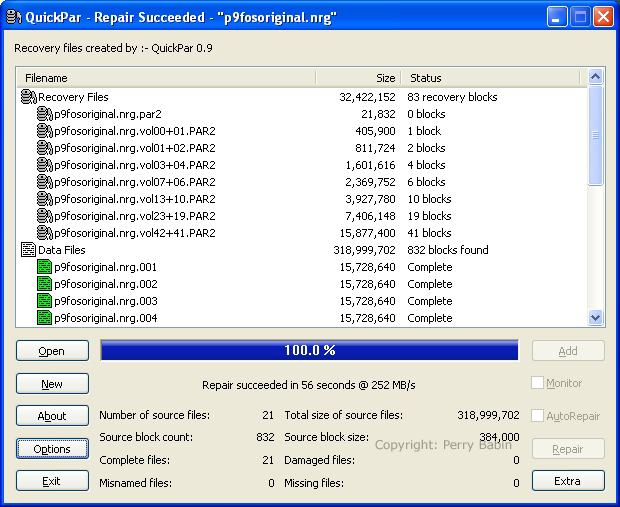
 In this next image, you can see all of the recovery files and a few of the chunk files. You cna see that the recovery files are varying sizes. If you are missing only a few parts of a chunk, you will need only a few recovery blocks. If you're missing a full chunk, you will need a recovery file (or multiple recovery files) that are equal in size to the missing chunk.
 In the next image, you can see that I've removed one complete chunk and several of the recovery files. Now, there are not enough recovery files to recover the missing chunk. If there were some more recovery files on the server, you could go grab them. If there were no more, you could ask (nicely) the poster of the original message to either upload more recovery files or upload the missing chunk.
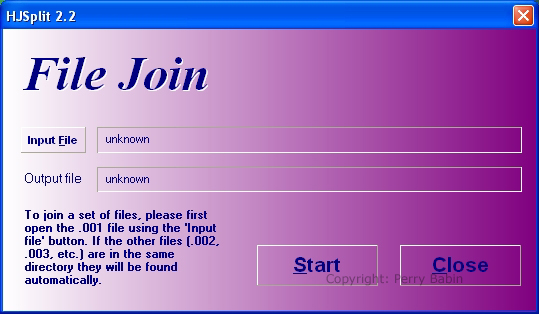
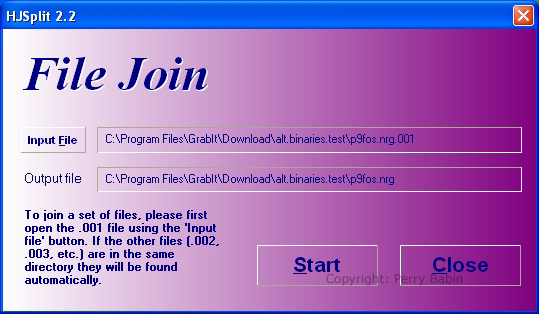
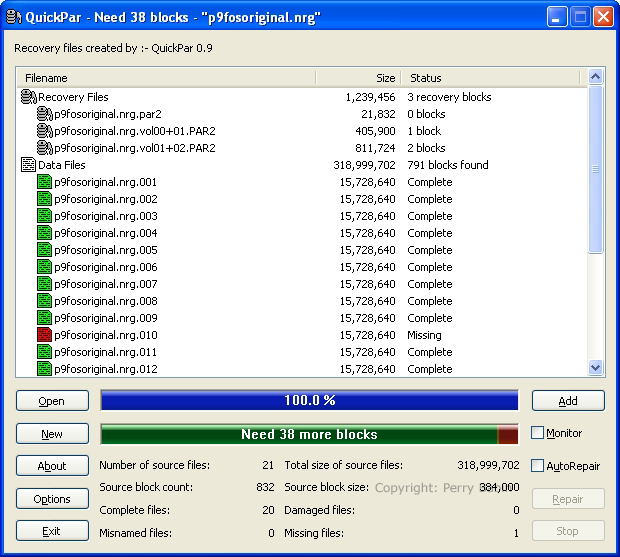 Above, if you look closely, you can see that there is a little yellow area at the end of the green bar. This indicates the available recovery blocks. When you have a missing chunk and you have enough recovery blocks, the yellow area would go all of the way to the right end of the bar. As of now, it only goeas a fraction of the way meaning that there are insufficient files to recover. Well, we're almost there. Now we need to reassemble the file into the original NRG file. To do this, we will again use HJ-split. Use the desktop icon to again open the program. Here, we select JOIN.
 We click INPUT FILE to open the file browser window.
 GrabIt buries the download folder fairly deeply in the hierarchical structure. I clicked the arrow on the side of the address bar to show you exactly how deep it is. You can set the download folder to be in another location or you can create a shortcut. Or... You may simply want it to be difficult to find.
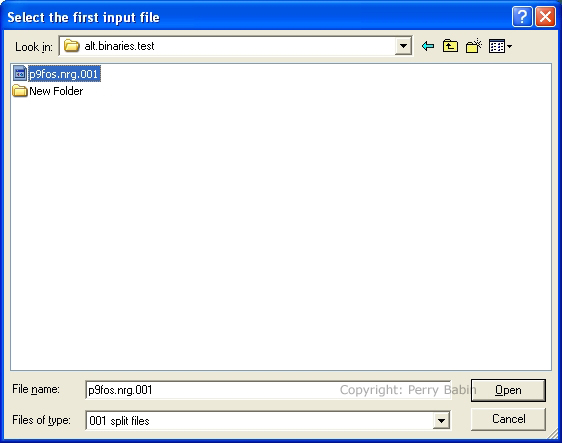
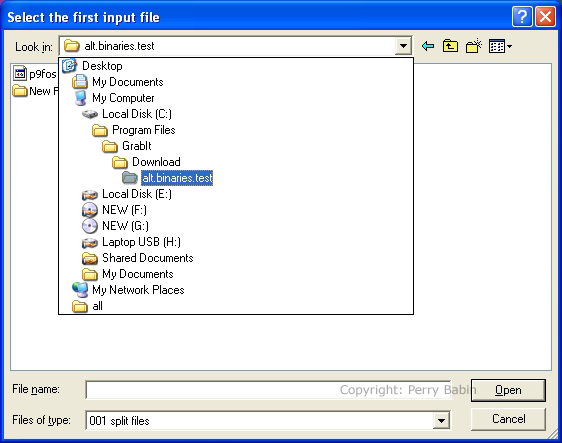 This shows the file that needs to be selected (the first one of the series). Click OPEN to close the file browser window.
 This shows the input and output files. Click Start to begin the reassembly.
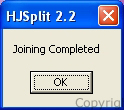
 Joining in progress.
 Done.
 Now, there are a couple of things we can do to be sure that the downloaded file matches the uploaded file. Since we uploaded the file, we can compare the two files.
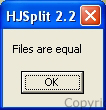
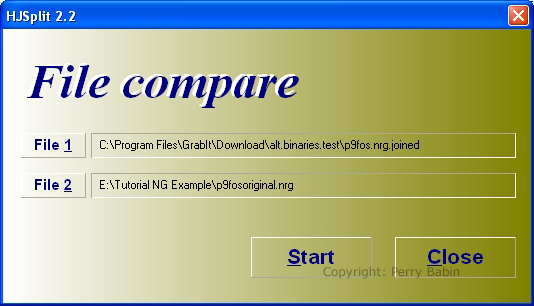 After pressing START above, you will see a 'working' progress bar. If the files are identical, you will see the following dialog box.
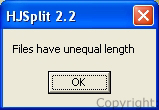
 You will see something like this if the files are not equal.
 If we download a post file that someone else posted, we will not have the luxury to compare the downloaded file to the original file. This is where the checksum values come in to play. The NFO file has the checksum value from the original. If we use the checksum feature of HJ-split to create a checksum from the downloaded file, we can see if they're the same. We again have to navigate to the downloaded file in the grabIt folder.
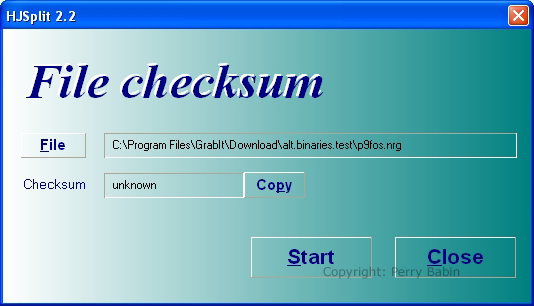 This is the checksum value of the downloaded file.
 If you compare it to the value I generated from the original, you can see that they match. It's amazing that we can transfer millions of bytes of information thousands of miles and recover them and the files match exactly.
I know that this looks like a nightmare to try to do but if you already have the original file, it will only take a few minutes (depending on the speed of your computer) to go through all of the steps (not counting upload and download times). If anyone actually reads this and thinks I need to break up this page into smaller pages, email me. You can also email me to let me know how many times you fell asleep while reading it. :)
|
|
| Contact Me: babin_perry@yahoo.com | |
|
Perry Babin 2005 - Present All Rights Reserved
|