|
Installing Windows XP
|
|
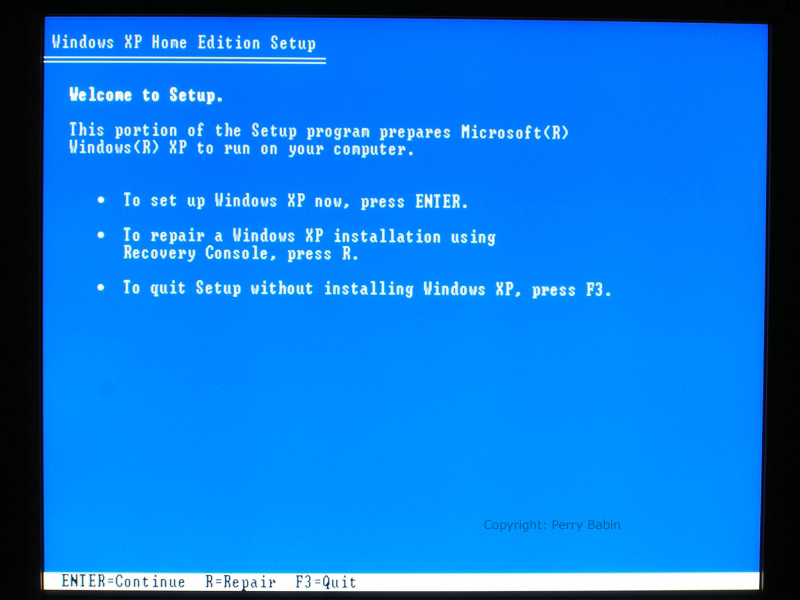
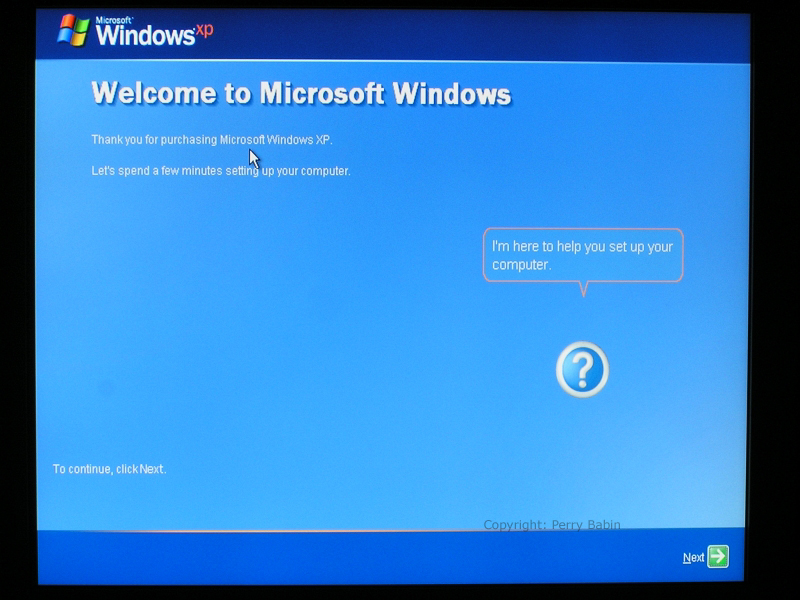
Foreword: Overview: Note: On this page, the images are not as 'clean' as those on the other pages. That's because it's not possible to get screen-caps during the installation. These images are actually photos of a monitor during the installation. To get the install started, we booted up the computer with the Windows XP disc in the CD ROM drive. When the computer told us to press any key to boot from CD, we hit the enter key. From that point, Windows checked the hardware and told us to hit F6 if we needed to load any 3rd party drivers. We hit F6 and the next image is where we started the installation. Here we have a window asking us if we need to install special disk controllers for Windows. Since we need to load the SATA drivers so windows can find the hard drive, we pressed S as instructed.
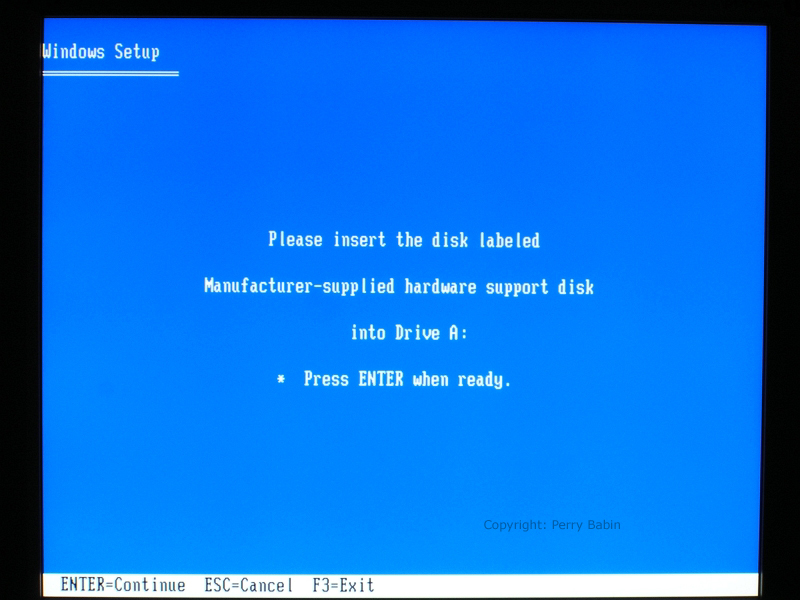
 Below, it's telling us to insert the sata driver disk into the floppy drive (one of the few times you'll ever use a floppy drive). We did so and pressed ENTER.
 The installation program read the disk and displayed a set of possible drivers. Although there is no indication that there are more than 4 choice, there are a total of ~10 choices. Scroll down until you find the drivers that match your OS and the chipset of the motherboard.
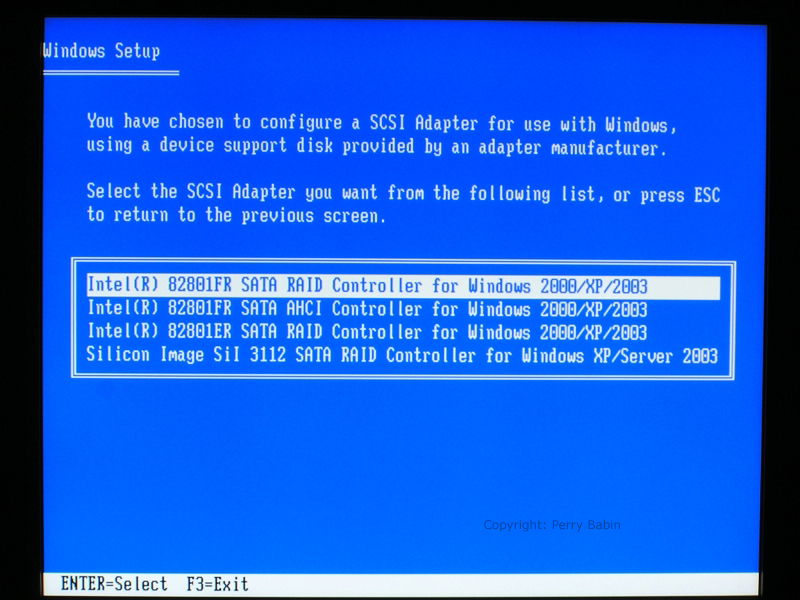 This tells us that we have a VIA chipset. We already know the OS (Windows XP).
 Scroll down a little more...
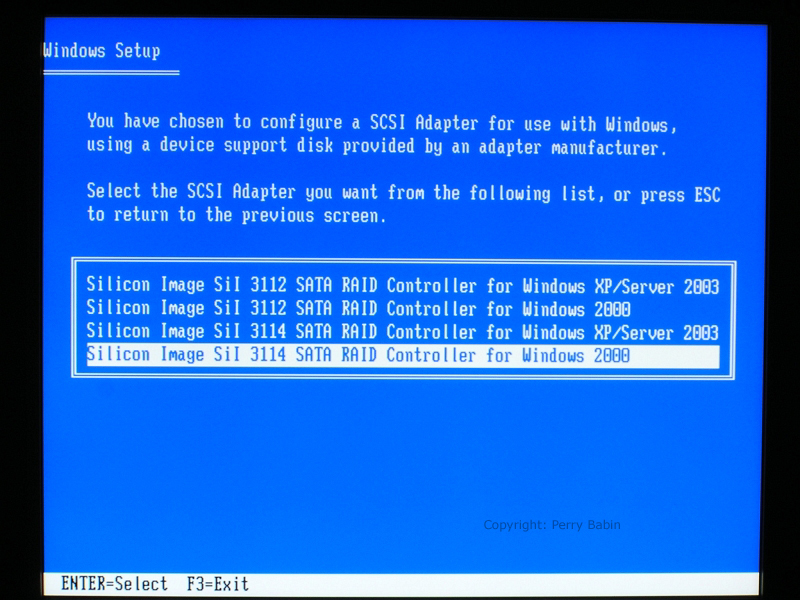 There it is! Hit ENTER.
 Hit ENTER again when you're asked to make a choice here.
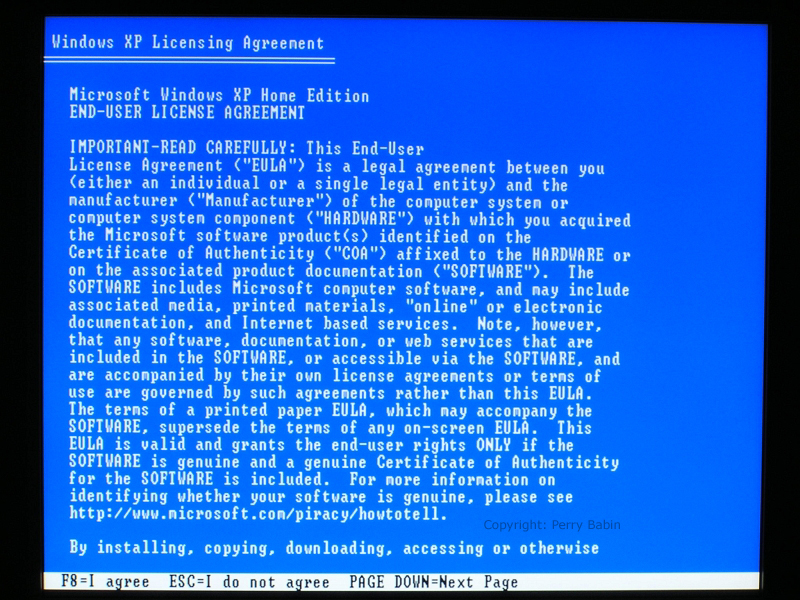
 This is the EULA. You should read it but few people actually do. Hit F8 if you agree to it. You have to agree to continue the installation.
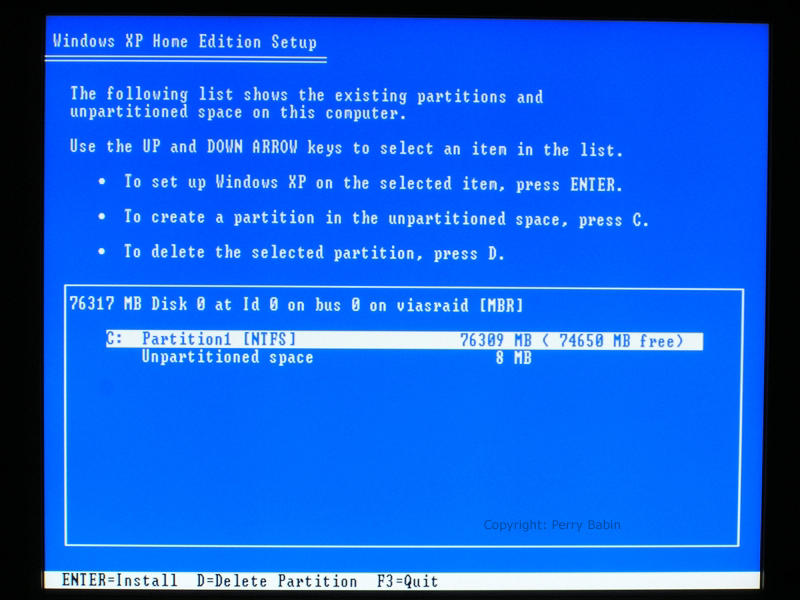
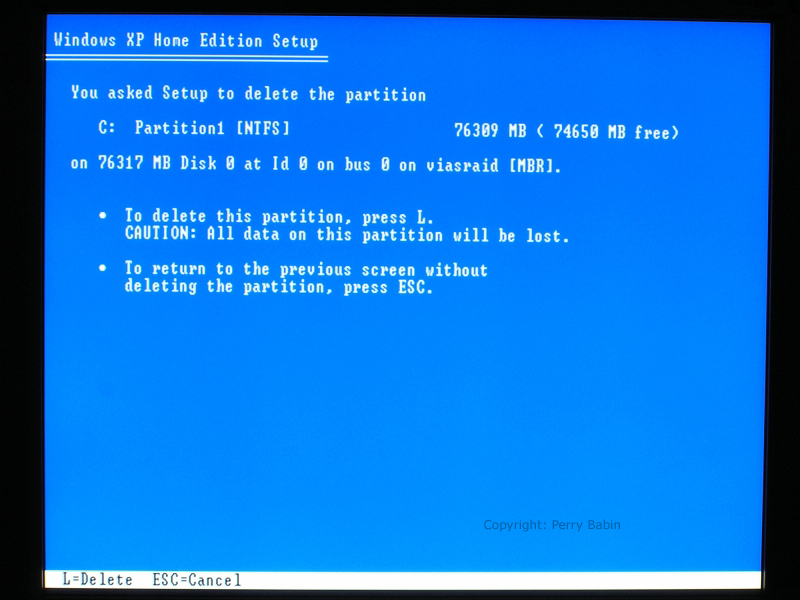
 Below, you can see that there is a partition already setup on the drive. This had another version of Windows on it. I want to re-partition the drive so I need to delete this partition. I hit D to delete the partition.
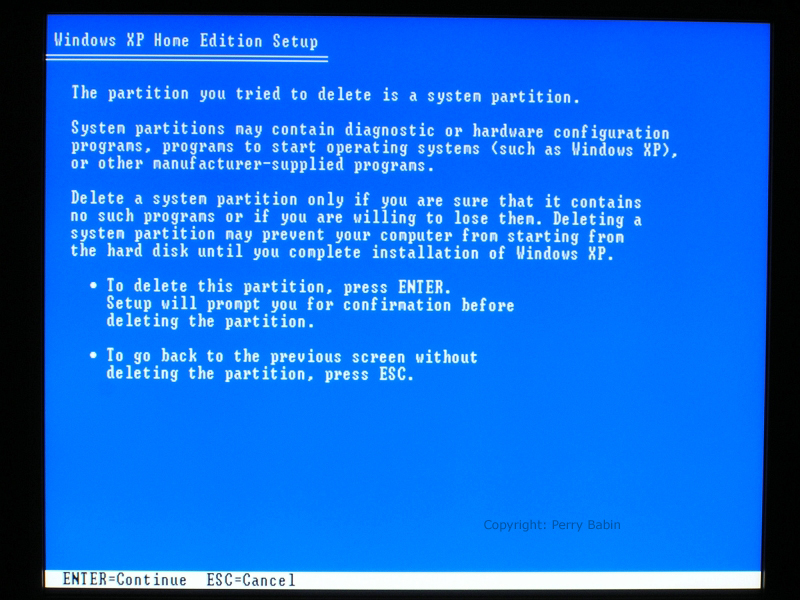
 Here, Windows is telling me that there is already an operating system and if I continue, I will lose the system. That's fine. I'm installing a new OS. I hit ENTER.
 This is simply one more check to be sure that you know that you're wiping the files from the drive. Hit L to continue. Please note that if there was no OS on the drive (as with a fresh drive), there would have been one or two fewer steps.
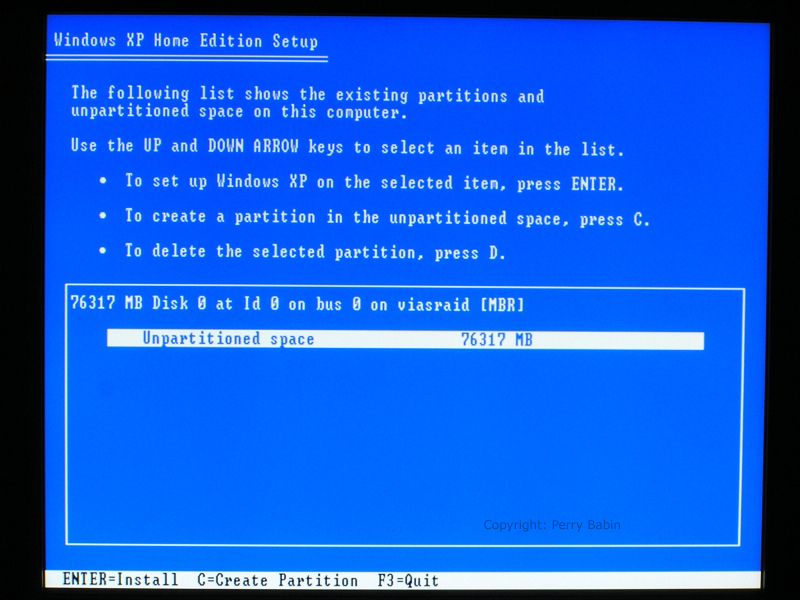
 Below, we need to create a partition (actually two partitions -- my choice and not really necessary). I hit C to create the partition.
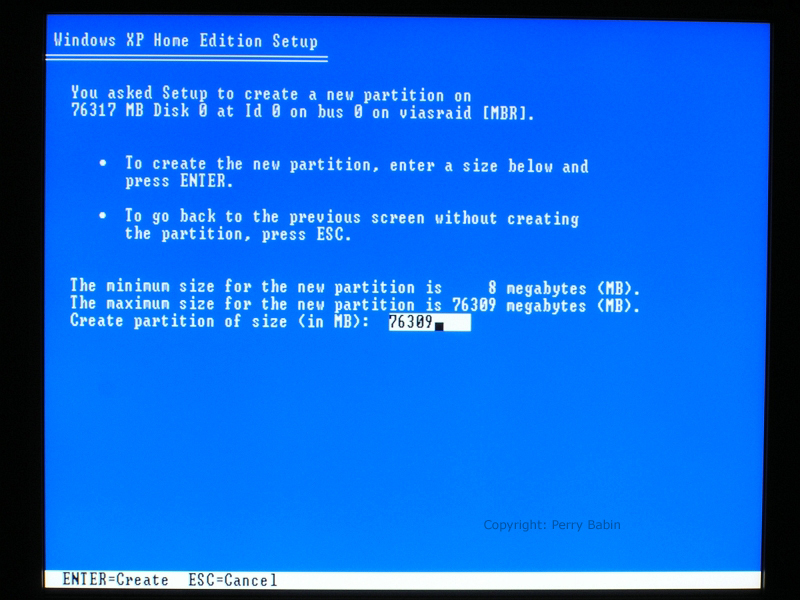
 In this window, I need to select the size of the first partition. The default is the maximum size available. I want it to be 15GB so I backspace and then enter 15000 and hit ENTER.
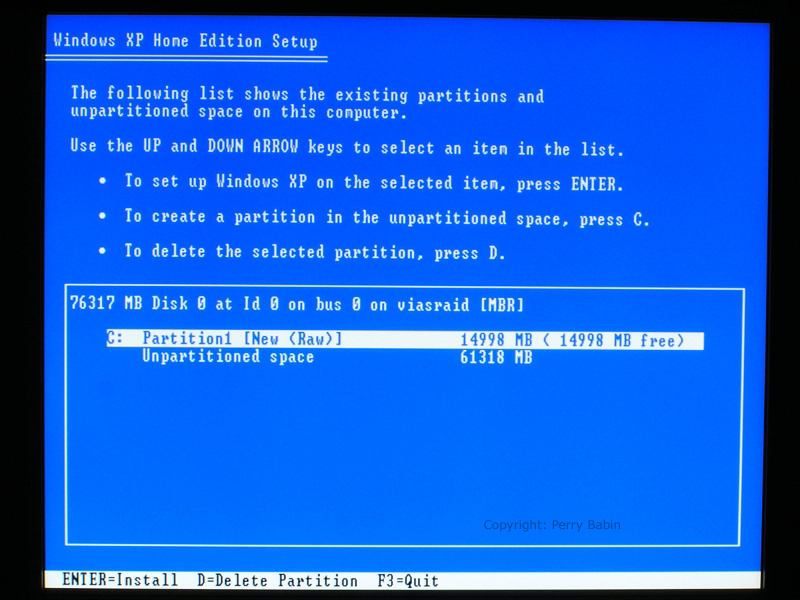
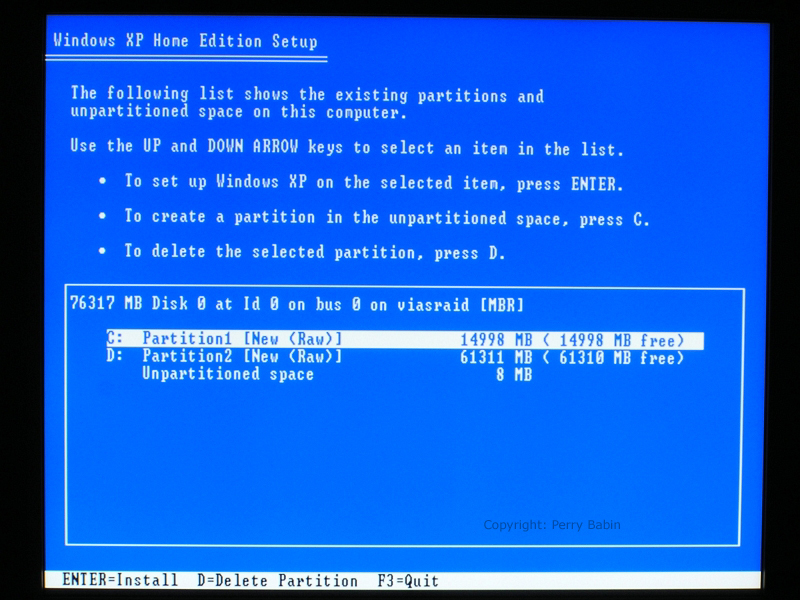
 As you can see below, I have 15G partition and about 60GB of unpartitioned space. We will use the arrows to select the unpartitioned space and then will press C to create a new partition.
 Since we want all of the rest of the unpartitioned space for the second partition, we simply need to hit ENTER here.
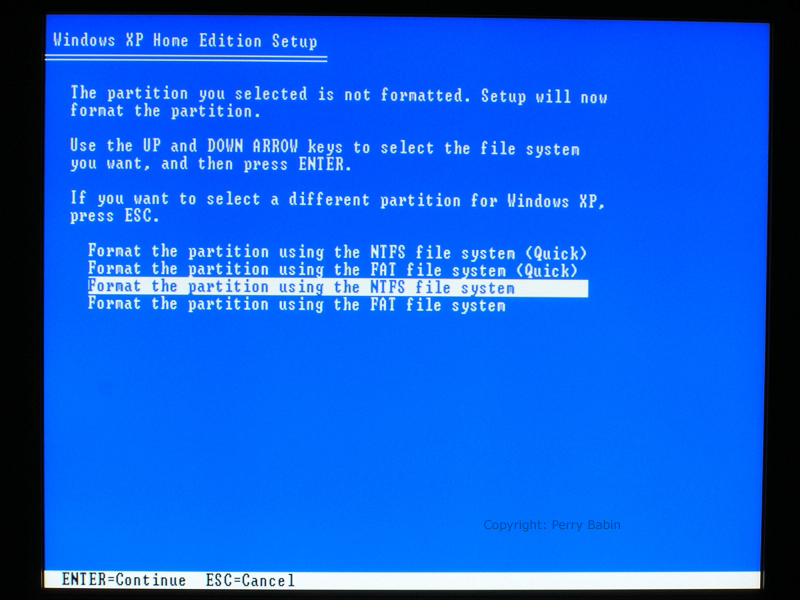
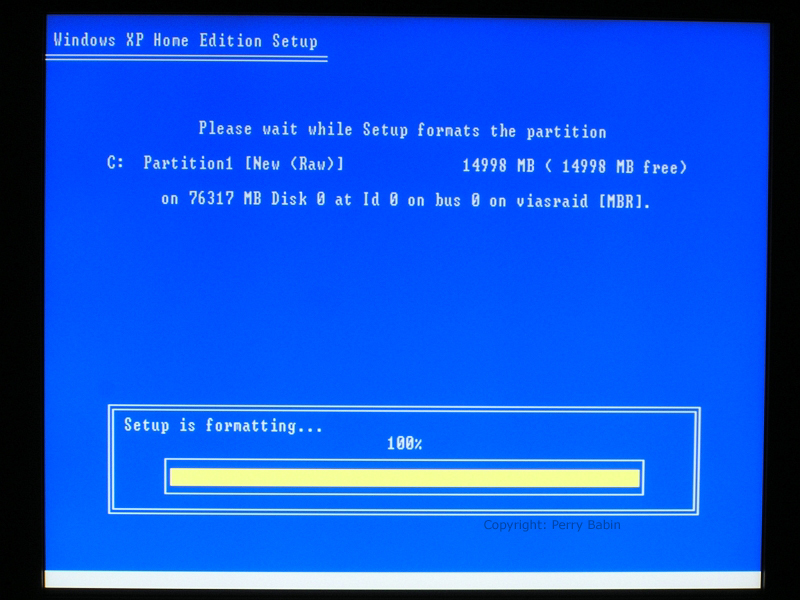
 Next, you see that there are two partitions. At this point, they have no formatting. That will be the next step. We only need to format the partition where the OS will be installed. We can format the other one after Windows in installed. If you want to do it here, that's fine also.
 Here, we will choose the NTFS operating system. A full formatting is probably best but if you're in a hurry, you can do a quick format. Either one will work.
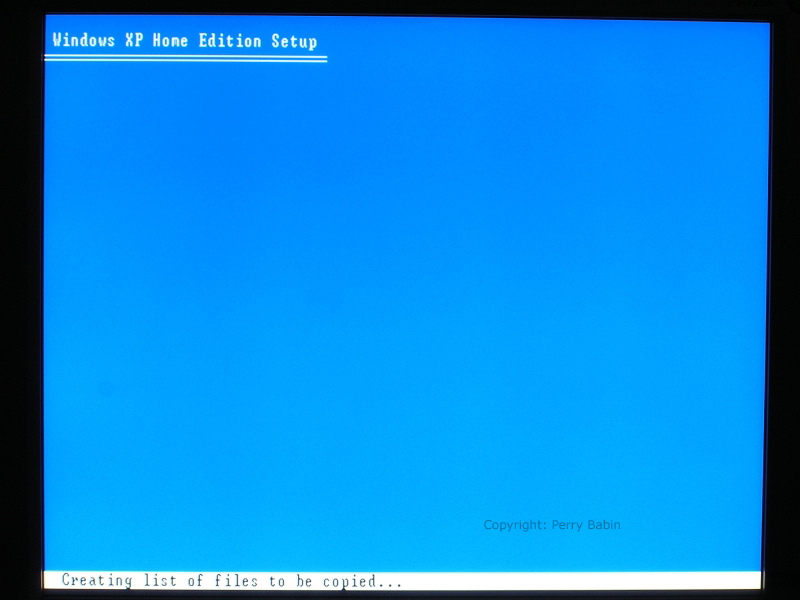
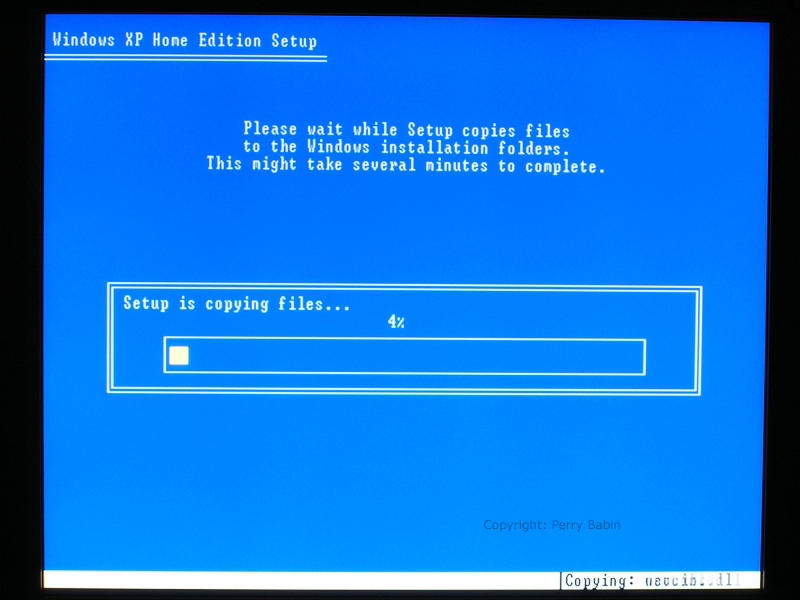
 Here, Windows is copying installation files to the hard drive.
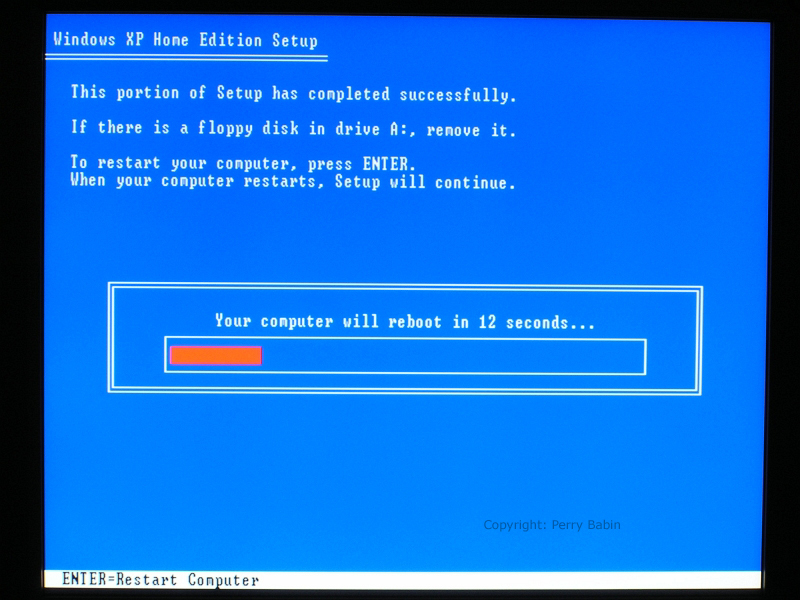
 At this point, the computer will reboot. It will do so automatically but if you hit the ENTER key, it will do so before the 15 second timer runs out.
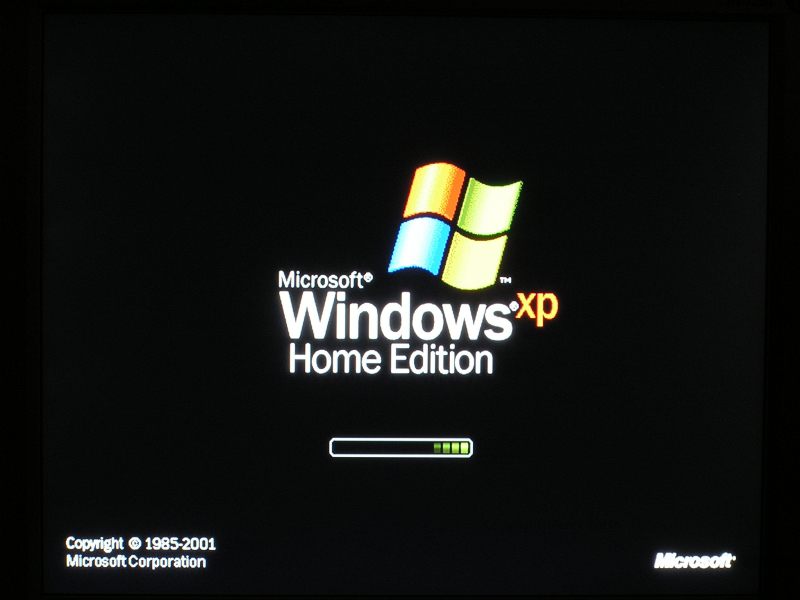
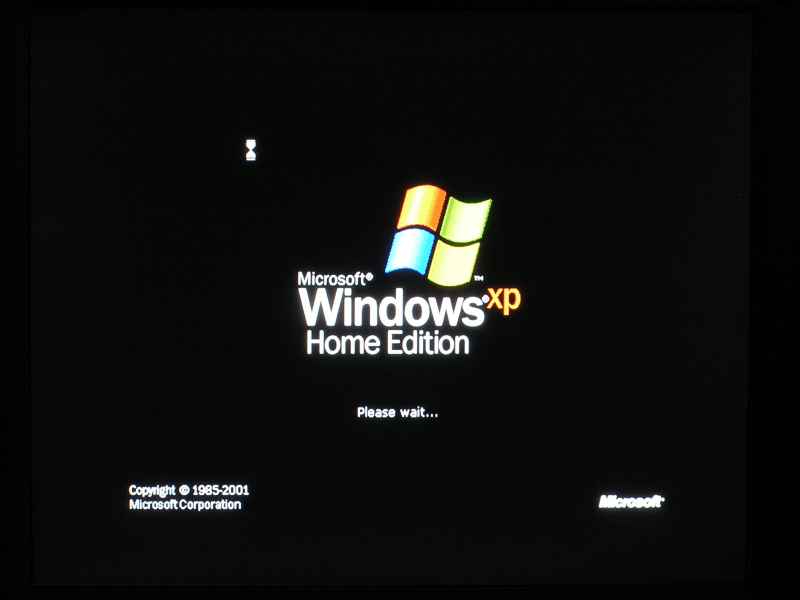
 This is the splash screen after rebooting.
 This is where the installation actually begins.
 Here we will have to make a few entries/choices.
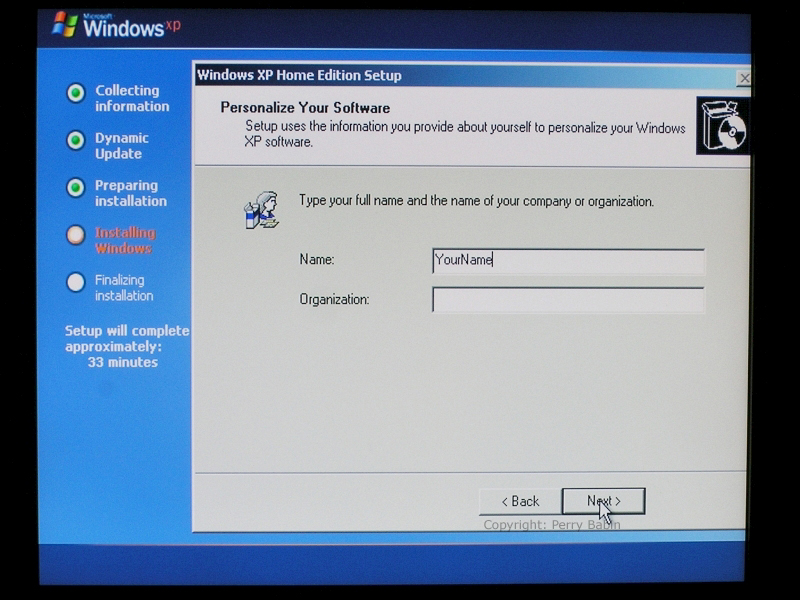
 This is where you enter the name you want associated with the computer. You can enter just about anything you wish (as long as you only want letters and/or numbers).
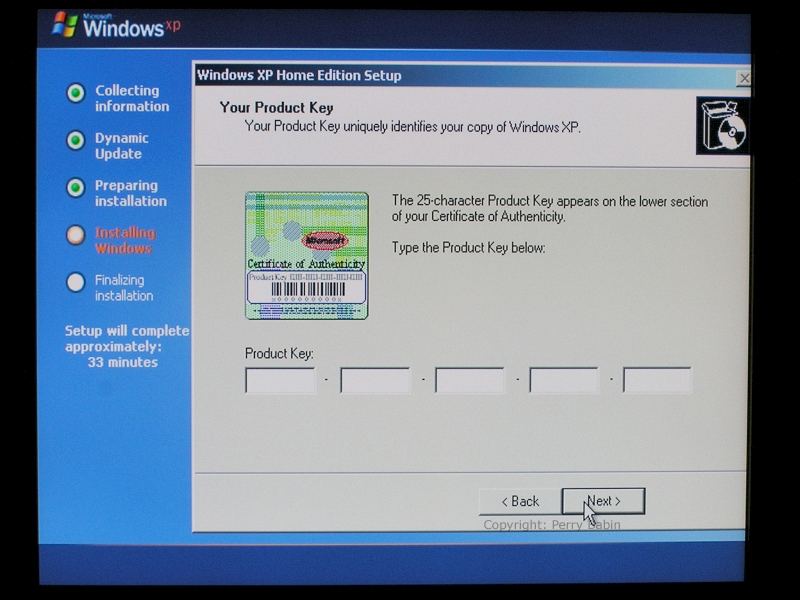
 This is where you enter your key code. It has to be entered exactly as written on you certificate of authenticity.
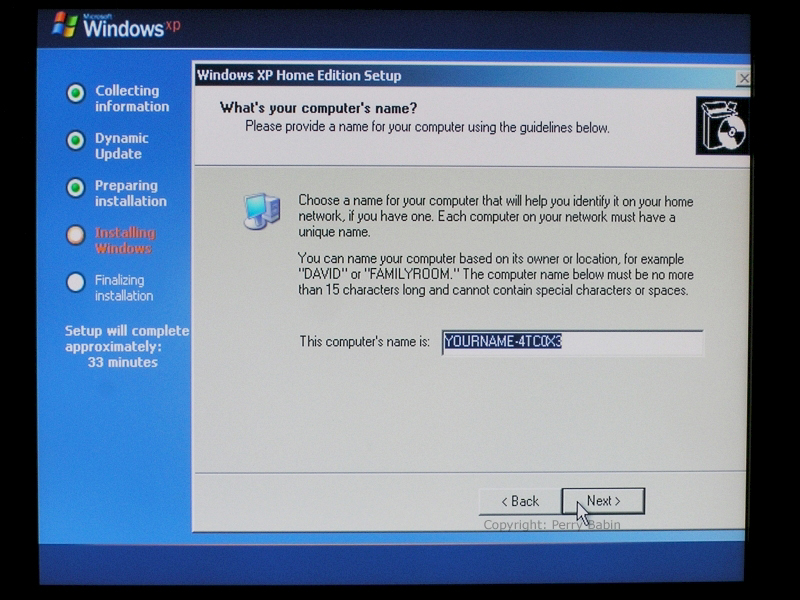
 If you wish, you can change the name of the computer but it's not necessary.
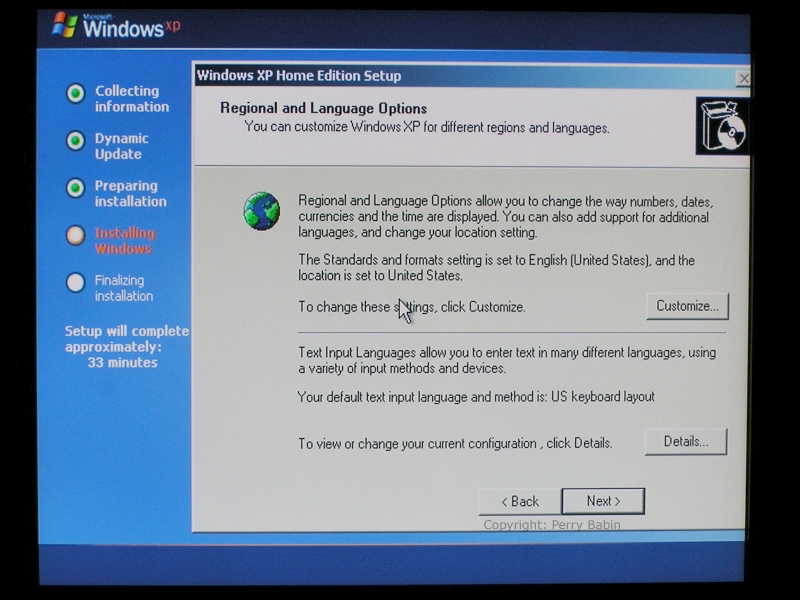
 Here, you select the proper time zone and set the clock (if necessary).
 The installation will then resume.
 For this section, most people would choose the 'typical' installation.
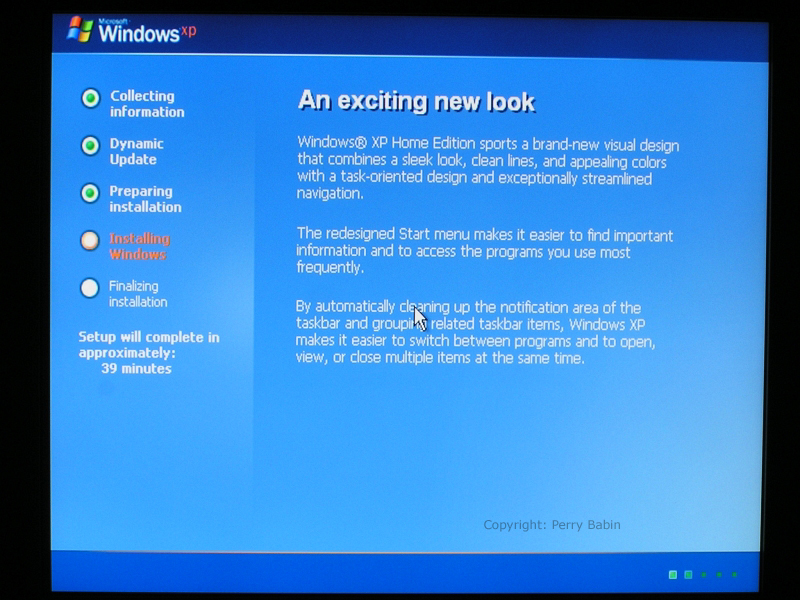
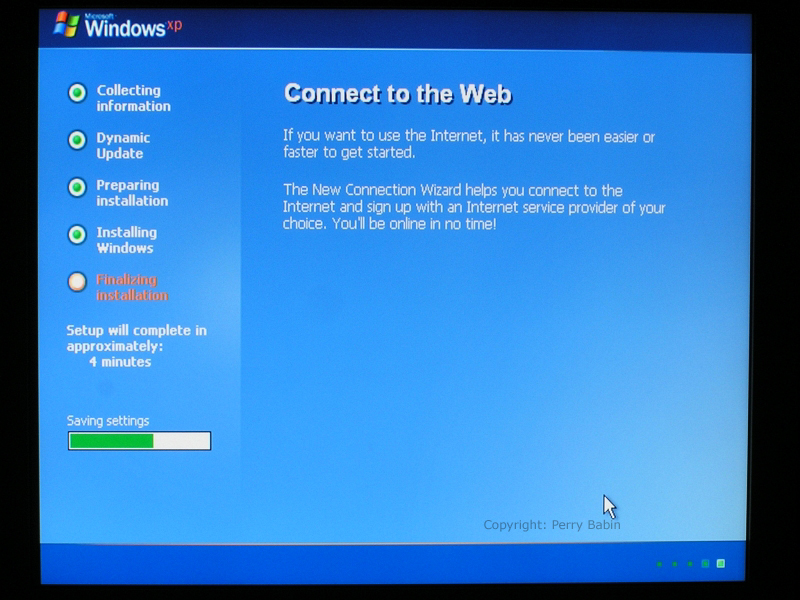
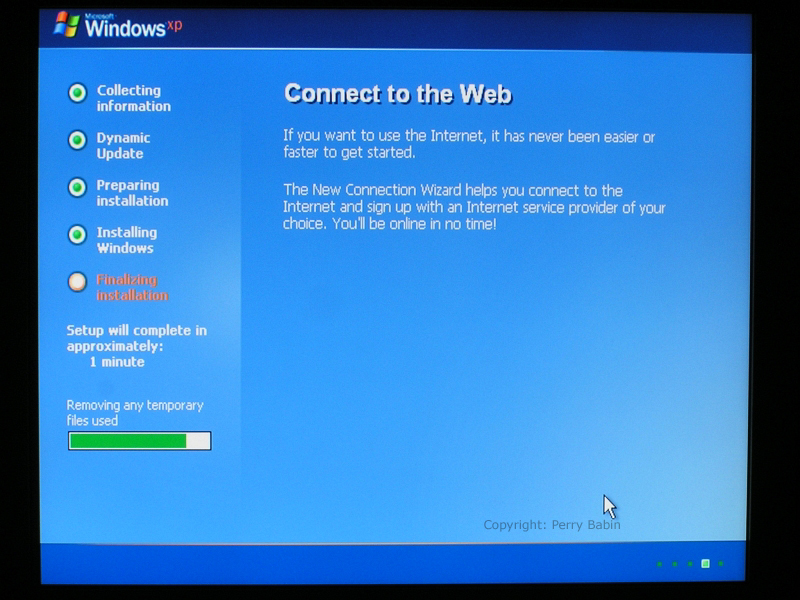
 The next six shots are simply different steps in the installation. The installation will go much faster than the displayed 'remaining time' unless you have a slow system.
 After the installation is complete, the computer will reboot.
 If the OS sees that your computer can handle higher resolutions, it will automatically set it for you. Typically, you'd click 'OK' at this point. When the next window is presented, you will be asked if the display is viewable. If it is, click OK. If it goes 'scrambled' (for lack of a better word), do nothing and the display will return to the previous setting.
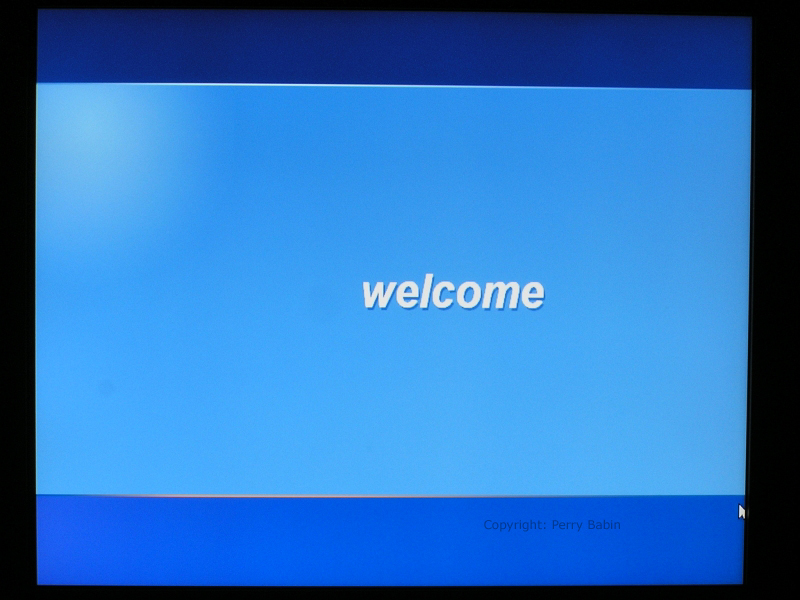
 Here, the OS is starting for the first time.
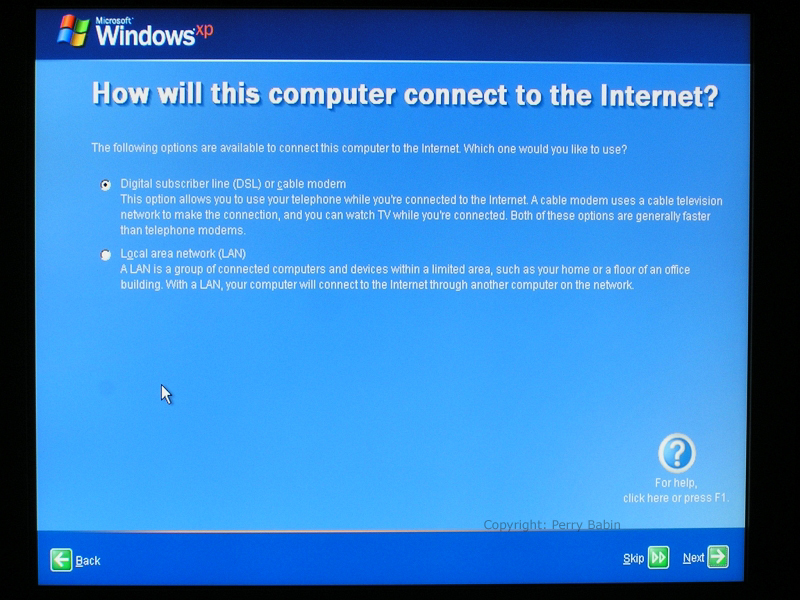
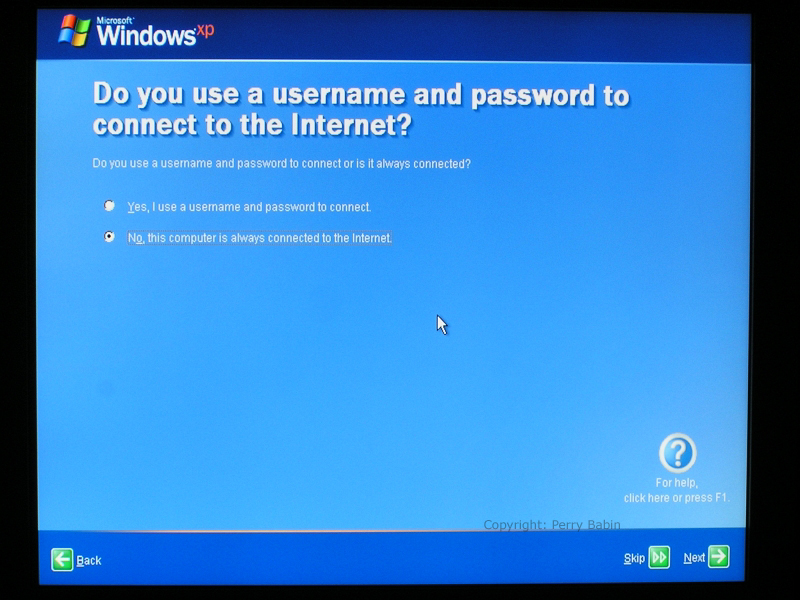
 The next few screens deal with setting up the internet connection. If the computer is connected to the internet with a broadband connection (cable, DSL), Windows will find it and the next few steps will be bypassed.
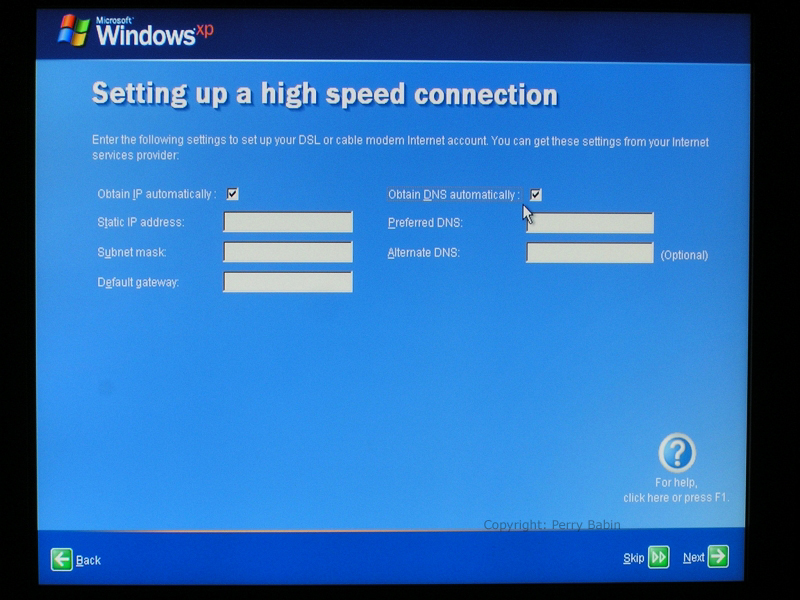
 Generally, broadband connections use dynamic IP addresses. To have the computer automatically retrieve the IP address, set the computer as shown below. If your service provider uses 'static' IP addresses, they will give you the addresses to enter in the boxes shown here.
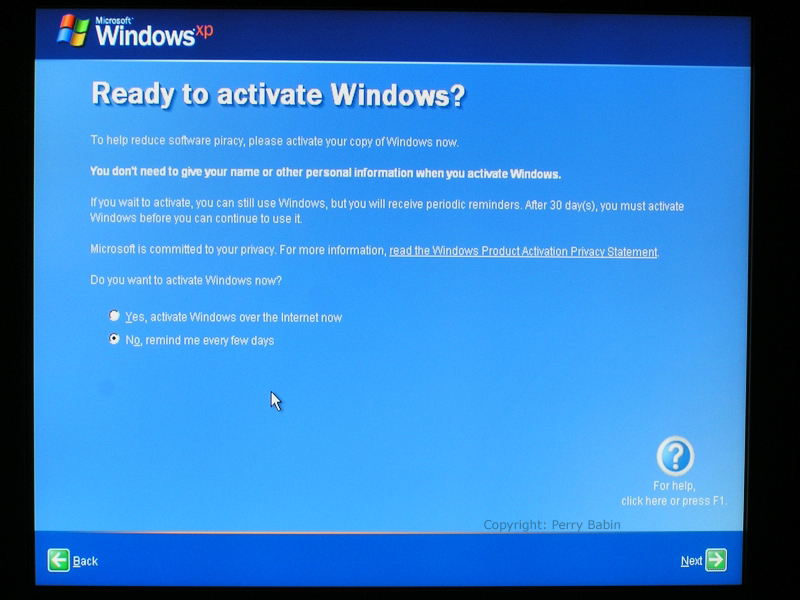
 For this demo, I simply installed the OS for a few minutes (for this demo) and I do not want to activate this copy of Windows. If I did activate it, I would not be able to use it on any other computer. I'm going to be reinstalling Linux on the machine and don't need Windows.
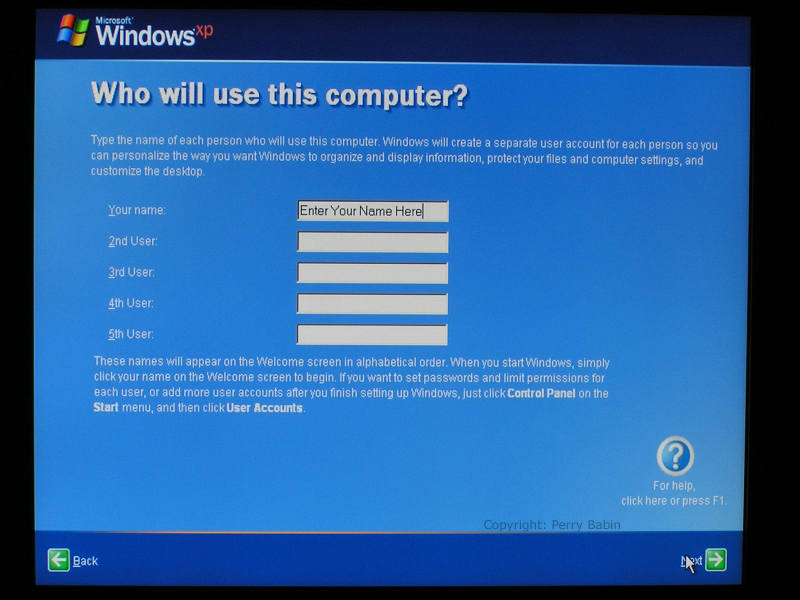
 This is where you can enter the names of all of the users. I strongly recommend using a single user name. Sometimes, multiple users make cleaning an infected machine nearly impossible.
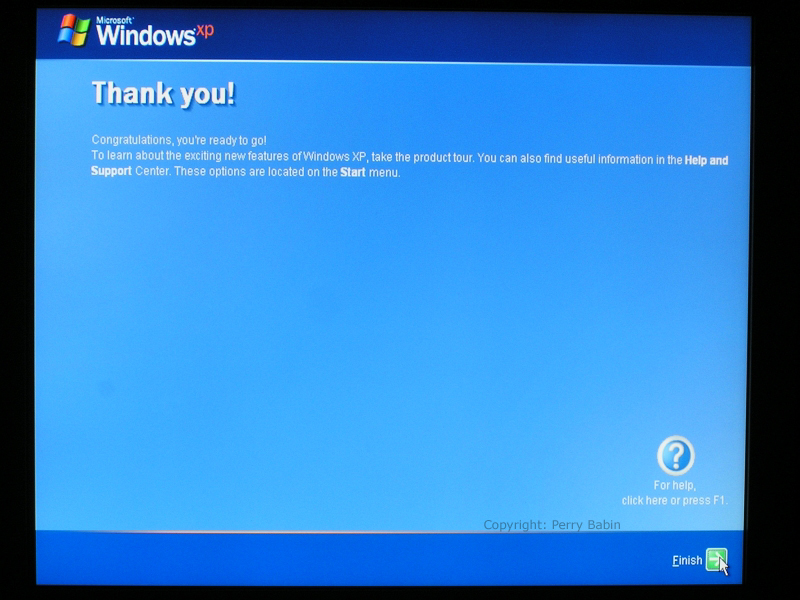
 Click Finish and you're done. Windows will continue to load and from that point on, you can begin using it as you would any other machine.
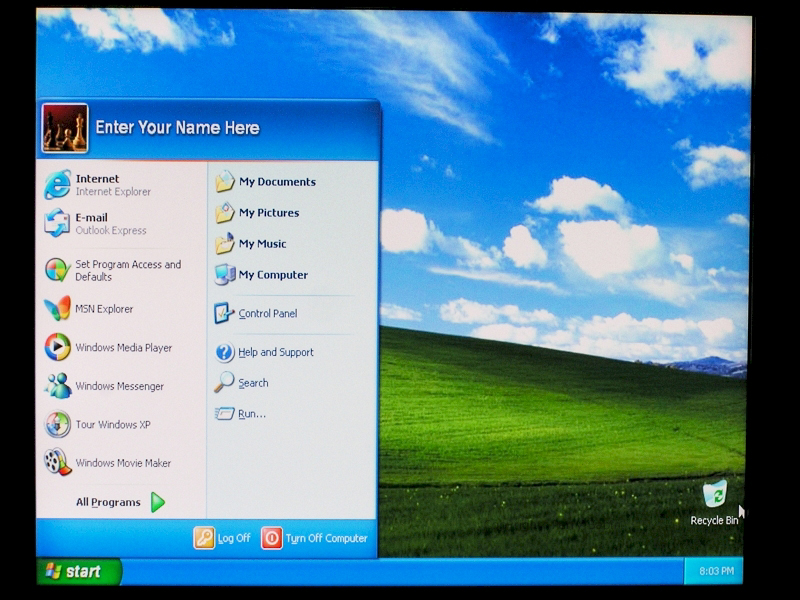
 NOTE: Earlier in the tutorial, I used the name 'Enter your name here'. In the window below, the user name shows up as 'Enter your name here'. It looks like Windows is asking you to enter your name in that location. That's not the case. To change the user's name, you'd go to the control panel and select user accounts. Then you'd click on the user name and tell it you want to change the name for that user.
|
|
| Contact Me: babin_perry@yahoo.com | |
|
Perry Babin 2005 - Present All Rights Reserved
|